As you all know, I am planning to sail
and cruise one day on a balestron rigged catamaran. I have studied the
subject and realized that one of the most difficult parts of this
type of design is to get the necessary "bury" height to anchor the unstayed
rig, about two meters on a 40-45 foot cat. In place of fighting to have
this height and structural reinforcement on the center of the platform,
I suddenly thought why not locate the mast in the hull, not two masts as
some other design, but one mast in one of the hulls. This leads to an assymetrical
design not unlike a proa, it is still a catamaran as the hulls are the
same size. The majority of the comments that I received were that it would
not work! So I decided to give it a try building a model. This page describes
and illustrates this effort.
The design is based on the Crowther SP40
(Design No. 274) for which I have the study plans, I used the deck plan
as a starting point, and a side picture for the hull shape. The scale is
1/20 which is the scale of the plan. I had to guess the shape of each station
and it went relatively well, so I have a decent hull shape. I would recomend
anybody to obtain the real offsets as it would be much easier. Each hull
is built using five stations which are glued onto a backbone along the
centerline (normal model building technique, obviously impracticable in
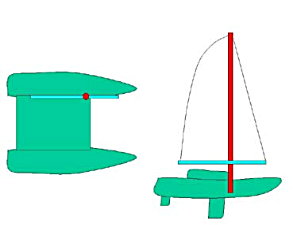
real life). The platform beam was slightly increased and a swinging water
surface piercing board was planned along the mast hull. The mast is based
on the Aerorig design and has a balestron or front boom. It is freestanding
and two roller bearings allow it to rotate freely.
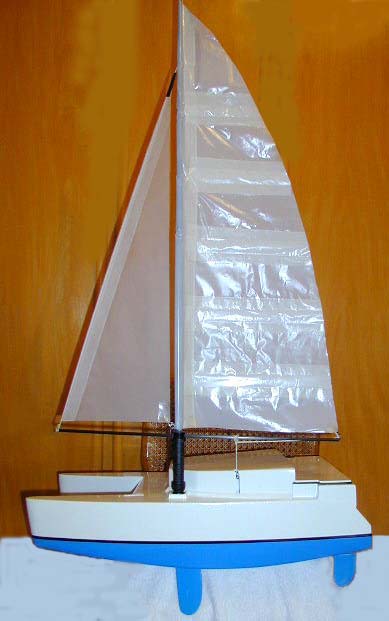
The model boat is 65 cm long, the mast is
about one meter long (92 cm above the deck), and the boat weights 2,2 kg
(nearly 5 pounds).
The hulls and deck are wood (balsa and
some plywood), which are then covered and reinforced with epoxy and fiberglass.
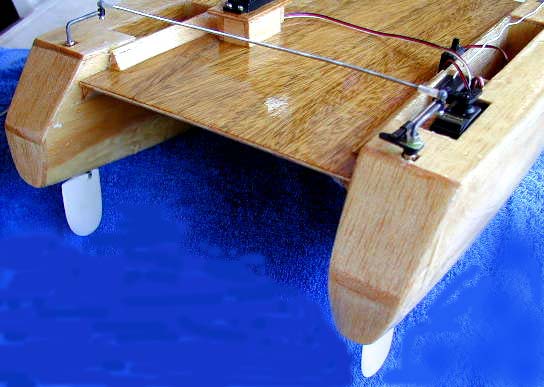
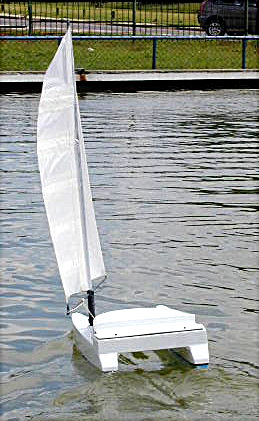
I do not have pictures of the actual building of the model (it was too
messy!), but here are one or two photos of when the boat was in trials
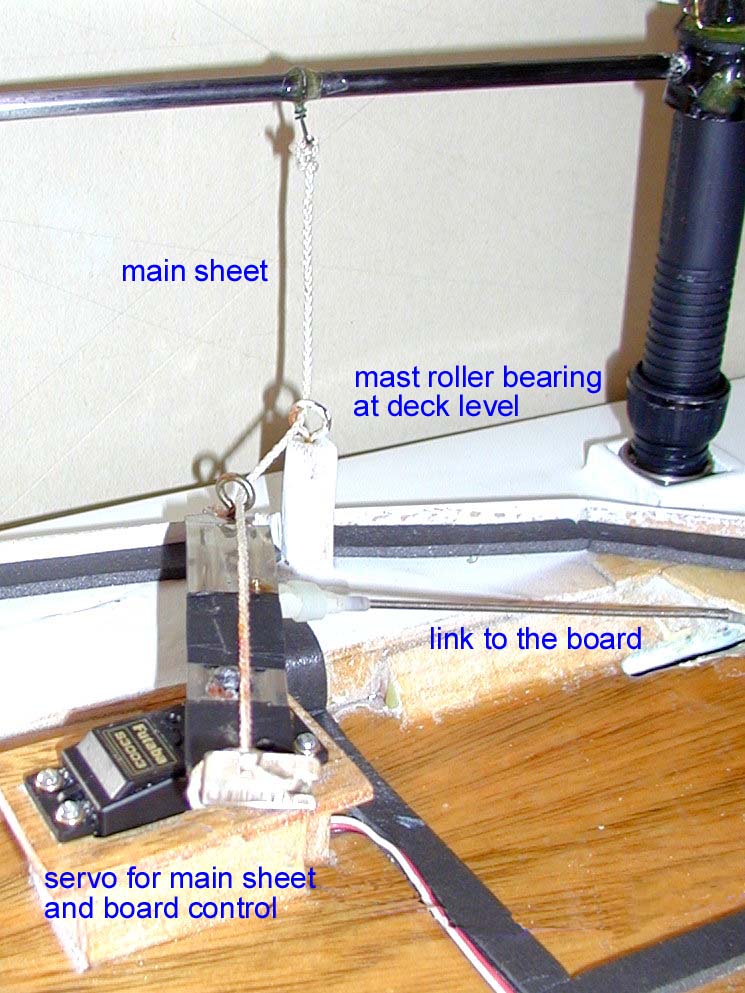
before being finished and painted. The model is controlled by a two channel
Futaba basic radio control (less then US$ 100 anywhere), the right hand
controls the steering (right means right), the corresponding servo acts
on the axle of the starboard hull rudder and this rudder is connected to
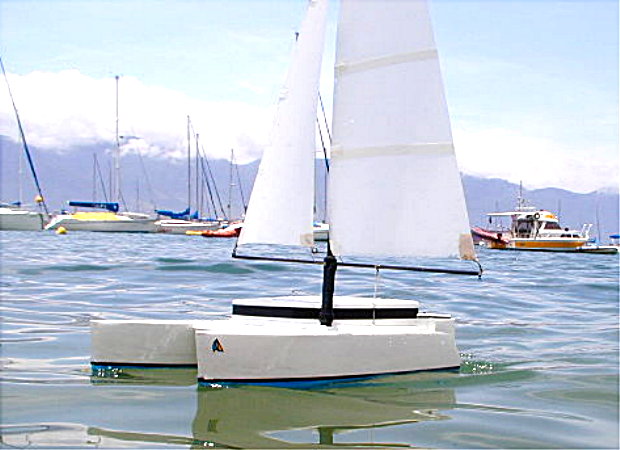
the other rudder in the other hull (see picture below):
The other control handles the sails (in fact one sheet controls the rig, that is the intended idea of the Aerorig) and the board. When the sail is in, the board goes down, when sailing off the wind, the sail is out and the board goes up.
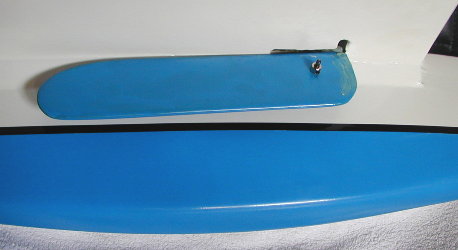
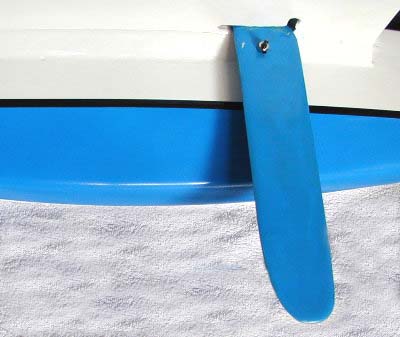
Board in the up position
Board in the down position
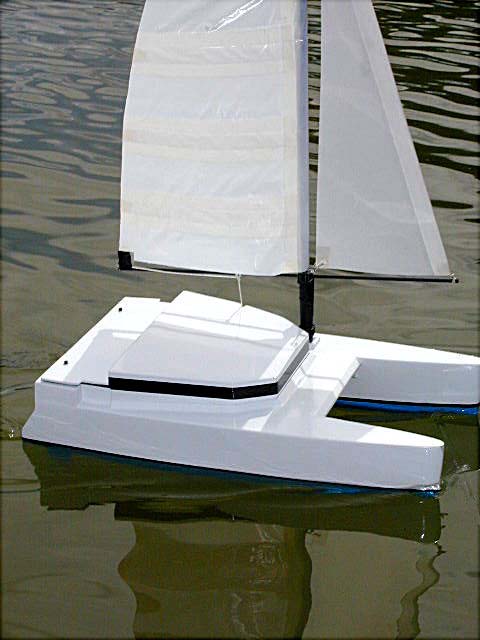
The mast and boom are carbon fiber tubes and the sails are made of polyester (50 microns). The cabin was made to cover and protect the electronic parts. The batteries are located in the starboard hull and their weight counter balances the weight of the mast in the port hull. The boat was then painted (couple of spray cans). Scale wise it would have been more logical to make the cabin a couple of centimeters higher. The cockpit area should have been more open but I had to cover the link between the rudders.
The board and rudders are Naca profiled
and end shapes are eliptical design, rudders are slightly compensated.
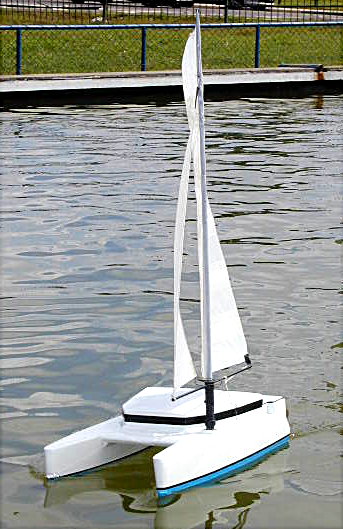
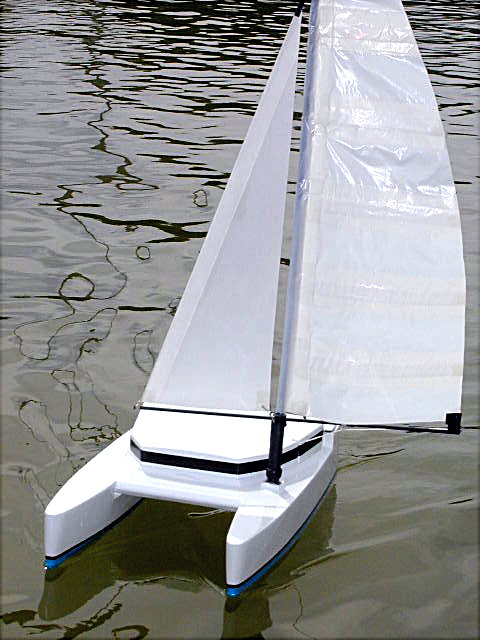
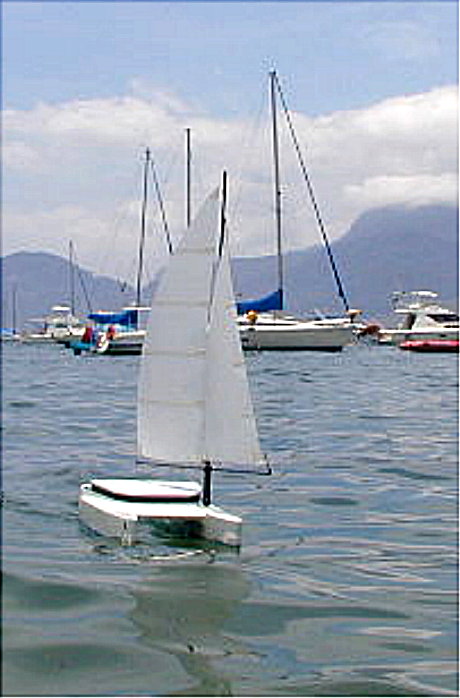
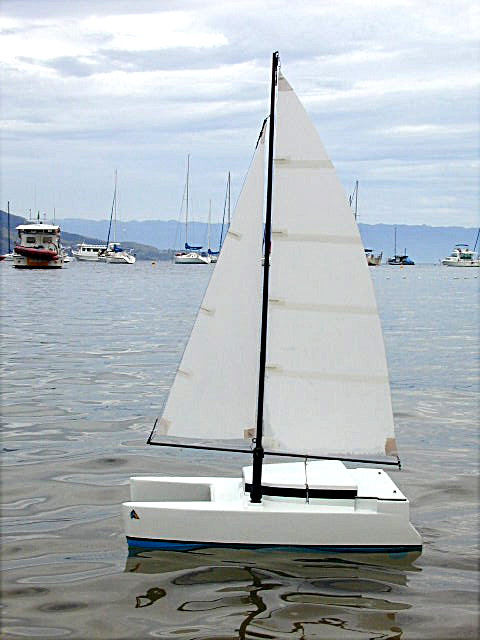
Close hauled on the port tack, check the board in the down position in the picture at right.
On the starboard tack
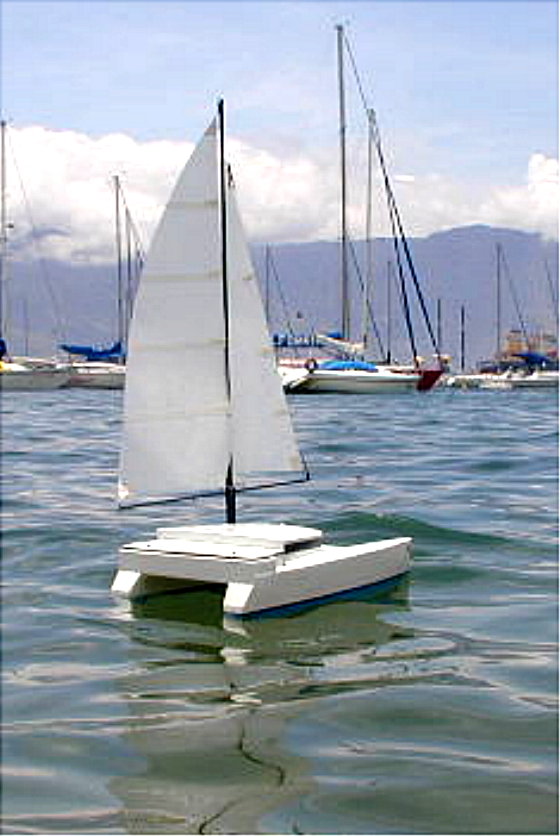
Some nice wave patterns
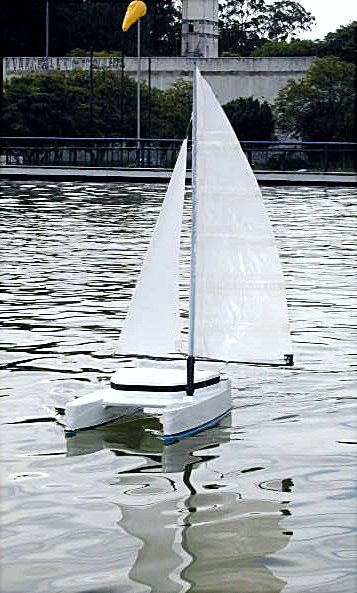
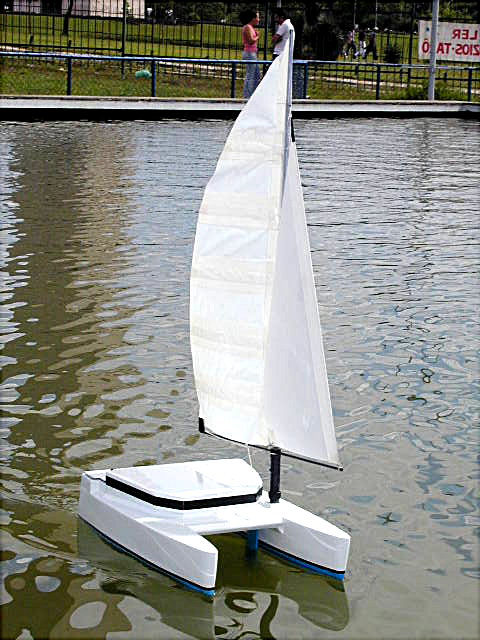
Obviously, she likes the downwind ride!
Everything worked as planned. If the wind
is too strong, there is a risk of the boat capsizing (already happened!).
I suppose I should have a second mast with a smaller set of sails. At the
beginning the boat had some difficulty to tack, I realized that the boat
had too much weather helm, so some adjustments of the angle of the board
and the shape of the sails did the trick.
It nearly looks like the real
thing, it even surfed down the waves!

Updated 01.01.2001