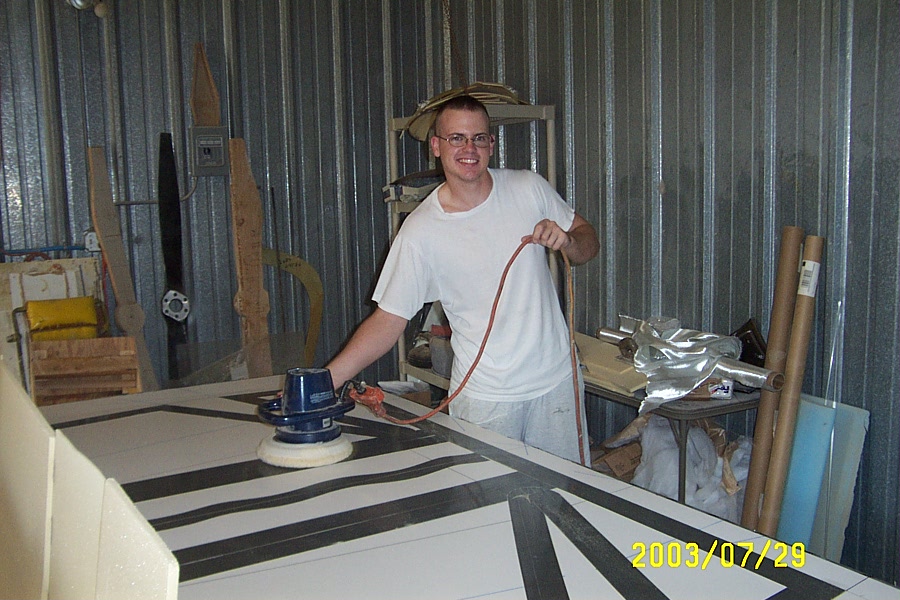
Some of you might be wondering how I'm constructing my lower fuselage and here's some visual answers for you. FAP with glass over foam. After building the seat this way, I couldn't see why I would not build the lower fuselage using the FAP technique. I had wanted to do a build session with Steve for the seat over the July 4th weekend but things didn't pan out. I had expressed interest in another session at the end of July before Oshkosh. After the prototype's engine put the trip out of the picture, Steve and I planned for a two day building frenzy. I arrived on 27 July, we built on 28/29 July, and I returned on 30 July. The accomodations at the Hotel Steve were very pleasing. That is if you can handle two cats. Pet them and they'll be your best friend while you're there.
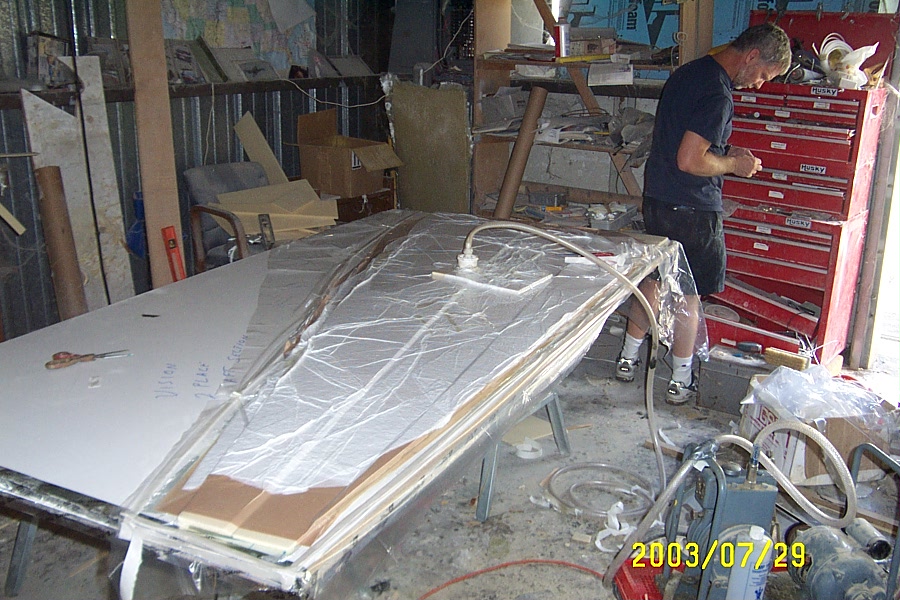
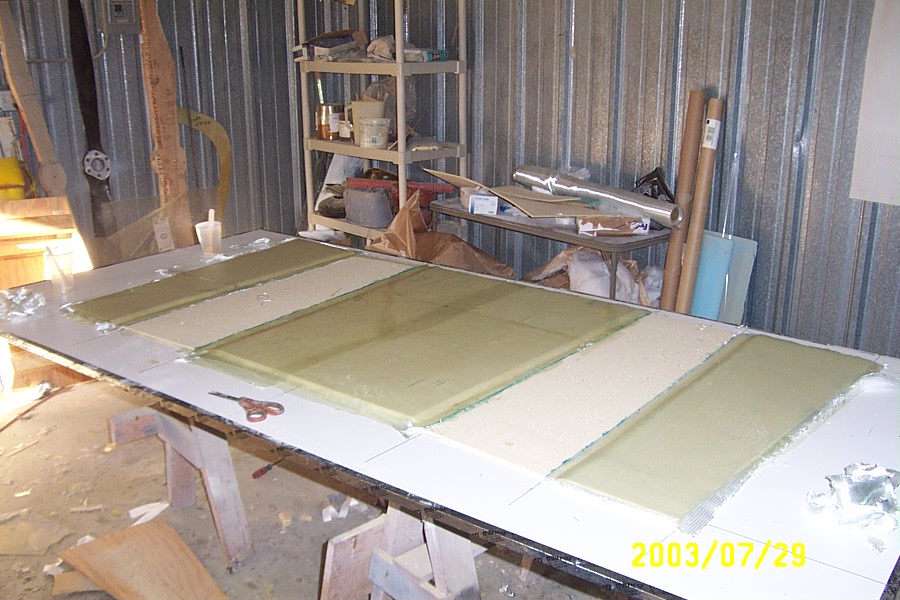
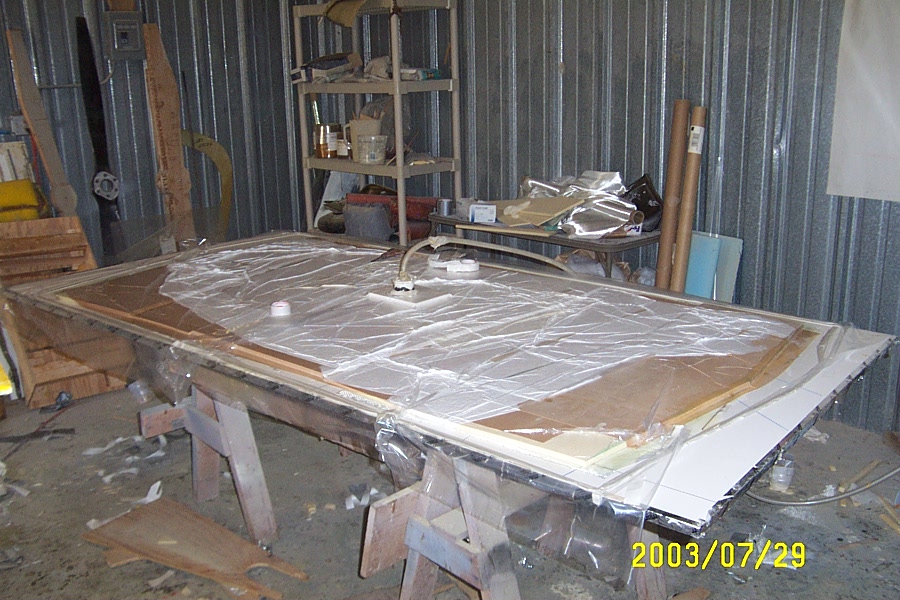
Steve had already laid out the joggle surfaces and ordered the supplies that we would require from Joel at AVT. We applied a light layer of release compound to the tables, cut out the foam, buffed the tables, cut the glass, wet the glass out, put the foam back in place, laid out all the bagging materials, suctioned for a couple of hours and then went to lunch.
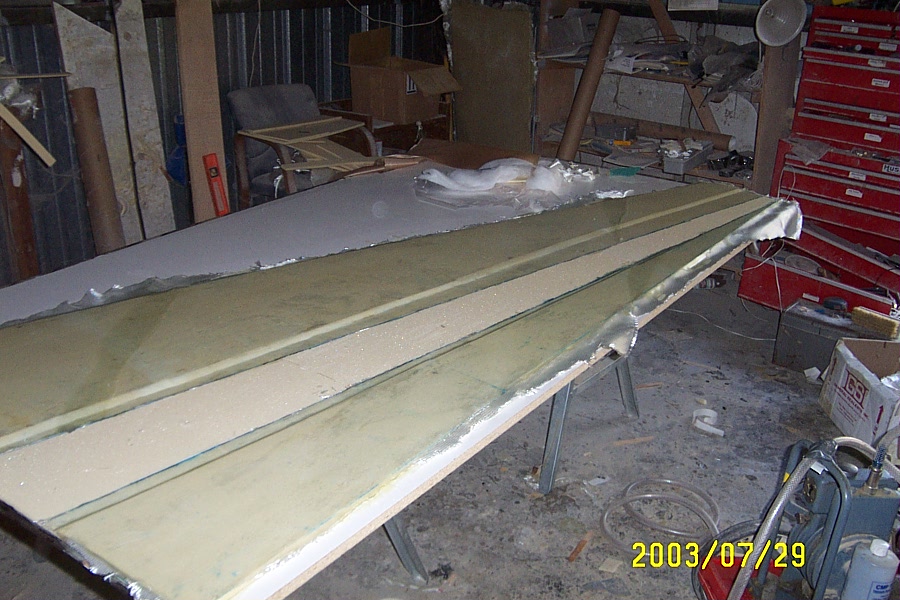
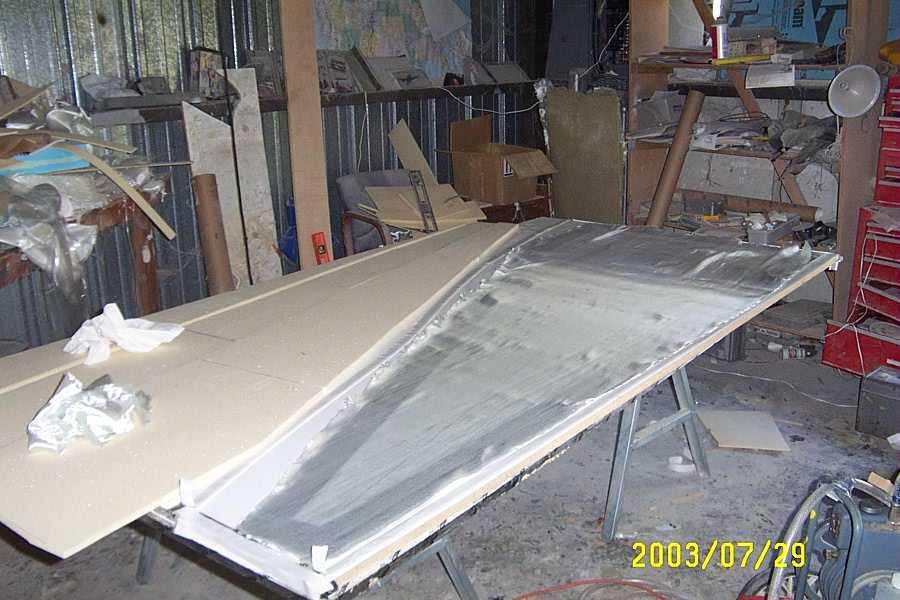
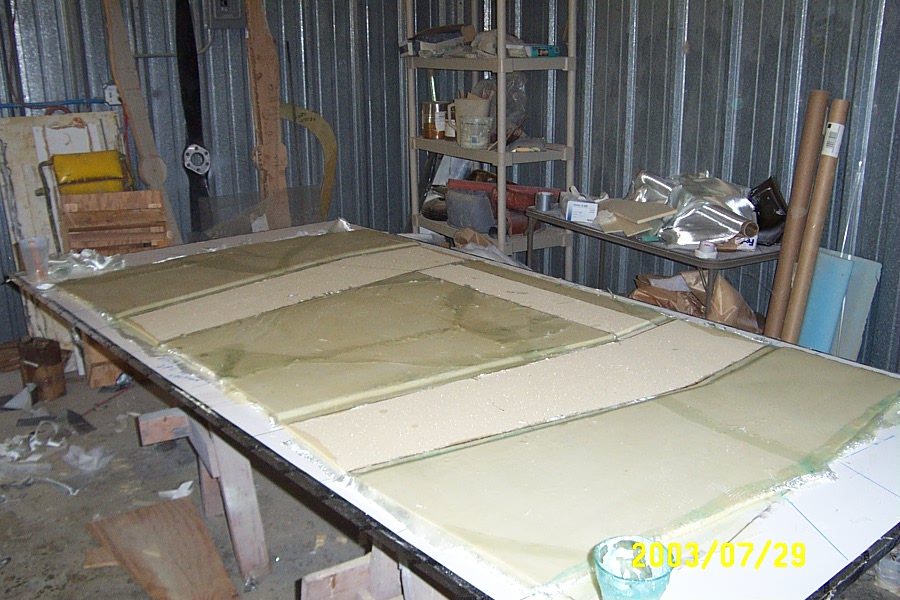
After lunch we took the bags off and layed up the inner skins in the normal fashion. (Only the outer skins were bagged.) The next day we came in and popped the two pieces off of the tables. Then we repeated the process again for two more pieces. I had to head back home the next day so Steve popped the second two pieces out , cut all of the joggles, and shipped them to my house.
My confidence and skills are greatly improved after working with Steve. Go ahead, schedule a building session with him to get started in the right direction or to just move along at a faster pace. Final cost of parts plus labor came out to be around $1200.00, which included room and board. Worth every penny and then some.
Back to Main Page |