Weber 40 DCNF Installation


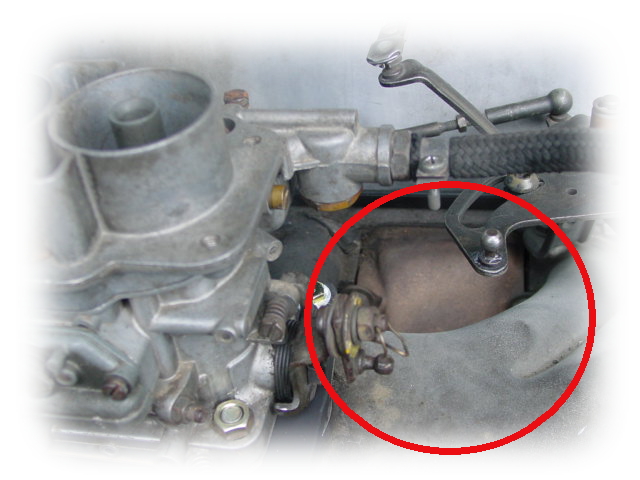
Uh-oh... trouble. The thottle linkages does not line-up

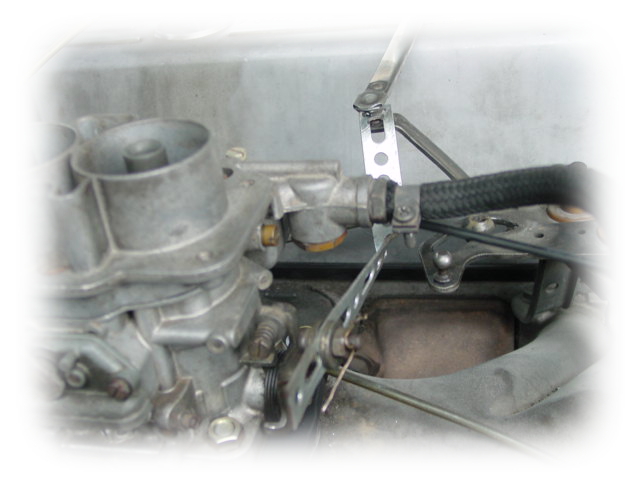
Easy fix. Temporarily (ha!) I used a metal strap used to mount aftermarket radios. This strap was easy to bend into the correct shape and the numerous holes made it even easier to line-up.

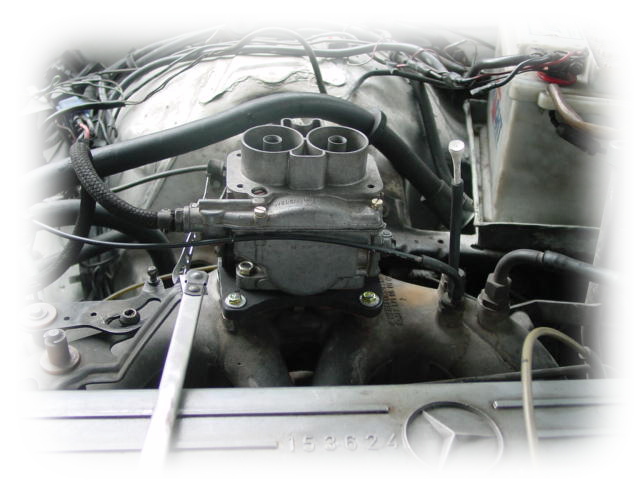
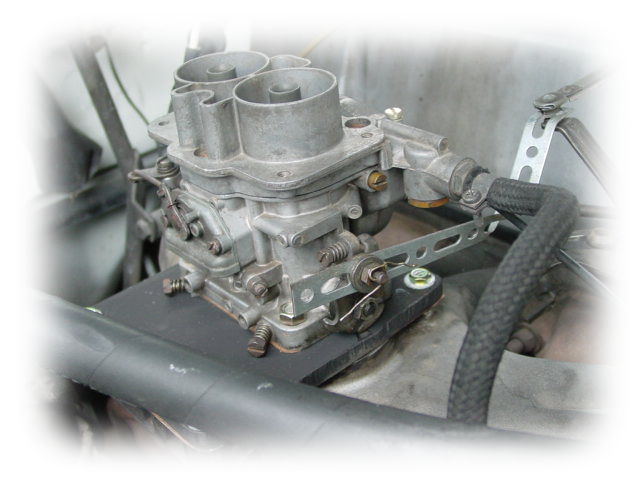
Here's a closer look at the installed Weber carburator
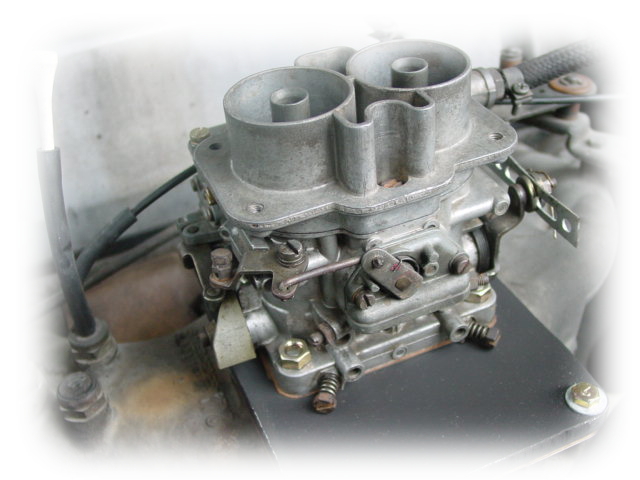
Another view.

And another...
Once the manifold adapter was painted, gaskets cut, and bolted onto the intake manifold, bolting on the Weber was a piece of cake. Here are certain items that needed attention:
  1. Fuel Line. This wasn't a problem. I used the MB's mechanical fuel pump and the original OEM fuel pressure regulator.
  2. Choke. The wires and the water lines for the electric and water assisted choke of the Solex was taped up and plugged, then set aside. The Weber 40 DCNF comes with a manual choke, but I did not bother hooking this up since its warm in the Philippines all year round. I had to change my starting ritual though. For the Weber, three jabs on the accelerator pedal before cranking the engine is needed. Starts everytime!
  3. Vacuum Lines. The Weber 40 DCNF does not come with vacuum ports on the carb. I connected the ignition advancer to an existing vacuum ports from the intake manifold itself. This gives me full advance at idle (around 25-degrees BTDC) and the vacuum advance decreases when the throttle is opened minimizing pinging under load. I know I should be using ported vacuum (which causes ignition timing to advance when the throttle is opened), but the DCNF does not provide for that. I either have to 1) forget about vacuum advance and recurve the distributor; or 2) drill a vacuum port on the DCNF itself (right above the throttle plate).
  4. Throttle Linkage. This is the worst of the problem, but was easily addressed with a metal strap bent to position. See pictures above. Although a temporary fix, this works pretty well. It would be nice to have a adjustable ball-and-socket linkage in there. WOT throttle at the pedal is also WOT at the carb -- so far so good. Even the automatic transmission linkages is intact and the conversion did not affect the automatic transmission.
  5. Air Cleaner. The original OEM aircleaner of the Mercedes is big, bulky, and heavy. I could have made another custom adapter to fit the OEM aircleaner to the weber, but I was afraid that the mass of the aircleaner would be enough to break/fracture/shatter the Weber. I ordered a washable cotton-gauze aircleaner (K&N like), this bolts on directly to the Weber. The filter's brand is WARNEFORD and is made in Australia.
  6. Float. When I first cranked the engine with the new carb in place, I was shocked to find the gasoline pouring out of the side of the carburator. Apparently the brass float in the carb was taking in fuel and was SINKING. Good thing the repair kit came with a new brass float. Replacing the float fixed this gush of fuel.
  7. Tuning. I was able to get the engine running a few minutes later. After fiddling with the two idle-air adjustment screws, I was able to get a stable and low-rpm idle. (Compared to the old SOLEX 4A1 where it always idled high, if it ran at all). With the car in neutral, the engine would rev freely and smoothly. Unfortunately, the initial test-drive showed a terrible BOG during drive-away. Mid and full-throttle response was crisp and very good. All reference material I had indicated an idle jet that was too small. I couldn't find bigger idle jets locally, so I checked the float level. Not knowing if it was right or not, I adjusted it such that the fuel level would be higher in the bowl. Apparently this cured the BOG and now the car just runs great! I felt a flat-spot during WOT so I changed the Air-Correction jet from a .210 to a .180. This made some improvement, but I guess I can still go with a smaller air-jet... maybe .170.

    Update:
    I changed the main venturi from the stock 32mm to 28mm, changed main jet to .125, and the idle jet to .050. Air-jet is at .190. A bigger than stock .60 accelerator pump jet is used. This seems to be the settings where the engine is the happiest. The smaller 28mm venturi allowed me to use smaller main jets which should help with the fuel economy. Throttle response with the smaller venturi is also peppier in urban traffic.
    Update:
    I installed an Air-Fuel Gauge and an Oxygen Sensor that I ordered from Summit Racing. The AF Gauge is a great tool in tuning the carb. It was easier to dial-in the jettings with a visual tool like the Air-Fuel Gauge.
Notes:

Hosted by www.Geocities.ws

1