 |
|
|
|
|
|
|
|
|
|
|
|
|
|
|
|
|
|
|
|
|
|
|
|
|
|
|
|
|
|
|
|
|
|
|
|
|
|
|
|
|
|
|
|
|
|
|
|
|
|
|
|
|
|
|
|
|
|
|
|
|
|
|
|
|
Towed Out, June 23, 2003 |
|
|
|
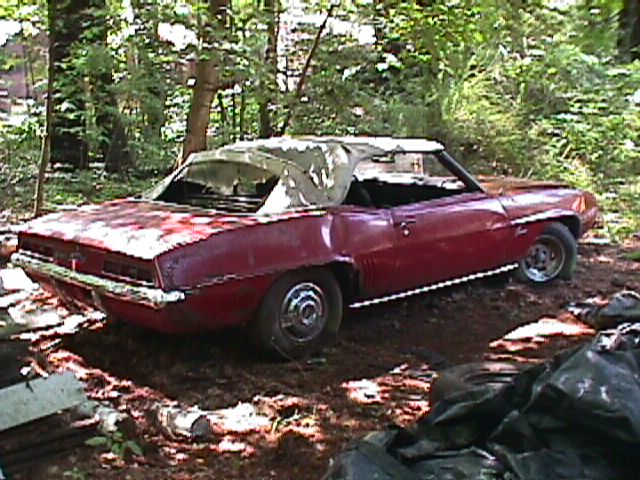
It finally happened, The Camaro has been moved from its 22 years of sitting and rotting away in the feild. There are allot of new pictures here and the camaro is really looking nice now! Heres a step-by-step set of pictures of how me and my dad got the car out and ready to be worked on! |
|
|
|
 |
|
|
|
 |
|
|
|
 |
|
|
|
|
#1 |
|
|
|
|
|
|
|
|
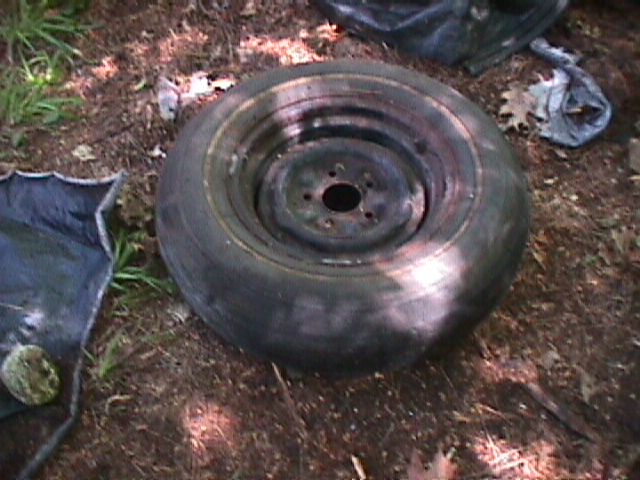
To start we filled all the tires with air with our air compressor |
|
|
|
|
|
|
|
 |
|
|
|
 |
|
|
|
 |
|
|
|
|
|
|
|
|
|
#2 |
|
|
|
|
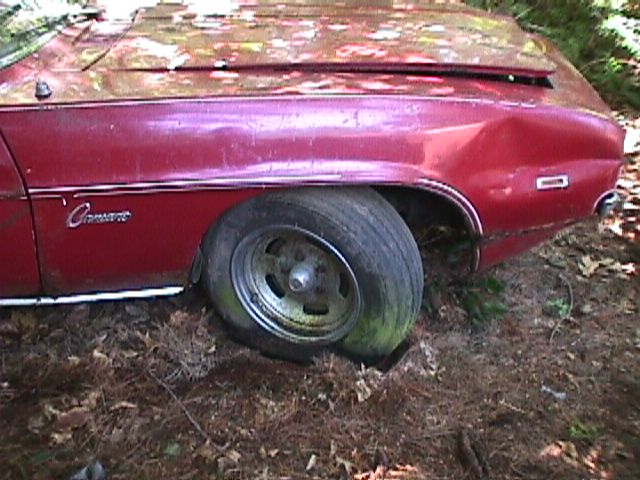
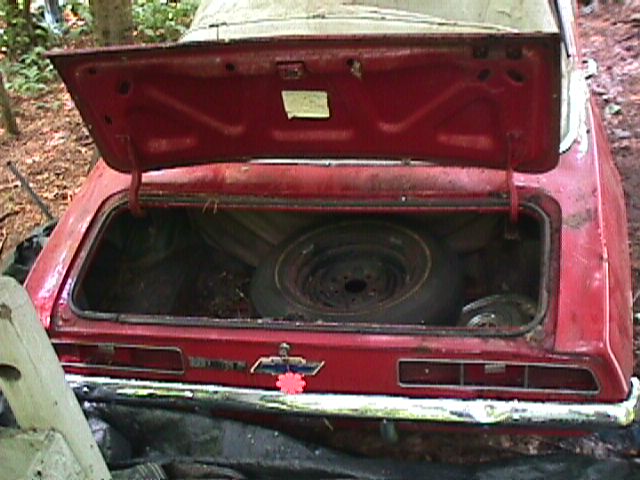
The rear left tire was not taking air so we opened the trunk up and put the spare on (the tire was later fixed) |
|
|
|
|
|
|
|
|
|
|
|
|
 |
|
|
|
 |
|
|
|
 |
|
|
|
|
|
|
|
|
|
#3 |
|
|
|
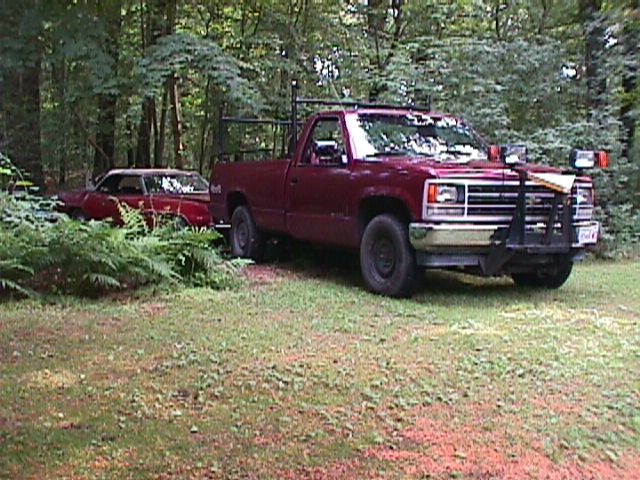
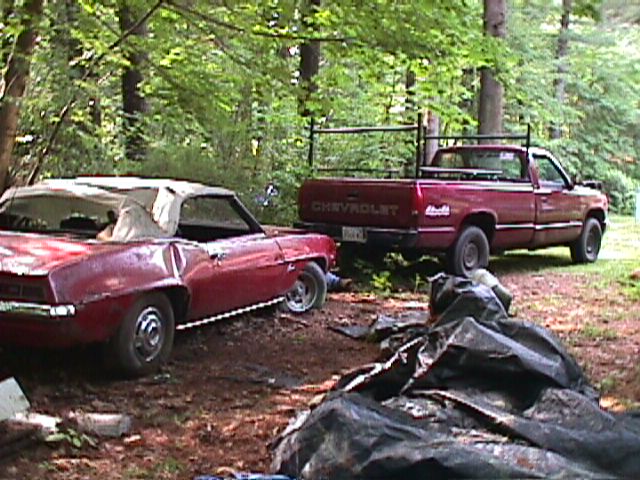
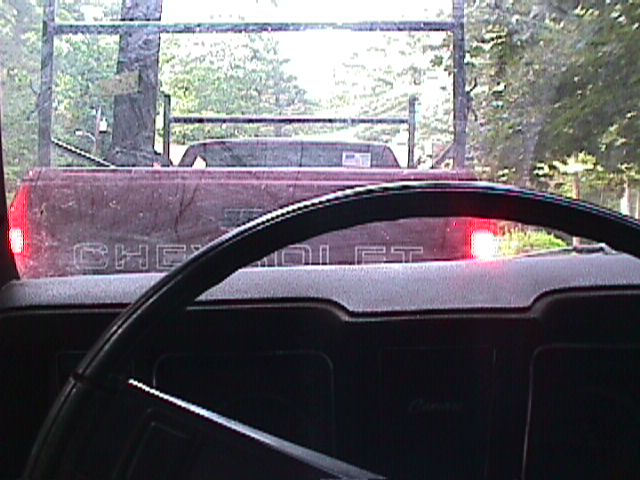
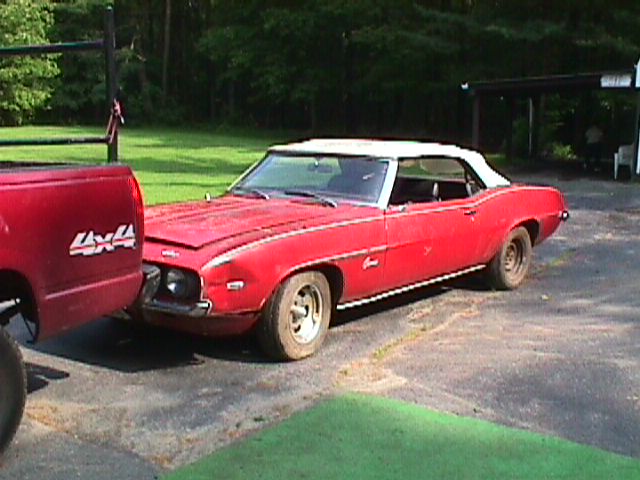
Then we grabbed a heavy-duty chain, wraped it around the subframe, and my dad put the pickup in 4 wheel drive and I got to steer the Camaro! |
|
|
|
|
|
 |
|
|
|
 |
|
|
|
|
|
|
|
|
|
|
|
|
|
 |
|
 |
|
|
|
#4 |
|
|
|
|
|
|
|
|
|
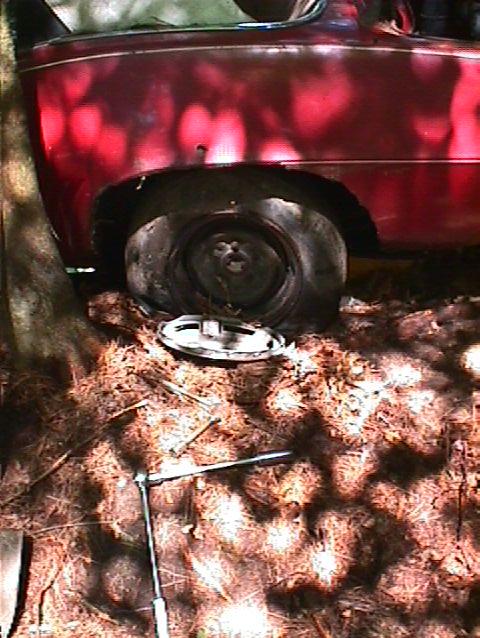
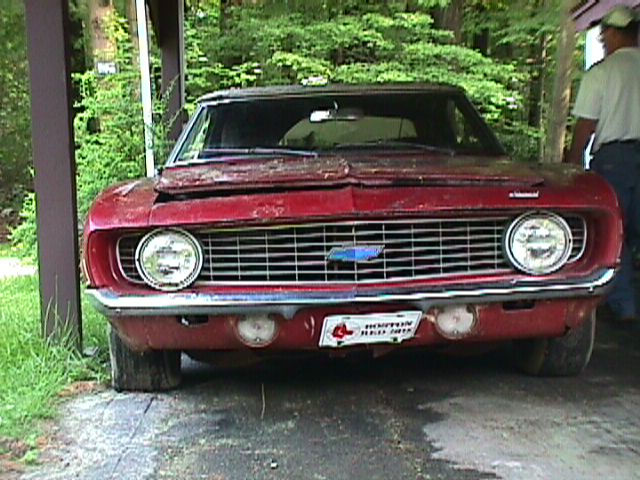
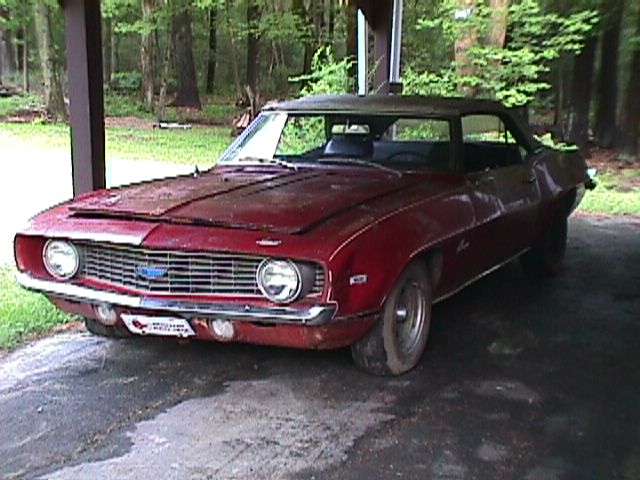
After we towed it to the driveway we pushed it under the overhang. The picture on the left is my Camaro before being washed. The left tire is flat in the picture but is now fixed. |
|
|
|
|
|
|
|
 |
|
|
#5 |
|
|
|
|
|
|
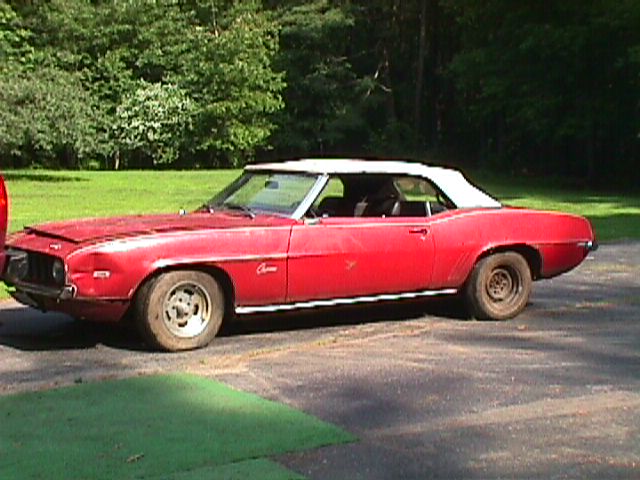
Gave the Camaro a big scrub-down. It looks nice now! |
|
|
|
|
|
|
|
This is the kick-off of my dads and my new project, restoring his 1969 standard convertable. Along with the help and guidence from many of our friends this car may one day hit the streets again with even more eye-catching power then it did in years ago. |
|
|
|
 |
|