LED Lights
Preparation-
Supplies needed:
bulbs
18 gauge wire
switch(s)
fuse holder/fuse
epoxy
drill
assortment of larger drill bits
screwdrivers
Bulb Selection:
I found that 194 style bulbs come in a huge assortment, and are still rather small, and at the same time, depending on what bulb you choose, give of a considerable amount of light. After having ordered, tested, and used many different website�s bulbs, SuperLumination.com had by far the best bulbs, and selection. Prices are also very reasonable. For these applications, the 194 inverted lenses I�ve found work best. The point of this is to light up the inside of the assembly and have the light reflect out. Normal LED bulbs shine light strait forward, and would simply produce a dot of light in front of where they�re mounted.
For running lights and the blinker assemblies, I strongly suggest using the inverted lens bulbs found on the superlumination website. For the headlight assemblies, I would suggest using either the inverted lens, they wont be as bright due to the larger space they have to light up, or using something like a 6-LED cluster, and put two in each headlight assembly, one on each side of the headlight bulb. For the blinker assemblies, one on each side of the larger blinker bulb is recommended. If you want to, more are always acceptable J
Process-
Disassembly:
You'll need to take out both the upper running light assembly, along with the lower blinker assembly. If you are also going to put the LED�s into the headlight assemblies, they will also need to be taken out. Make sure to have a set place to put ALL screws taken out. For example, get a card table and put a piece of masking tape across one edge and LABEL each screw you take out, so it�s put back in its proper place. You�ll also want to take a piece of masking tape and wrap it around each bulb plug in and write which assembly it is supposed to go to after you take it out of the assembly.
Upper running light assembly:
There are two screws holding these in, and one light bulb attached. The first screw is located on the top corner. The hood has to be open to access it. The second screw is a little more difficult. You�ll need a smaller Phillips screwdriver. It�s located at about the middle of the assembly, underneath it. The easiest way to get at it is work the screwdriver in from the side facing the grille. Use a flashlight to locate it first, so you know where it is, then try to get the screwdriver in. It�s a longer screw, so it�ll take a minute to undo. After it�s popped loose, mark the screws and put them on the table or wherever and also label the socket that came out of the assembly.
Lower blinker assembly:
There are also two screws holding these in. One is right the top, outside corner. The other is in the same corner, but down below. It�s kind of hard to see, and can be a bitch. DON�T DROP IT! It�s one of those that you can easily drop and never ever find again. After the two screws are taken out, there�s either a hook or latch type thing on the side closer to the grille. Simply pull the outside corner frontwards and it�ll slide out.
Headlight assembly:
If you�re not putting LED�s in the headlight assemblies, disregard this part
Forgive me, but I HATE these. They may be easier for you, but they�ve always been a royal pain in my ass for me. First, you�ll need to disconnect the headlight bulb from the inside of the hood compartment. Make sure not to touch the glass part of the bulb. There�ll be a circular plastic ring that�s on the wiring harness, twist it either way, I can�t remember which is to loosen it, and let it hang on the wires. Gently pull the bulb out and remember don�t touch it or let it touch anything else. You�ll need to undo the little clip that�s holding it to the harness. Set it off to the side where dust won�t accumulate on it. After the lights are taken out you can proceed to taking the assemblies out.
There should be three points in which they are held down. The first is a type of clip, that needs to be pressed in on both sides to be released through the opening. Be very careful not to break these, because if you do you�re headlights are no longer adjustable. I found it easiest to use a large flat head screwdriver and a pliers to get both sides to compress at the same time. I�ve also had luck with getting one side to press in with a flat head and then carefully getting the other side of the clip to compress, and then pull it out. The two other points that they are being held down by is a ball and socket type deal. After the clip part is taken out, simply get a good hold of it and pull. Make sure to label either driver or passenger side headlight when you take these out.
Mounting:
You�ll need to first decide where you want the bulbs placed. You don�t want to place them too close to the factory bulbs, or any place that they�re not physically going to fit when the assemblies are mounted back to the vehicle. If mounting in the headlight assemblies, make sure to mount them as far away as possible from the headlight bulbs as possible because the LED�s WILL burn out if mounted too close. Even if mounted as far away as possible, its very common for the heat to cause the LED�s to burn out. On average, bulbs mounted in the headlight assemblies lasted give or take 8 months. None of the ones I have mounted in the running lights or blinker assemblies have failed yet.
After you choose the location, find a drill bit that is slightly smaller than just the HEAD of the bulb, the clear plastic part that the light comes out of, NOT the base of the bulb. The point of having it slightly smaller is you will be able to ream the hole so its just BARELY big enough for the lens to fit in, while the base of the bulb will catch on the rim. Mix up some epoxy that is intended to bond plastics, and make a couple dots when you have the bulb set in place. Hold it in the exact position you want it to shine, and DO NOT let go until the epoxy is hardened. If you let go too early, the bulb will shift and your lights won�t look right.
After you have all the bulbs half way mounted with the dots of epoxy, test each one. Wire up a positive and negative from the battery and touch it to each bulb to ensure it�s shining in the direction you want. If it isn�t, simply break the bond and move it in the desired angle and re-epoxy it with the dots, and hold it in that exact position.
After they�re all mounted in the exact positions you want them, mix some more epoxy and go all the way around to ensure they wont break loose anytime soon. Don�t use too much and have it end up dripping inside the assembly and smearing all over the front of the assembly�s lens, or on the newly mounted LED�s lens. Allow for these to cure for a good hour before you attempt mounting the assemblies back to the vehicle.
Wiring:
Wiring can be either the easiest part, or the most complicated part of the entire process. Because of the low current draw of the LED�s, using a relay isn�t necessary, only a fuse, a switch and a decent amount of 18 gauge wire are needed.
Some bulbs don�t come labeled with positive and negative, so before you permanently wire any of them, test each and mark positive and negative for later reference. For ease of wiring, solder on a 6� or so strand of wire for each bulb before it�s mounted, so you won�t be putting much stress on the bulb after it�s been mounted to the assemblies. Instead of buying a wired socket for each LED you�ll be putting in place, it�s much, much cheaper to solder on wire and wrap everything in electrical tape.
First, you�ll need to connect a run of 18 gauge to the positive post on the battery, and run it to a fuse holder. From there, you�ll run that wire to each of the positive marked sides of all the LED�s that aren�t going to be placed into a factory socket. Make sure all connections are soldered well and won�t break loose. Take another run of wire and connect all the negative marked sides of the LED�s, and then continue that run of wire up to the cabin.
The easiest way I could get the wire into the cabin without drilling holes was through the driver side door jamb. If you look closely, you can see a spot of light coming through the door jamb going to under the hood. It took some time to fish the wire through, find something decently stiff but flexible enough to form it to the shape you want and fish the wire through. I ended up using an old car antenna.
After you�ve got the wire into the cabin, decide where you want to mount the switch. Drill the hole and mount the switch, then take it apart and connect one side of the switch to the wire. The other side of the switch can be grounded. Find a bolt that is secured to the body or chassis, and grind any paint away. Ground at that spot. If you don�t want to ground by that method, you can always run another wire back to the negative side of the battery. Some people choose to put the switch on the positive side of the wire, but I choose to use the negative wire. Because the wire is being run through the cabin, there�s extra chance for it being cut and grounding out, so if it�s the negative wire being used, it won�t do as much harm compared to the positive grounding out.
A simple switch like part number 060-335 from partsexpress.com will work just fine. Buy a few as long as you�re ordering, you never know when you can use an extra couple low current switches.
Special Note:
I am not in any way affiliated with jeepsunlimited.com. If you have any questions to any particulars, feel free to e-mail me at [email protected]
My SoundDomain Page
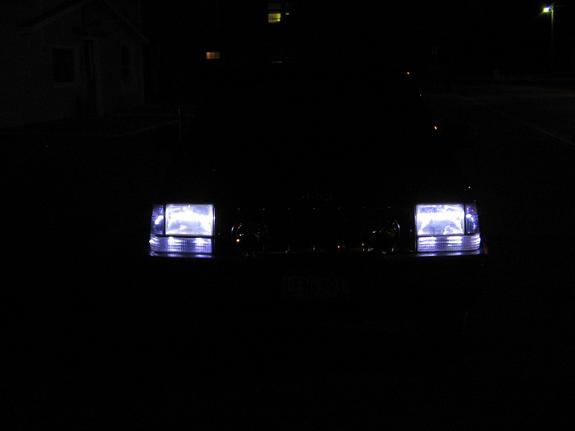
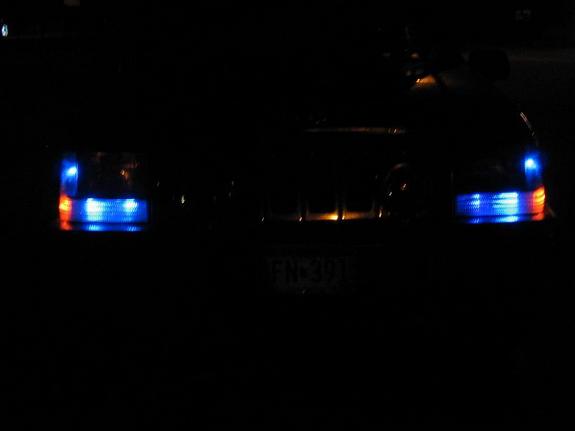
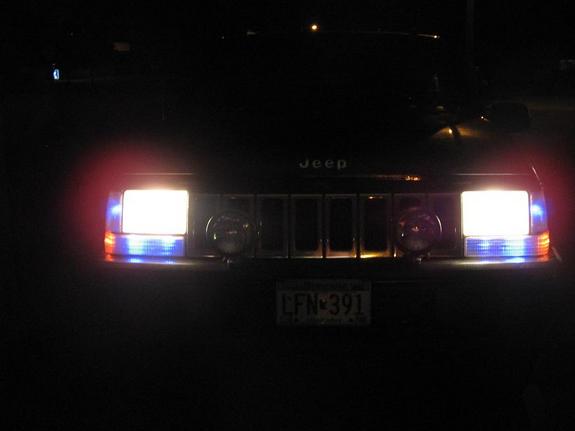
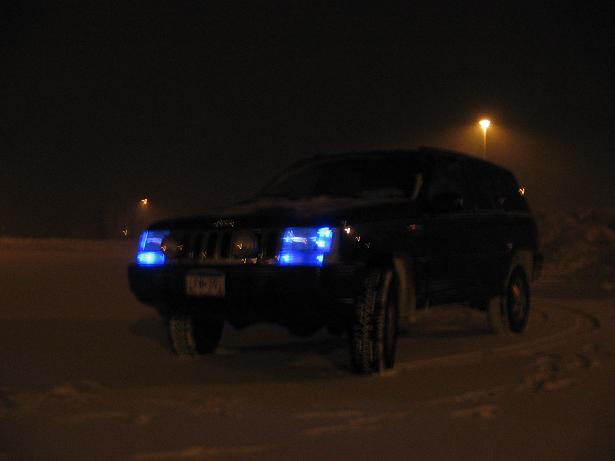
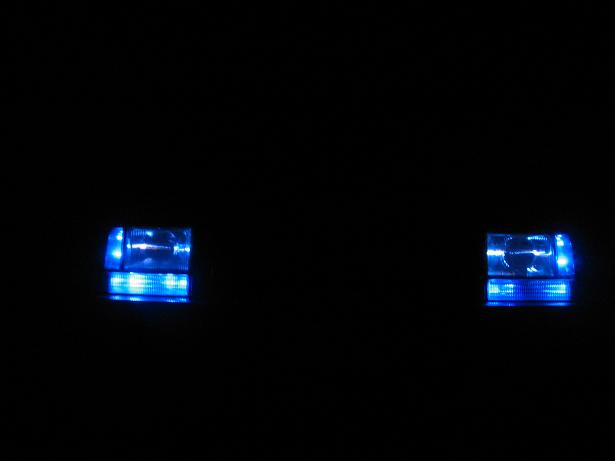
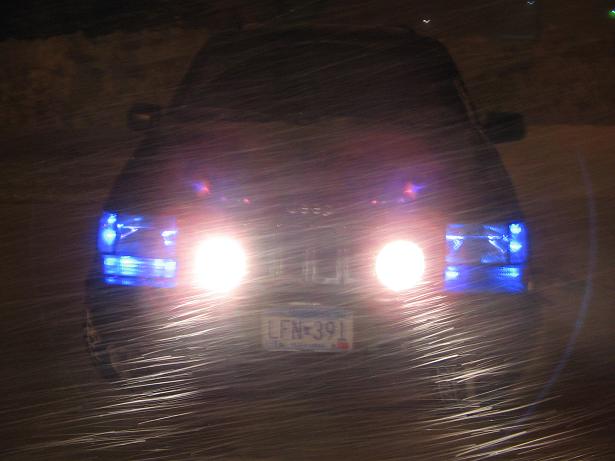
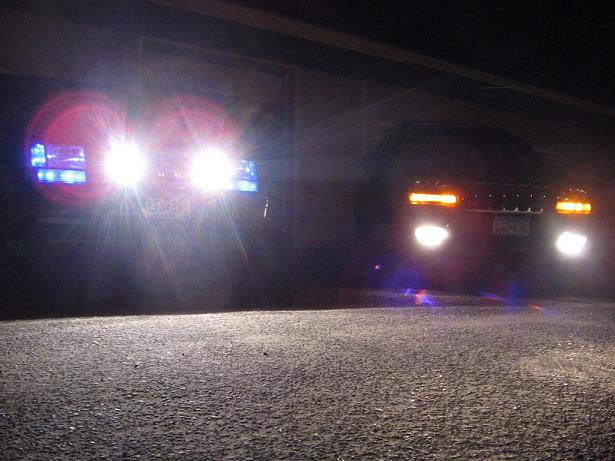
Pictures