Jim's Little Dinghy Page
Building a model of the Prameke PK78 Dinghy!
What better thing to do while waiting for supplies to arrive! Build a small scale model of your boat from your plans.
One quick trip to the store and I have all the neccesary items.
I've done this a few times. I prefer to use balsa wood, however, there is none available in this town.
I have used the cardboard from cut up cereal boxes before with good results. This time I'm using poster board.
It's a little thin, but it will work. I'm just doing this for fun anyway. Although it is an excellent way to become familiar
with your project.
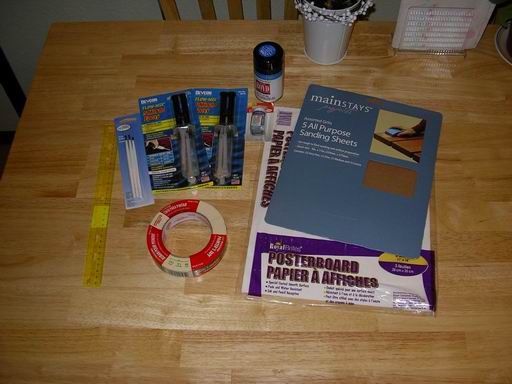
Here's what I've assembled:
Sandpaper and poster board
Blue spray enamel and grey brush on enamel paint's (that was all I could find of either color!)
Two packs of Devcon 5 minute epoxy (the third wonder of the modeling world!)
3 pack of Testors paint brushes
A ruler and some masking tape
My wife also pulled out a very soft lead pencil and a pencil sharpener from her art kit.

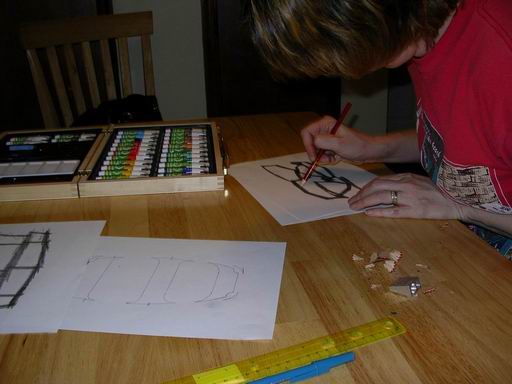
I've done this by transfering dimensions, and by tracing off the plans. Of course, tracing is faster
if it works with the plans you have.
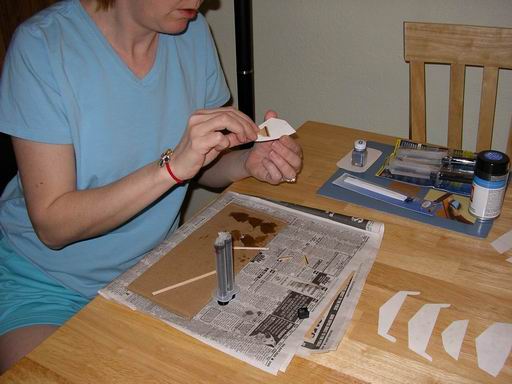
In this photo my wife has taped a piece of paper over the plans and will trace the 17 parts we will need.
If you have carbon paper use it to transfer your patterns onto your poster board. If you don't have carbon paper
you can spread lead on the back of the paper underneath the pattern lines.
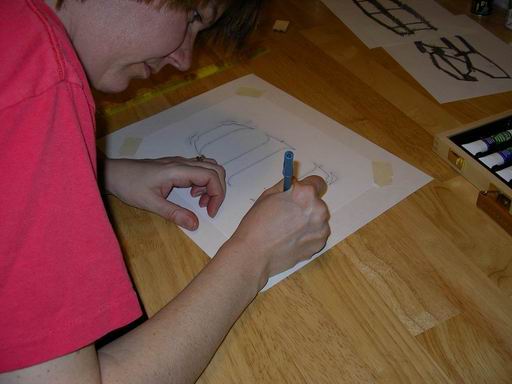
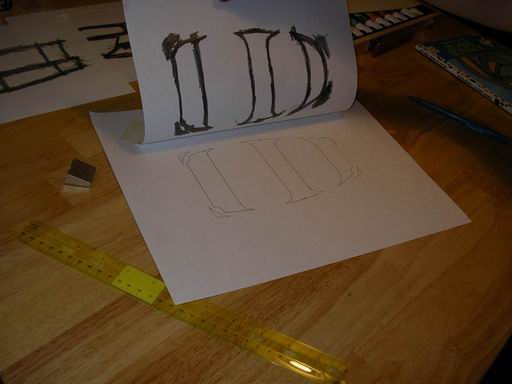
Next tape the pattern paper over the posterboard and trace the lines with a pen.
Just lift the bottom before you untape your paper to make sure you didn't miss any lines.
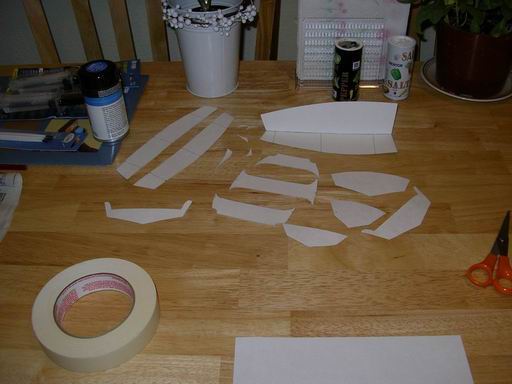
Cut out all of your parts.
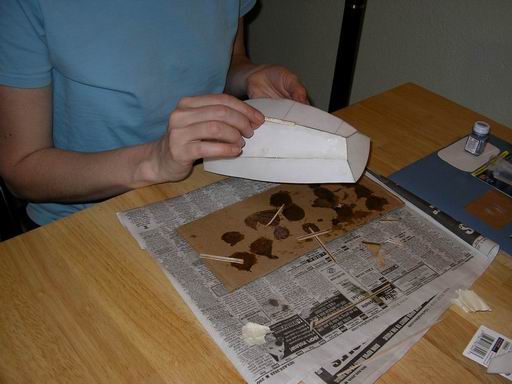
Using small batches of epoxy coat the front and back of the bow, transom, and seat frames.
My method is to mix small batches of epoxy on cardboard, stirring with little sticks of scrap balsa. Then I spread
it with a little piece of scrap balsa or cardboard. Do one side at a time holding it by the edges. I keep paper towel
by me to wipe off the small amount of epoxy I get on my fingertips.
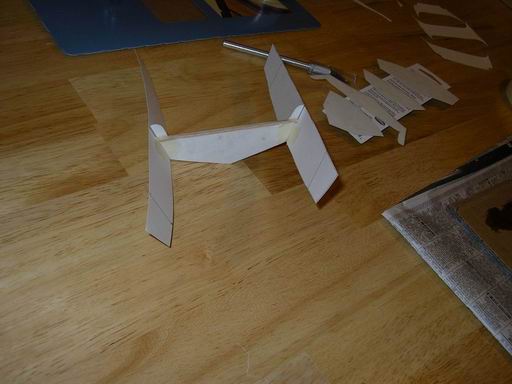
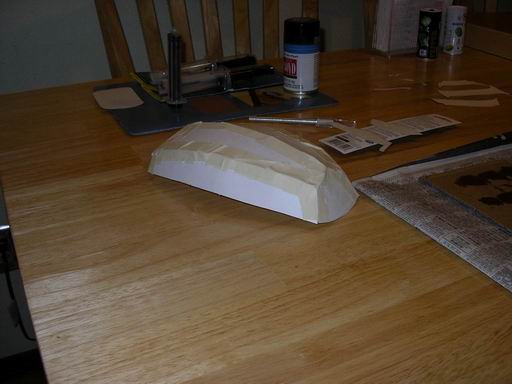
Tape the mid seat frame to the hull sides.
Then tape the bow and the transom to the sides. At this point I should have taped in the bow seat frame
and the stern seat frame but didn't. Good thing this is just a trial run with a model! I'm glad I'm
building the model first. It still worked out for me though.
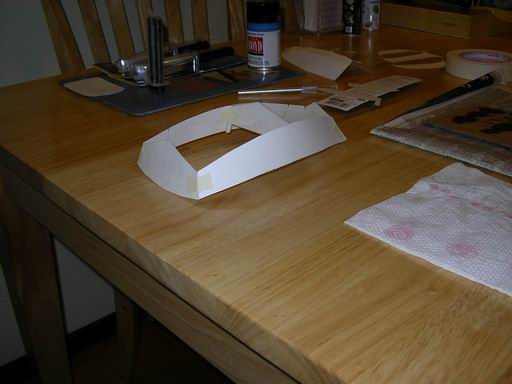
Hold the two bottom panels back to back and tape the middle seam. Unfold it and tape it
onto the bottom of the hull and sides. Tape all the ouside seams.
Inside, remove the tape one side at a time on each frame and glue in the seat frames.
Then glue all the inside seams with epoxy. After that has cured remove the tape
from the outside seams and epoxy them.
At that point I just coat everything inside and out with two coats of epoxy.
I made the 4 knees (corner pieces) and skeg out of balsa and glued those in.
The rubrail was made from balsa in epoxied on. I curved the ends first by holding them over the tea kettle
while holding them curved. I held them that way for a few minutes after removing from the steam.
Then it's time to sand everything till she's smooth. As you know I made this out of poster board, and if
I had it to do again I would have ordered balsa. This is the last model
I make with anything but balsa. It is amazingly strong for being made out of
paper, but I would have spent more time finishing if it had been made out of balsa. I started with 80 grit,
and finished with 180 grit.
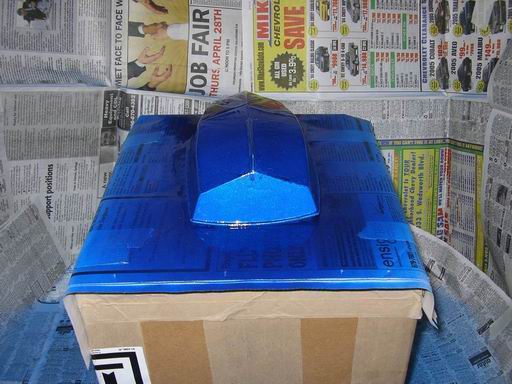
Here it is with the hull painted. Not the color I would have liked, but beggars can't be choosers.
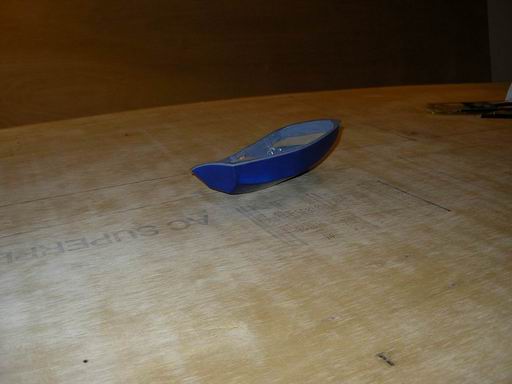
Here is the model almost done. I haven't had time to finish it up because
I've been working on the full size version!
HOME