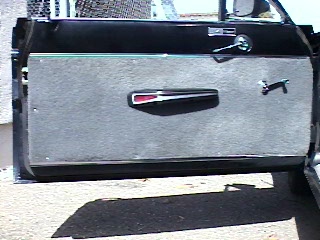
I made these door panels from scratch and get many good comments of them!
|
1. |
After removing the old panels, measure the length, and width. |
|
2. |
Round your measurements up to the nearest inch, then add 6 (six) inches to both the length, and width. |
|
3. |
Multiply the length, by the width. |
|
4. |
This will give you the square inches of material needed for that panel. |
|
5. |
To determine the total square yards just divide 1,296 into your number. |
|
6. |
Now using some old thin paneling I traced around the door panel, and marked all the holes with a black felt tip marker. |
|
7. |
Now offset the top and bottom lines about 3/16" making the new "core" about 3/8" smaller in width then the old one. |
|
8. |
This will allow you to attach the new panels flat, without bowing them under the trim rails resulting in loose ugly fabric sagging on your doors. |
|
9. |
Now using the adjusted numbers measured off the old panels, cut out the fabric. |
|
10. |
Now lay the fabric good side down, on a smooth clean flat surface. (dinning table). |
|
11. |
Center your wood paneling "core" over the fabric. |
|
12. |
Fold down the top edge, working from the center out gently pull, and staple or hot glue the fabric down. |
|
13. |
Now pull the bottom tight and fold it over, starting from the center repeat the same operation as the top edge. |
|
14. |
Now cut a square out in all four (4) corners leaving a small triangle at the bottom of each cutout. |
|
15. |
Fold and fasten the ends making sure to work from the center out, razor blade cut around the drilled window crank, and armrest holes. Stretch and attach the small triangles tight. |
|
16. |
Place the new door panel on the car, Using short pan head screws with washers drill and fasten the new panel to the door. |