To Create DVD Files Using Nero Vision Express
Before you start I recommend that you quit all unessecary programs as Nero uses ALOT
of processor power during this process.
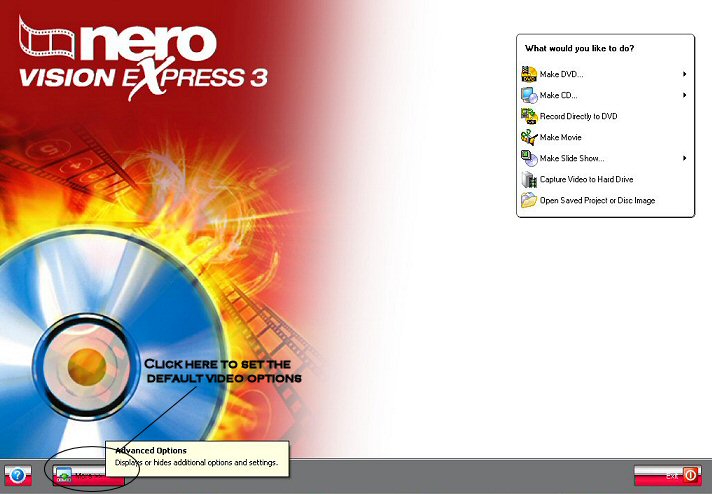
After you open Nero Express, you will want to set up the default settings. To do this,
click on the "more" tab at the bottom of the opening screen.
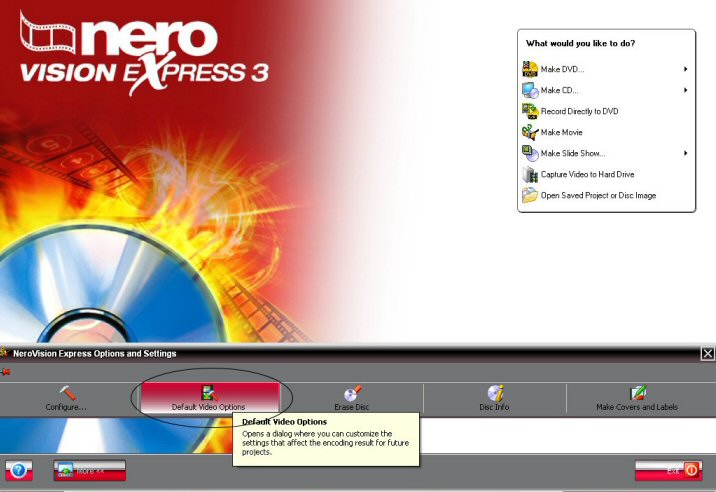
Then click on "Default Video Options".
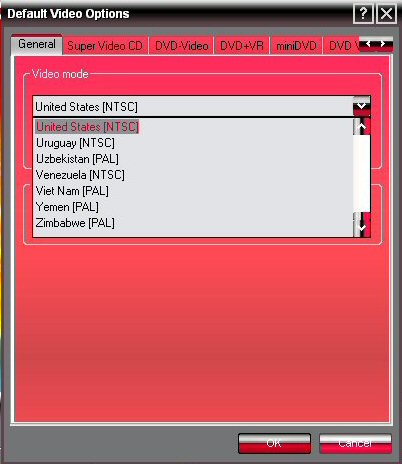
Under the "General" tab, choose your Country to set the format that the files are to be written in.
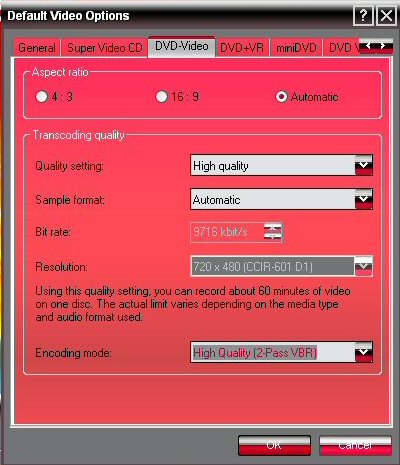
Go to the "DVD-Video" tab and you can set the aspect ratio to your TV and the quality of
the resulting video. I recommend the "Quality Setting" to be set at "High Quality" and the
"Encoding Mode" set to "2 Pass VR". It takes longer....but the picture is alot better looking.
Click "OK" and close the "Default" window.
Once you complete this step...you shouldn't need to do this again unless you want to change any of the settings.
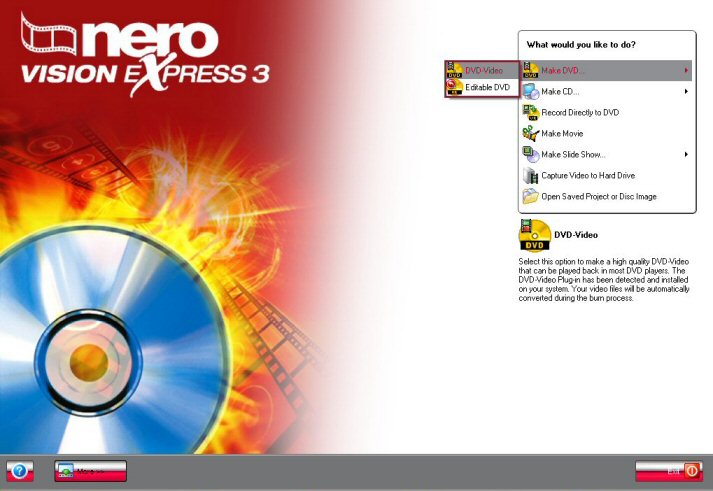
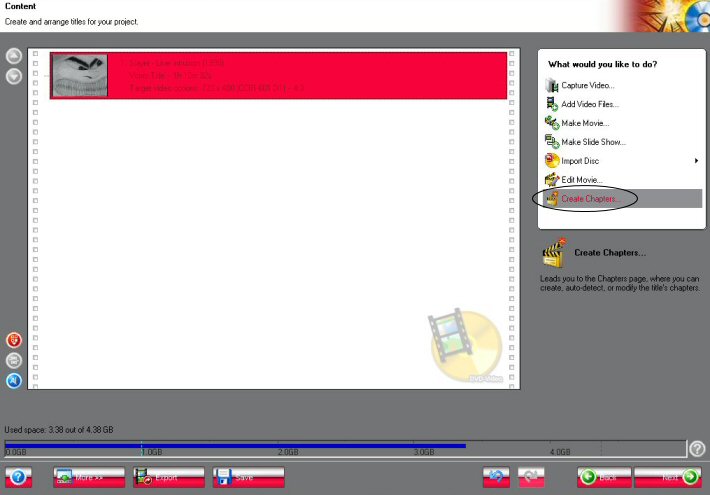
Now choose "Make DVD" and then "DVD-Video".
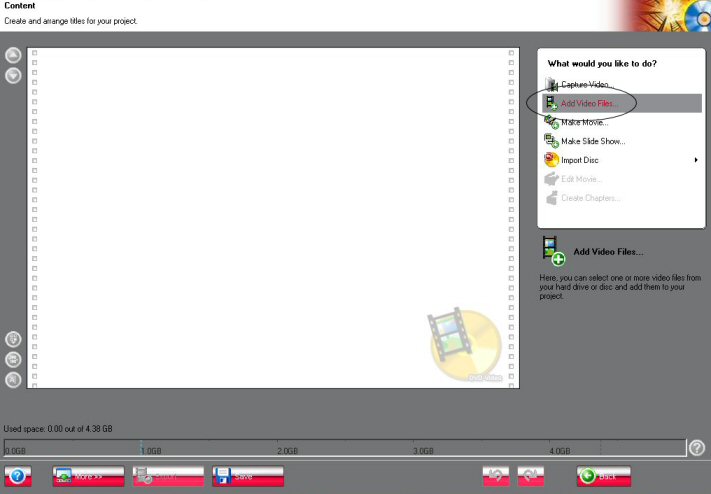
Choose "Add Video Files".
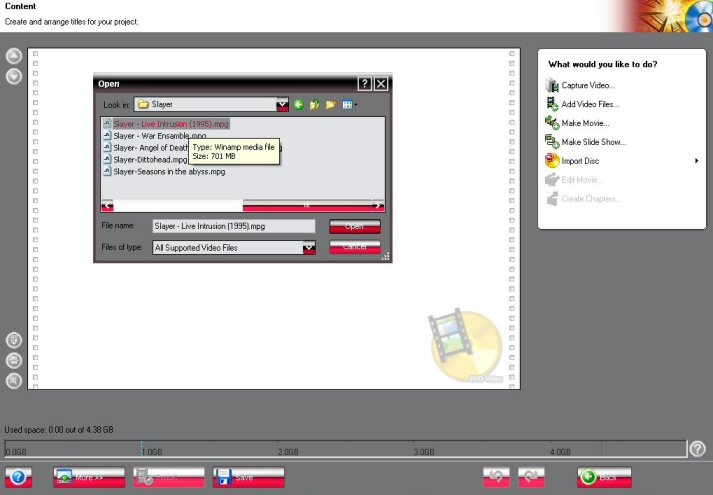
Navigate to the video you would like to convert and click "Open".
After it has analyzed the video (this may take a few minutes, depending on the size of the file),
it will probably tell you that your video is too big to fit on a normal DVD, but will fit onto a
DVD-9 disk and ask you which type of media you would like to use.
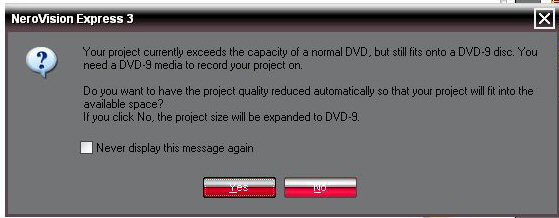
If you do not have a Dual Layer DVD burner......then click yes, otherwise the choice is up to you.
From here you can also add chapters to your video if you prefer.
The next screen will allow you to watch the video and add chapters anywhere you want to.
Just click the "play" button and when you want to add a chapter...pause the video, and click the add chapter button.
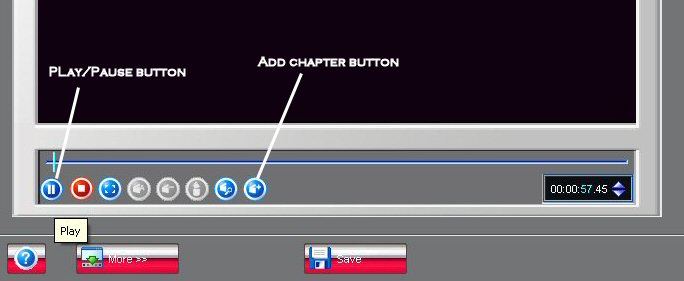
Then you can give the new chapter a name.
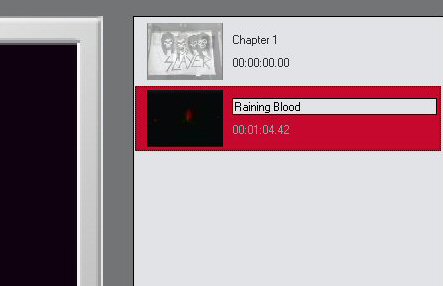
Then press the play button and repeat the process for as many chapters as you want to add. Along the way, you may find that
Nero will appear to hav froze. If this happens, just click on the "Save" button, give your project a name if you haven't already,
and close Nero Vision, then go to where you saved your project and double click on it, then go back to creating more chapters until you are done.
Then Click next and perform any other option you would like, but normally you will just click "Next" again to get to the "Title Menu Selection" screen.
Here you can set up the main screen that will show all the menus you made earlier.If you make a video without chapters or if you don't want to have a chapter selection screen,
then choose "Do NOt Create a Menu" from the drop down list at the top.
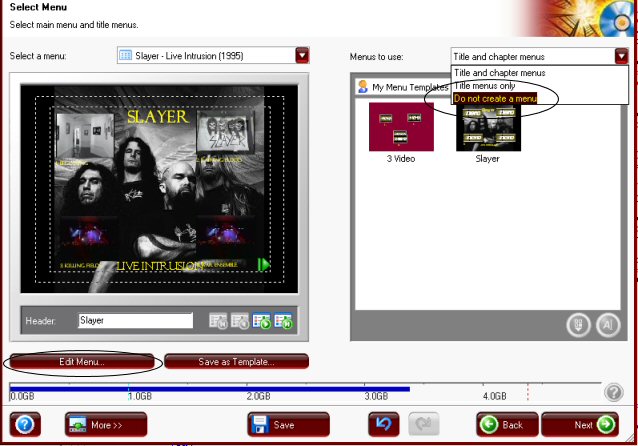
If you have some templates already made, you can choose one now or click the
"Edit Menu" button. Now you have a bunch of options.
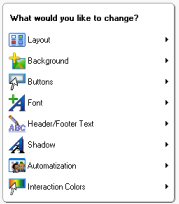
LAYOUT - This lets you choose how you want to set up the Chapter selection and how many chapters per page.
BACKGROUND - This allows you to choose an image, color, or video for the background of the main screen. You can also choose an audio cliip to be played for the main screen.
BUTTONS - This allows you to choose the look of the buttons for the chapters.
FONT - This allows you to change the font, and color used on the main screen.
HEADER & FOOTER TEXT - Customize the Header and Footer text.
SHADOW - Allows you to add a shadow of your color choice to the text.
AUTOMATIZATION - Choose whether to show the chapters as animations or not.
INTERACTION COLORS - Choose the highlight and activation colors of the "menu" buttons.
After your satisfied with the results, hit "Next" and "Next" again. Now you can interact with you video to ensure the things are the way you want them.
If you are satisfied...click "Next".
If you get a message like the one below:
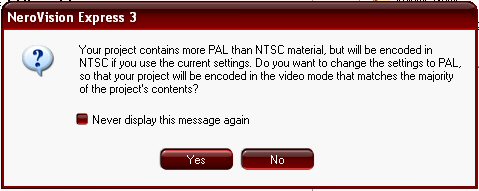
I would suggest that you put an "X" where it says "Never display this message again" and choose "No". The reason is this...you don't want to encode your DVD with a format that won't work for your region.
Now you can choose whether to burn your project to a DVD, or to a local folder on your computer. But first...go ahead and click the "Save" button.
The decision is up to you, but you may want to save to a local folder if you plan on making more copies later.
All that is left is to click on the "Burn" or "Write" button in the bottom right, then go have a smoke or get something to eat or drink, as this last process will take a few hours to complete!!
That's it. If your have any problems or questions, drop me a line and I'll do my best to help you out.
|