|
LED Lantern |

|
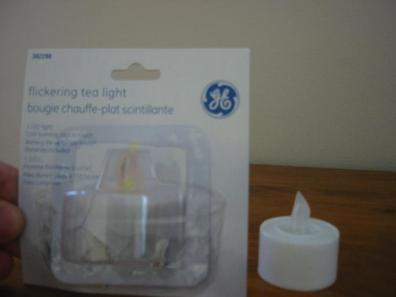
Materials Needed: - Cheap hurricane lantern $5 at WalMart - GE flickering tealight $3 at Michaels - Krylon frosted glass spray $8 at Michaels - JB Weld or hot glue (just a dab)
Total: $16, cheaper with Michaels coupons
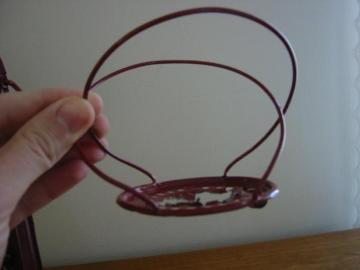
Start by disassembling the lantern. Remove the glass globe by raising the spring-loaded top. Remove the wired globe-holder by using a screwdriver to pry back the clip that holds it on. |
|
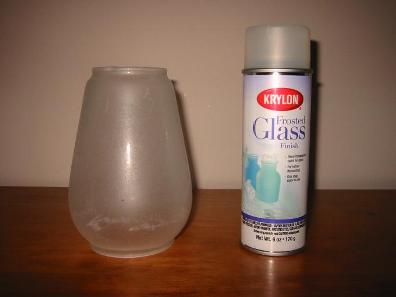
The globe can be aged with the frosted-glass spray, or a dusting of regular white spray paint. Use several light coats. This obscures the LED enough that it’s indistinguishable from a wick. |
|
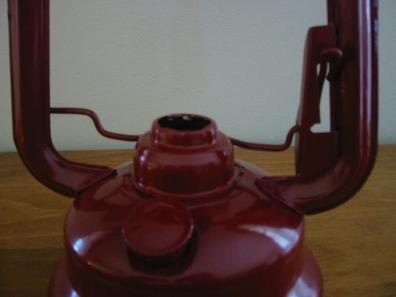
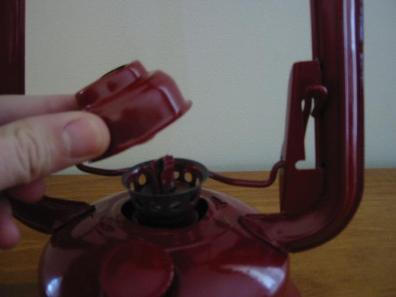
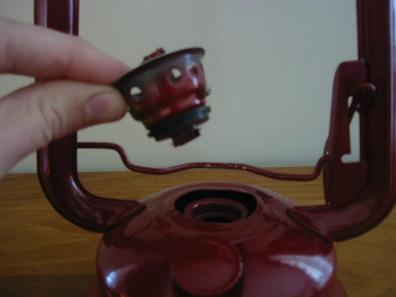
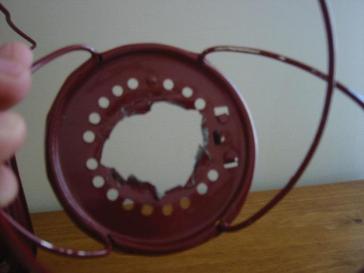
Remove this top part. It rotates and unclips easily. Cut the inside where it attaches to the wick holder with some wire snips. After that, set aside the metal case shown here. |
|
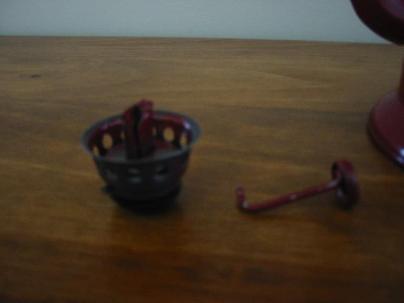
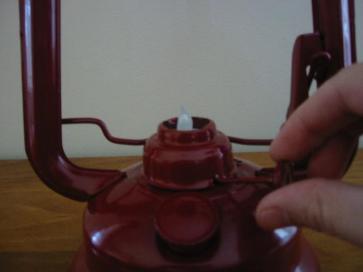
I removed the wick-adjusting knob from this part with the wire snips. We’ll reattach the knob later. |
|
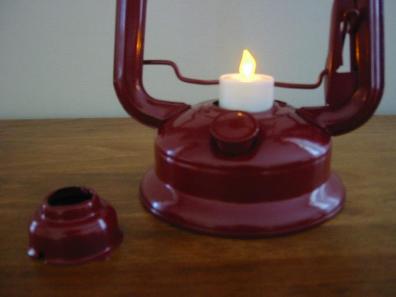
Without the wick holder, there’s an obvious place to place the LED candle. |
|
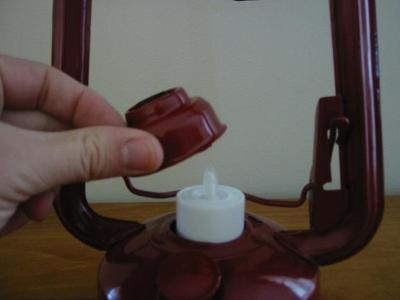
Replace the top. |
|
The top goes back on the same way it came off. |
|
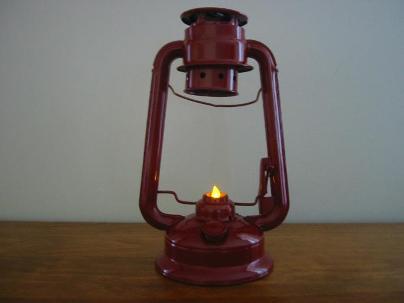
Here’s the lantern so far.
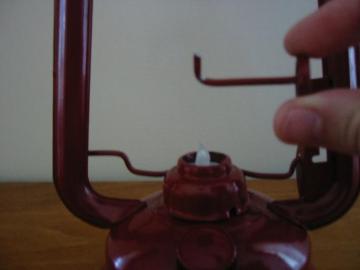
Next, we’ll modify the wire fixture that holds the globe. You can see I’ve already removed the part that sticks up around the wick. This allows the fake flame to be visible in the finished lantern. |
|
It’s not pretty, but no one sees this once it’s assembled.
Next, I took the knob and bent it as shown. I inserted it back into the hole it came from and attached it with a dab of JB Weld. |
|
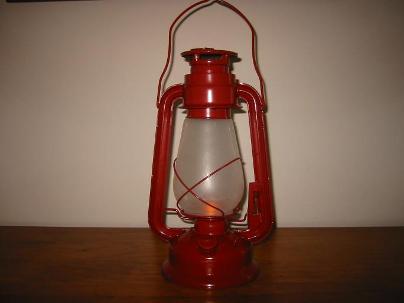
Here’s the finished product! I plan to age the lantern with some dark spray paint later. Click here to see a 10-second video of the flickering effect. |