 |
|
|
|
|
|
|
|
|
|
|
|
|
|
|
|
|
|
|
|
|
240 Hours - Fabuglas Bahama Restoration |
|
|
|
 |
|
 |
|
|
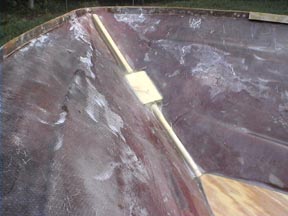
A little reinforcement for the bow eye never hurt anybody. Ok, so it might be a bit more than necessary with 2 sets of alternating layers of glass and roving, the block cut to match the hull, then 3 more sets of layers, each a bit larger than the previous. |
|
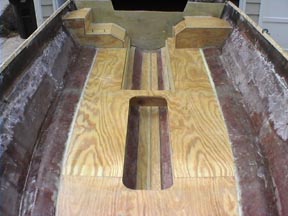
Yes, the floor is covered here with a single layer of 10 oz cloth and lots of epoxy. Silica filler was used between the edges of the floor and bottom of the hull for the slight gap (note the lighter colored strip of white running down the sides of the floor). |
|
|
|
 |
|
 |
|
|
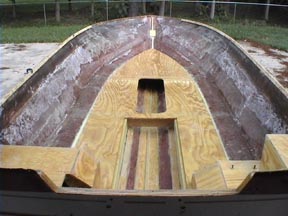
Here's a look from the stern. Notice the rim reinforcement is not completed. I clamp as many pieces as possible with whatever epoly is left over from each mixture after the cloth is saturated. |
|
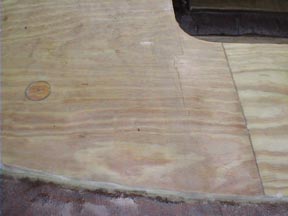
This is the forward-most hole used for the foam. The holes were cut with a 2-1/8" hole saw and the plugs were kept and used to fill the holes. Also, note the joint on the right side of the picture. |
|
|
|
 |
|
 |
|
|
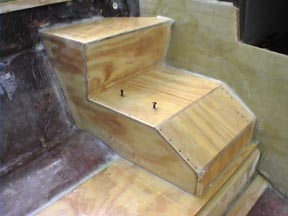
The oil tank box...common threads were placed in the wood from the underside. The screws shown were coated with silicon and inserted before the fiberglass was applied. The screws were turned at regular intervals (about every 20 minutes) over approximately the next 4 hours to prevent the glass from bonding to the screws. |
|
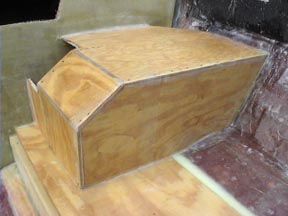
The battery box...nothing really special here, but I really hope the battery fits between the top of the box and the underside of the boat. I used the good ol' 'measure twice, cut once' method and measured a few more times than twice, but it sure looks taller than it did before it was covered in fiberglass!!! (I hope that's just because I know it's basically permanent.) :-) |
|
|
|
|
|
Continue to 249 Hours - Fabuglas Bahama Restoration |
|