|
|
Realistic Wood Texture
by James Booth
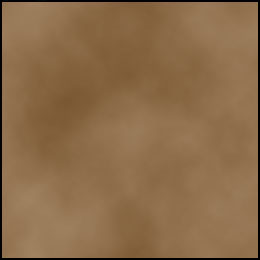
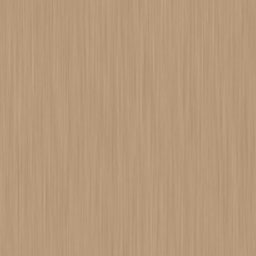
Step 1.
| Create a new image in Photoshop - I used 256x256 pixels. Create a new layer. Set your foreground and background colors to wood colors. I used - 182,154,122 and 96,57,19, respectively. Apply the Filter- Render-Clouds. |
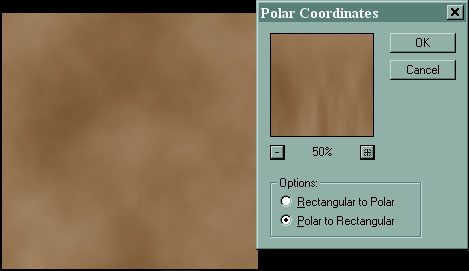
Step 2.
| Apply a polar coordinates distortion from the filters menu, using the "Polar to Rectangular" option. |
Step 3.
| Scale the layer so that the stretching fills the layer completely. |

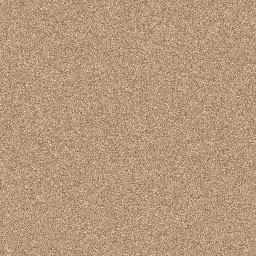
Step 4.
| Create a new layer. Fill it with your foreground color. Apply Noise - Gaussian, Mono, 8% |
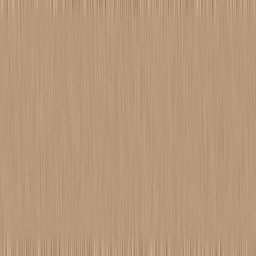
Step 5.
| Apply motion blur to the noise - 90 deg. and 45 pixels |
Step 6.
| Scale the layer to 125% - to get rid of that edge at the top and bottom. |
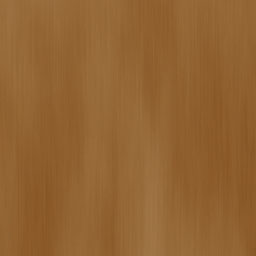
Step 7.
| Set the layer blending of the noise layer to soft light. |
Step 8.
| Create a new layer. We will now draw what will become the wood rings. Set your color to a darker wood color - I used 117, 76, 36. Draw lines of varying widths horizontally across the image - I used lines no larger that 9 pixels or less than 3 pixels, but it's your choice. |
Step 9.
| We will now apply the waves distortion the the lines layer. You can play around with the settings, or use the ones that I did in the image below. |

| After the waves applied... |
Step 10.
| Scale the lines layer a bit to fill out the wood a bit more. See below. |

Step 11.
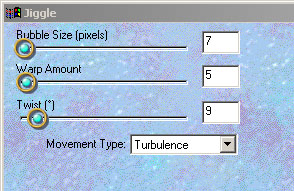
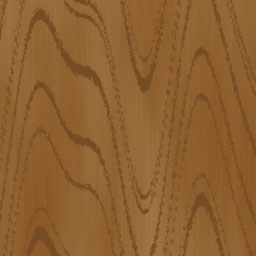
| Now we will roughen the lines a bit. I like to use the jiggle filter of Eyecandy, but you can also use a displacement distortion filter. I'll show the results of both. Eyecandy first... |
|
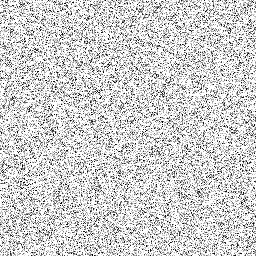
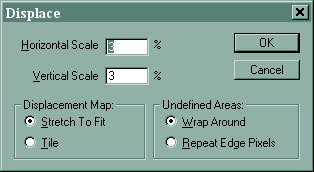
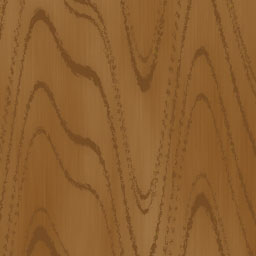
Displacement Distortion Filter... I created a noise filled PSD file to use as the distortion with the following settings : Noise 45% Gaussian Mono |
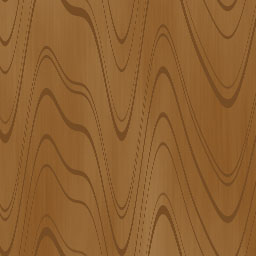
| Either one will give you a result similar to below. |
Step 12.
| Duplicate this layer. |
Step 13.
| Gaussian Blur - 6 pixels on "Layer 3" |
Step 14.
| Set Opacity of "Layer 3 copy" to 50% |
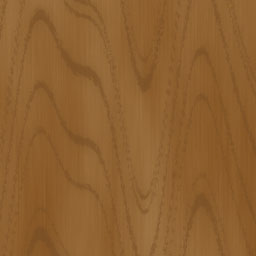
Step 15.
| Apply a motion blur at 90 deg. and 7 pixels distance on "Layer 3 copy" |
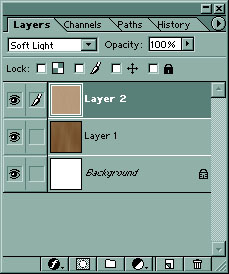
Step 16.
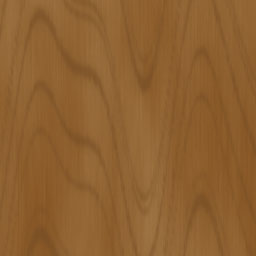
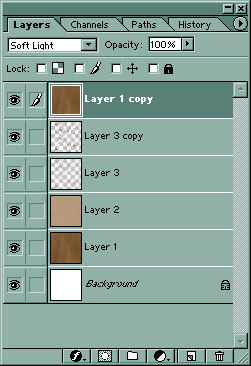
| Duplicate "Layer 1" and move "Layer 1 copy" to top of the palette- Set its Blending to "Soft Light". |
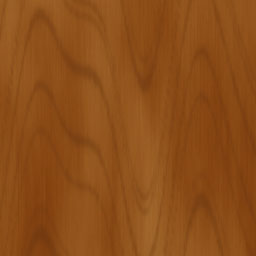
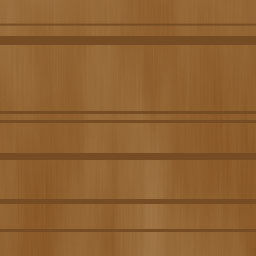
| Your are finished the layers should look like the image below. You can also change the blending on the top layer to change the look of the wood. |
The contents of this site are Copyright ©2001 by James E. Booth Jr.
No reproduction of anything is allowed without prior permission.