|
|
|
|
|
|
|
|
|
|
|
|
|
|
|
|
|
Author: Chris (Scale Auto Style) Description: A "How-To" on building 1/25-1/24 scale model car Intercooler, very well written! Also check out his web page at: http://www.scaleautostyle.com Contact: [email protected] *NOTE* PLEASE READ and UNDERSTAND TUTORIAL BEFORE YOU BEGIN! :) |
|
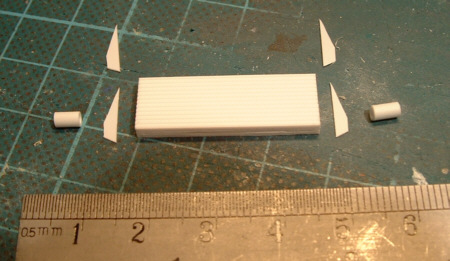
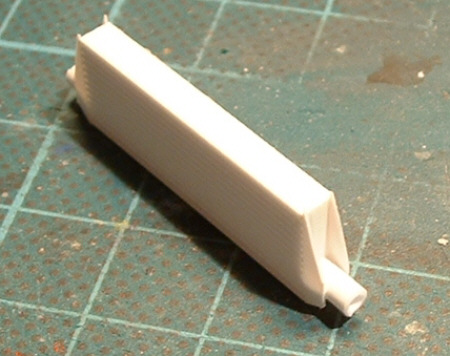
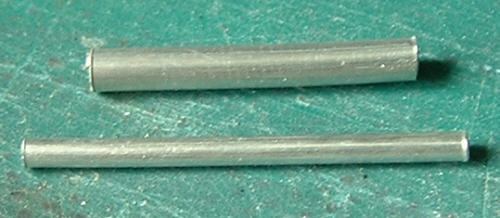
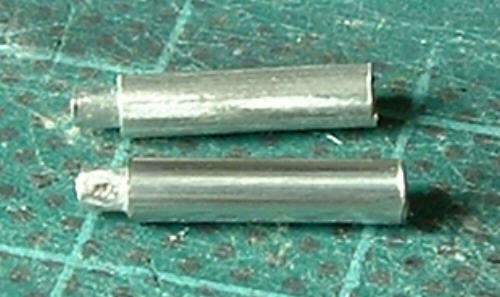
Stage two - The end pieces are made from 4 triangular shapes cut from 10thou sheet with styrene tubing inbetween.
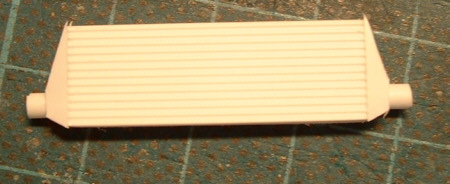
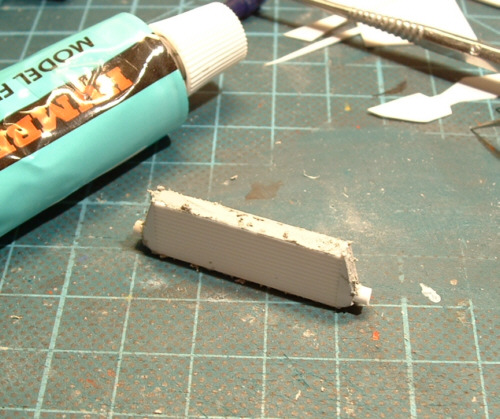
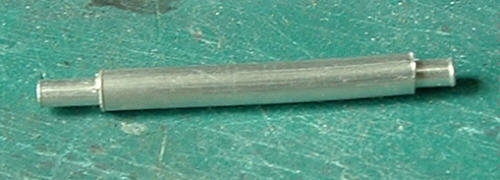
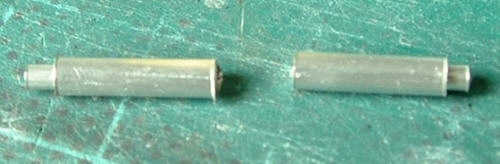
Stage three - Putty added to fill ends.
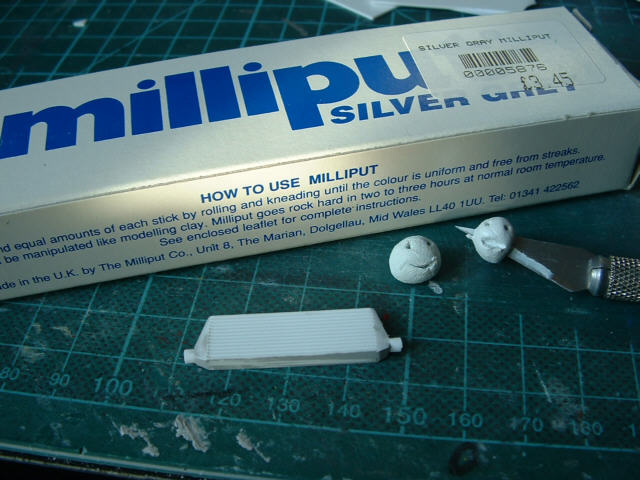
The next
stage is a bit fiddly so attempt it if your feeling adventurous. Its not
really necessary anyway unless your a sucker for small detail - like me
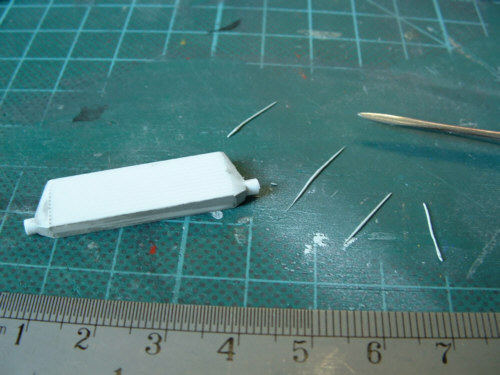
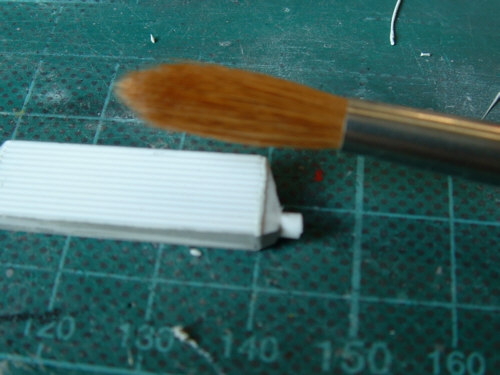
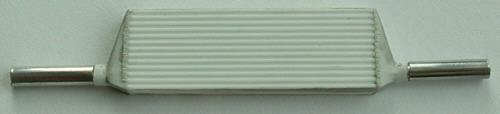
Small amounts are rolled out.
After placing in position an old large bristle brush is used to create the textur of the weld. Its simply rolled over the slither of putty.
Done! - If you wanted to, you could add more around th pipe and on top but you won't see them so there is little point.
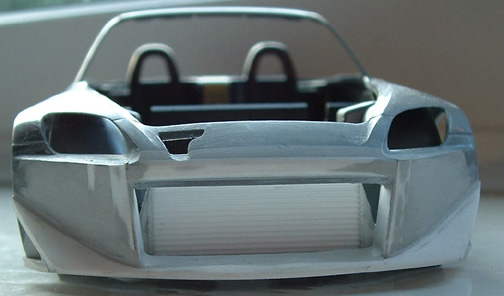
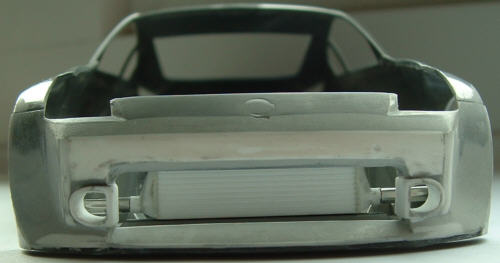
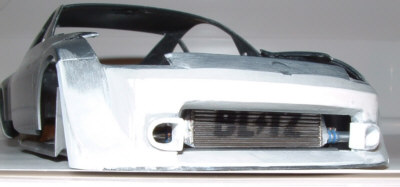
Looks pretty cool behind the s2k front, just needs a
little paint.
The
purpose of this next stage is to help hide away the empty space behind
the front intake of a curbside kit. So carrying this out depends on what
model your adding your intercooler to and the size of the visable area.
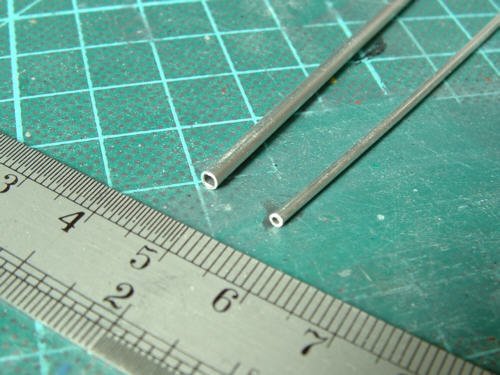
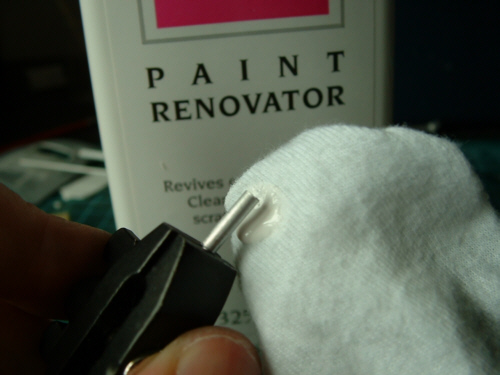
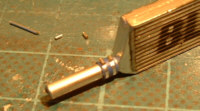
The reason for using metal is obviously for realism, the aluminium tubing can be buffed to a nice shine, so thats what i'm gonna do! I first gave the tube a light sanding with 1500 wet and dry then polished with Autoglym Paint Renovator but any polish will do.
Polished tube below -
This will eventually be the intercooler's new home. With the help of some mesh infront it will disguise the fact that no engine exists now that the opening is alot bigger.
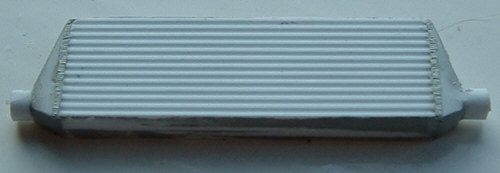
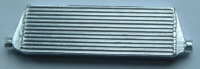
I used AlcadII Chrome to paint the intercooler, I can't recommend this stuff enough, its just brilliant!
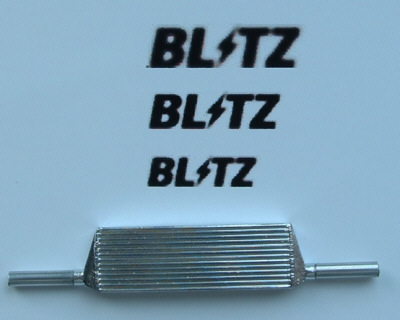
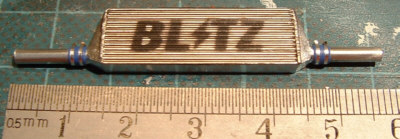
I based this loosely on the Blitz intercooler - I say
loosely coz i didnt convert the measurements from the real thing, only
sizing it as desired but copying the basic design - so its only fitting
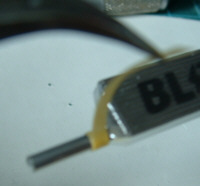
to have the blitz logo on it.
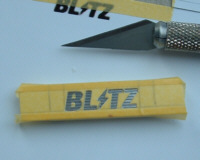
I laid masking tape over the image before cutting out the letters. This was just to add a little rigidity to the paper. I opted not to stick masking tape directly onto the part for fear of lifting off some of the Alcad and also because it might lose some of its form. The mask was made to be the same height as the part and markings were made in order to position it in the centre. Dont forget the closed parts of the B's!
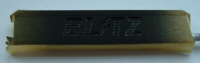
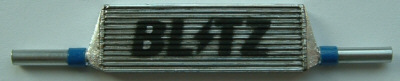
I lightly airbrushed it with flat black paint, it was only give a few passes to give it a subtle look like on the real thing. It may also be worth trying Tamiya Smoke or a Dark grey for this too.
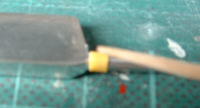
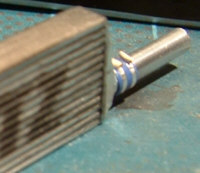
With the pipes super-glued in place i cut thin strips of tamiya masking tape to form the rubber band connectors (I'm not familiar with the correct terminology so forgive me if thats not what thery are called) which was wrapped around a couple of times. I applied thin CA to the ends to prevent them from lifting.
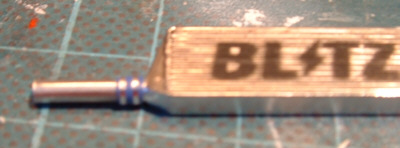
I painted the bands with a flat mid blue. At this stage i applied a heavily thinned wash of satin black into the groves and over the weld seems to bring out the detail.
To recreate the metal bands i used thin strips of Matt Aluminium Bare Metal Foil.
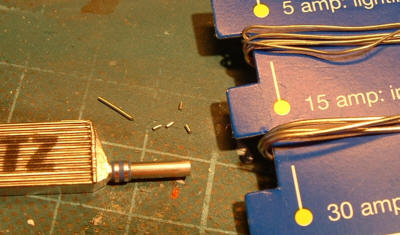
To make the fasteners i used 15amp fuse wire, glued in place with a little more thin CA.
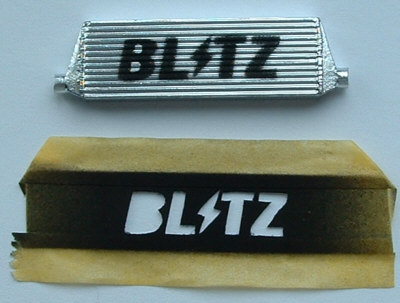
The finished product.
Hope you have enjoyed this and i look forward to seeing
your versions added to your models.
|
|
JDMF © 2003 |