1. Send it out to someone to do the dirty work for you (Nah..hate paying for crap I can do myself)
2. Order a kit to put new seals in your center section (Nah too much work..plus you run the risk of putting it back together misalligned and needing it rebalnced)
3. You can order a reman center section! Now thats the ticket! It comes balanced and ready to roll!
Here are some easy steps for you to follow:
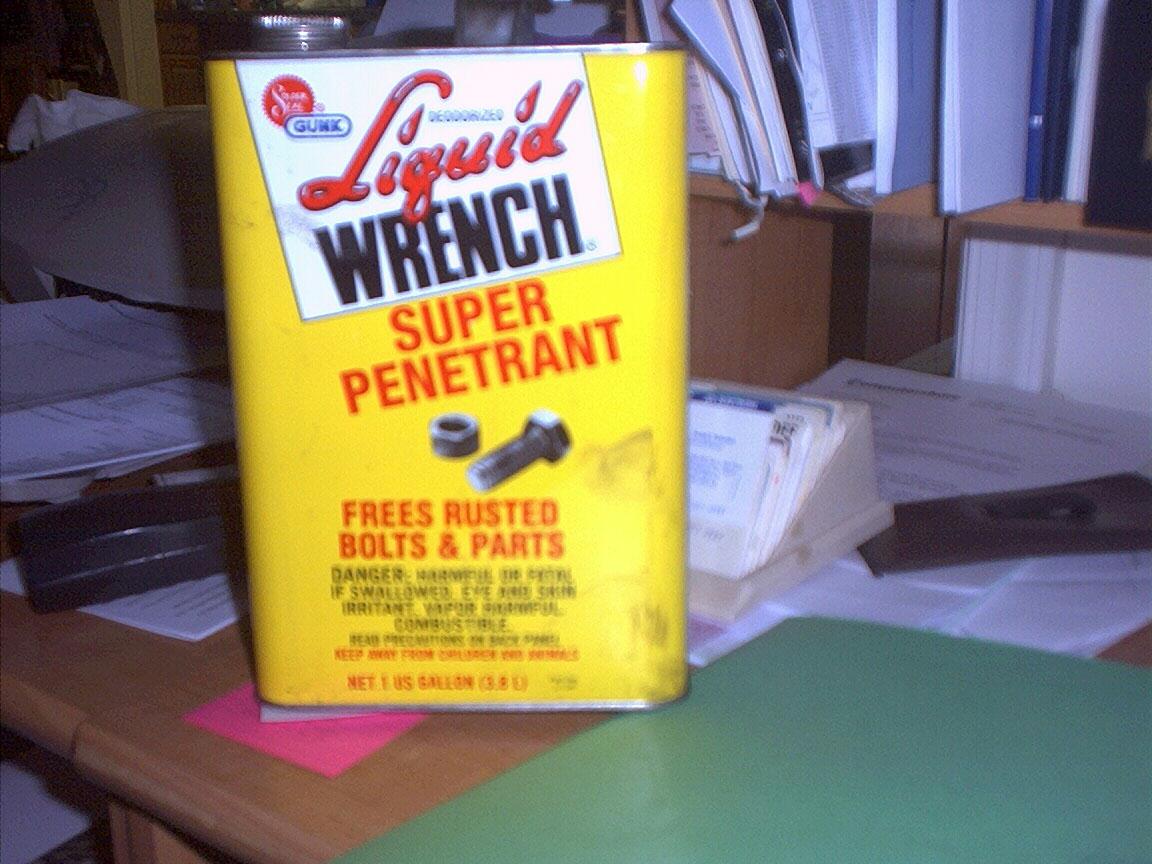
1. Go to Mcmaster.com and order 2 gallons of Liquid wrench! This stuff will run you about 30 bux...but after this job you will have it left over to soak other stubborn rusty parts in...so its a GREAT investment.
2. Take off wastegate can. Put liguid wrench
into 5 gallon pail and throw the turbo in for 2/3 days taking it out every
once in a while to hit it with a hammer (only on the steel parts not on the
Aluminum housing) This sets up a vibration letting the liquid wrench work
into the bolts.
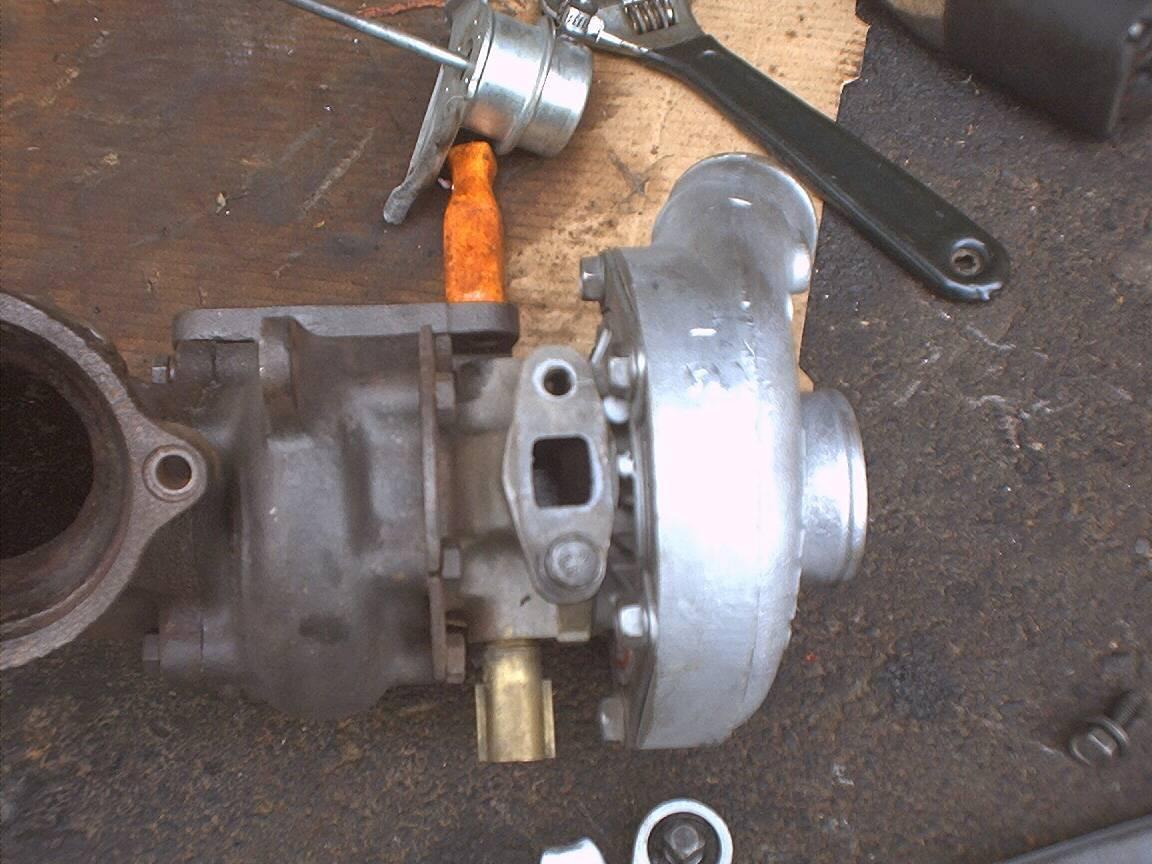
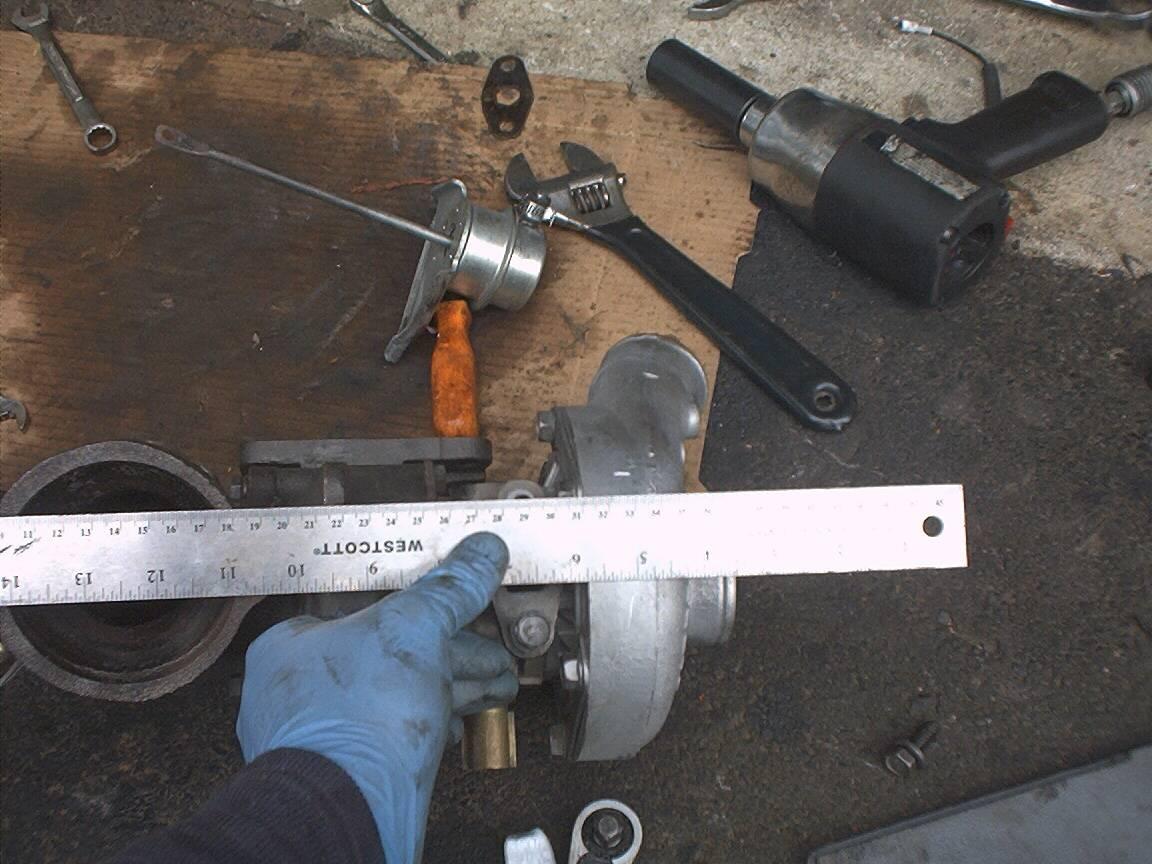
3. After you think your turbo has been properly soaked Take pictures for indexing b4 you go any further. Below you will see pics for the points I used for indexing. In the pics you will see one w/ a ruler and one w/o There is a point on the Garret turbo where there is a bolt on the Compressor housing the bolt hole on the oil return on the center section and the Turbo support on the Exhaust housing Are all ALMOST in a straight line! Pretty good place to put index marks so you can line the turbo up again. There is also another good indexing indicator....which I will tell you about in a minute!
3. After you think your turbo has been properly soaked Take pictures for indexing b4 you go any further. Below you will see pics for the points I used for indexing. In the pics you will see one w/ a ruler and one w/o There is a point on the Garret turbo where there is a bolt on the Compressor housing the bolt hole on the oil return on the center section and the Turbo support on the Exhaust housing Are all ALMOST in a straight line! Pretty good place to put index marks so you can line the turbo up again. There is also another good indexing indicator....which I will tell you about in a minute!
4. Ok..take off all the fittings...Now is the
time to do it..not b4 you soak it. Those brass fittings can freeze in there
quite well. Note: DO NOT PUT WRENCH IN THE CENTER OF THE FITTING...when
you go to turn it it will crush the fitting making it unusable. So put the
wrench on a part where there is meat! The top is a good place..considering
the bottem has almost now room to turn the wrench. I use an adjustable crescent
wrench and a hammer to shock hit the fitting out. If you are not very careful
or are unlucky the brass fitting will Break off....This is why I use center
sections which don't require a core charge...and if I get mine out w/o them
breaking and the center section is in decent shape I sell it back to the
place I ordered it from!
5. Now we are to the hard part...those peskey rusty exhaust bolts. Sometimes you just cant avoid a bolt breaking! But there are outs in this situation which I will explain. First: You can use a torch and heat up the metal RED HOT and the bolts will come right out very easy. Or you can do it the manual way like this. Lets start w/ the bolts that are easy to get at! Try to loosen the swinvalve bolt w/ a 1/2" box end wrench and a hammer (to shock the bolts) they should start moving after a couple of hits. Then try to move them by hand.....if they FEEL like they are still really stuck and you managed to turn them half a turn...THROW THEM BACK IN THE LIQUID WRENCH! Because you have moved the threads the chances for better penatration of the liquid wrench has increased! To get the bolt inside the swingvlalve use your 3/8" ratchet and 1/2" socket on it with the hammer. Remember take your time and do this right. Or you will be paying a machine shop to tap out bolts for you!
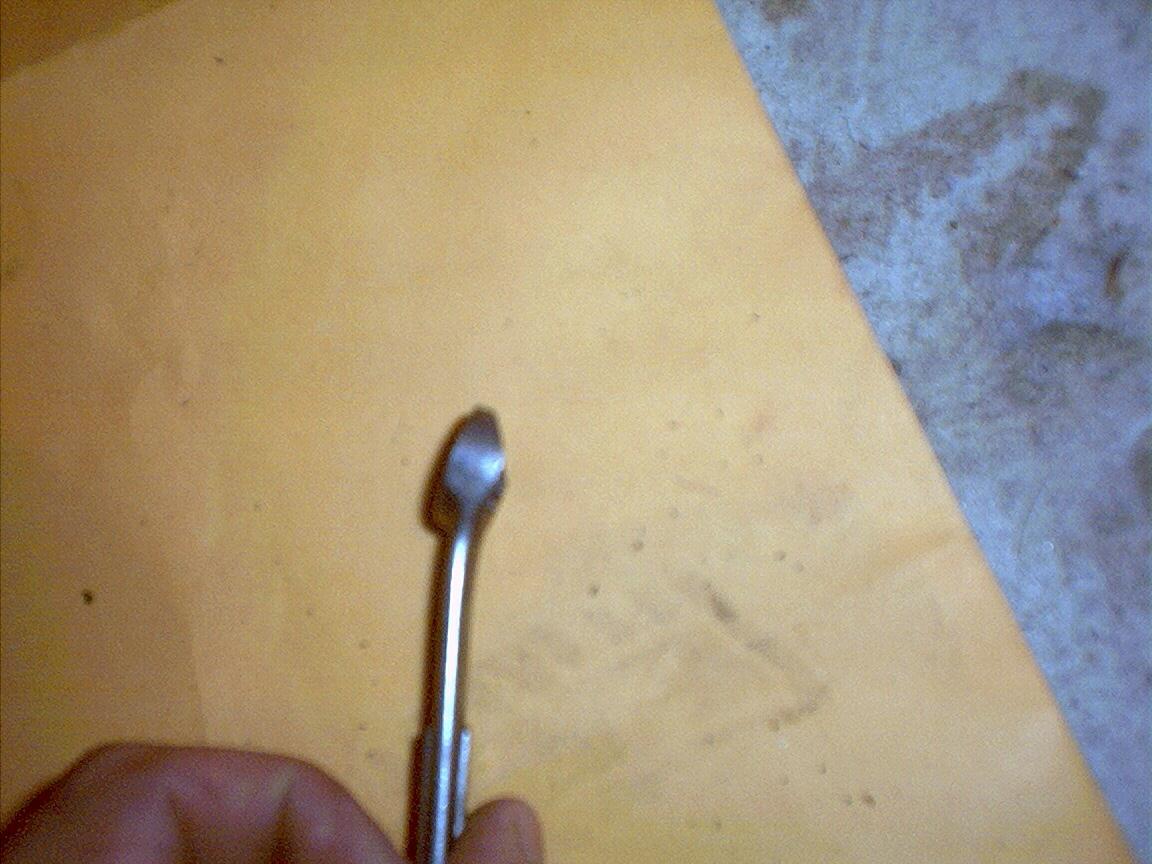
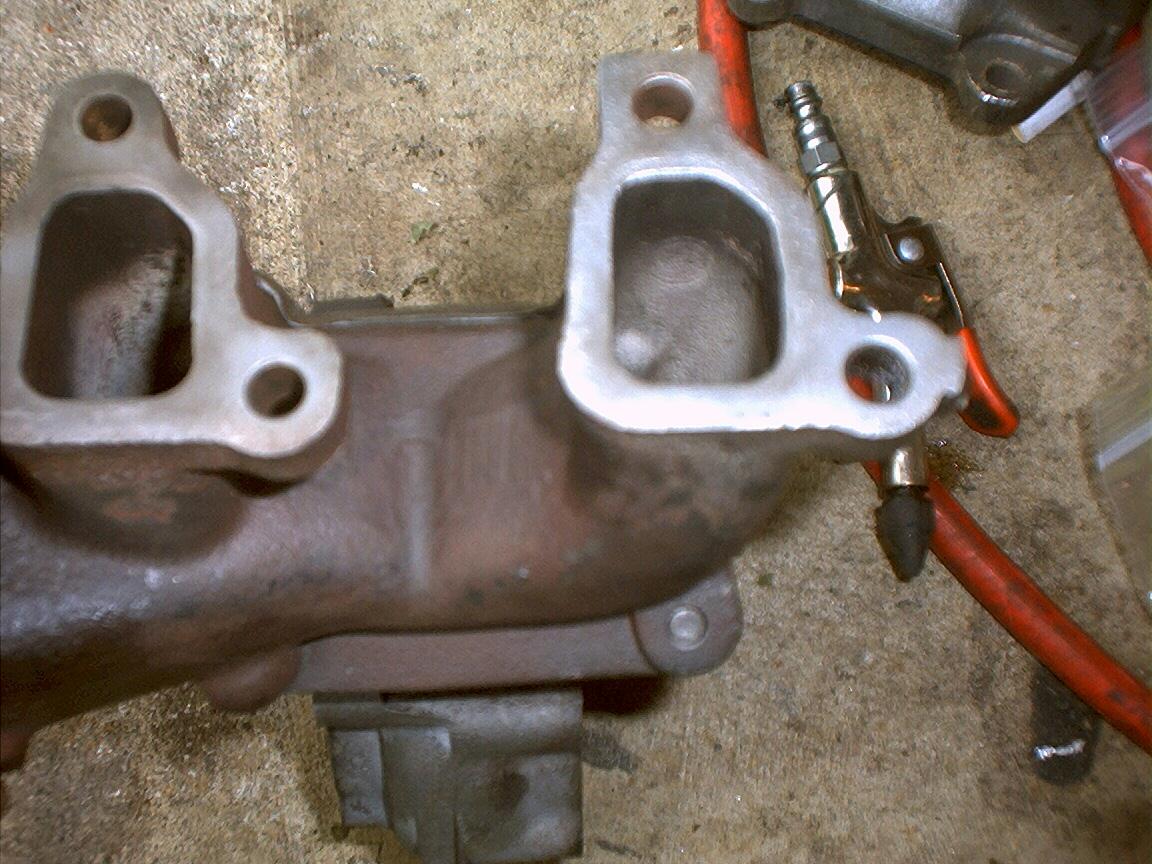
6. If you have to put the turbo back into the Liquid Wrench for swingvalve bolts....try the exhaust housing bolts b4 you put it in. Notice there are 6 bolts. # are easy to get at w/ the box end and 3 are Impeded! Particularly notice the 2 bolts directly under the coolant intake and return passages....DAMNIT! Now remember I said there are some indexing points when putting it back together...you will know you put the turbo back together in the end when your new bolts are directly under these passages (pretty neat huh?) The third PARTIALLY hidden bolt is under one of the oil flanges. Here is the trick...go to sears and buy a 1/2" closed (crescent) wrench...and grind down the box on a 45 so there is only about 2mm of metal left (enough to keep it a closed unit and to wrap around the bolt..see pic for example)
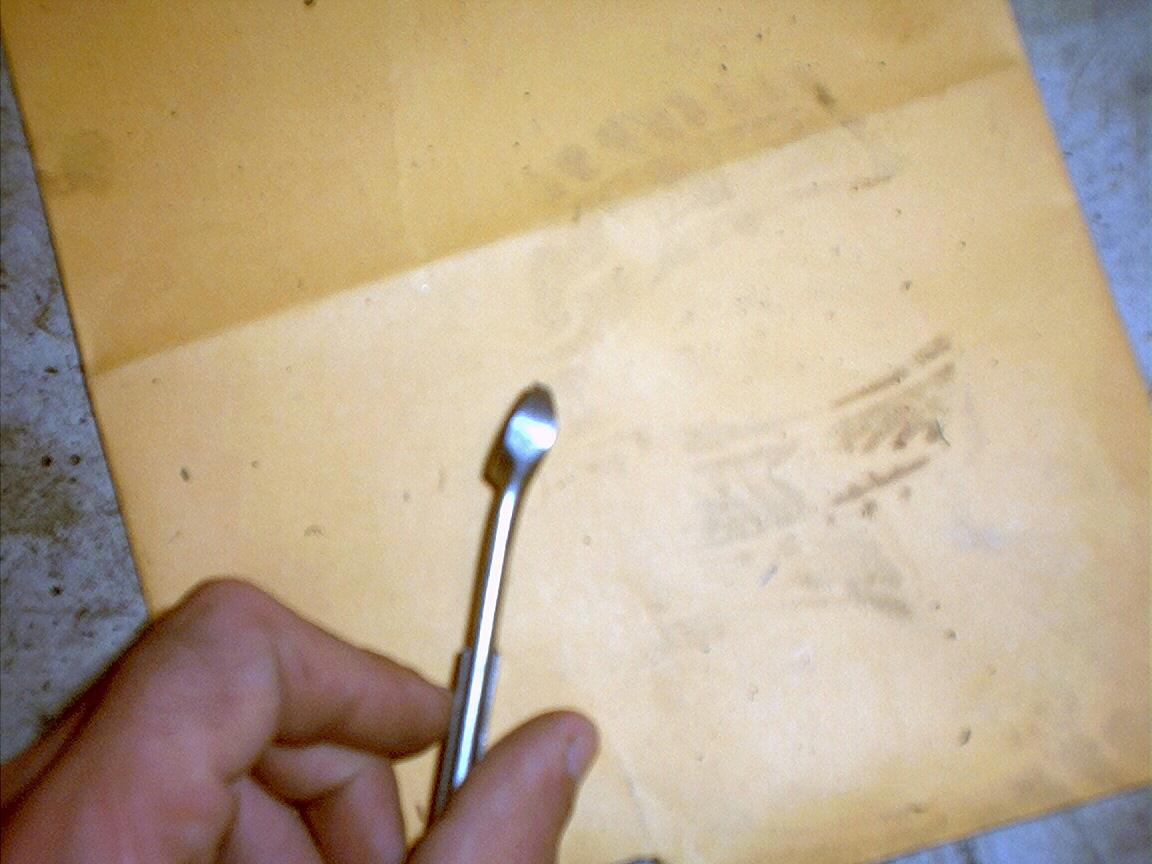
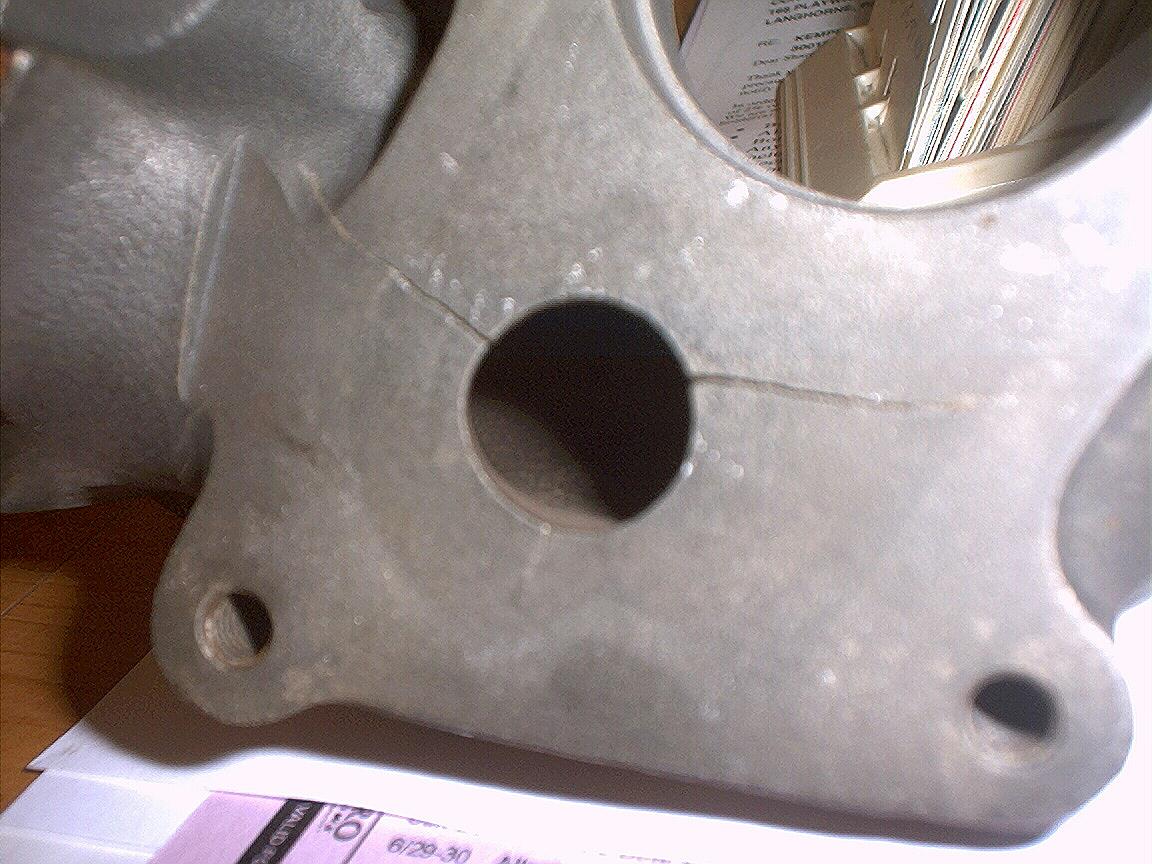
This will let you get the one bolt very simply under the oil flange...but for the 2 under the coolant passages we will need to do some grinding if you buy a center section that doesnt require a core return....or you are rebuilding your own c-section. If you try to use an open wrench on these bolts you will notice 2 things first it wont fit on there..second it will keep slipping off them while trying to loosen unless you did something right in a previous life and god likes you... So to get the box end on notice there is a lot of meat that can be ground off around those coolant holes...well grind some off! But dont grind the bolts! You have now created a big enough area to squeeze in your modified wrench! If any bolts feel like they are going to break throw the unit back in the L.W. after you get the bolt to move. Sometimes the exhaust housing rusts onto the center section....to get them seperated you can keep unscrewing the bolts under the water housings and they will act like a pry! Pretty cool huh? Just make sure you dont take off too much metal when you are grinding so you dont crush the outlet. You could always use a hammer also...but I HAVE cracked the turbo support boss and oil flanges doing this....so you prolly can also crack a housing too! Be careful using tht B.F.H.! If your housing has really bad cracks (little ones are ok....one like the ones in the pic arent!) you can always go to your boneyard and snag a TI garrett an use its housing..you just have to grind the notch in it to clear the intake runner!
5. Now we are to the hard part...those peskey rusty exhaust bolts. Sometimes you just cant avoid a bolt breaking! But there are outs in this situation which I will explain. First: You can use a torch and heat up the metal RED HOT and the bolts will come right out very easy. Or you can do it the manual way like this. Lets start w/ the bolts that are easy to get at! Try to loosen the swinvalve bolt w/ a 1/2" box end wrench and a hammer (to shock the bolts) they should start moving after a couple of hits. Then try to move them by hand.....if they FEEL like they are still really stuck and you managed to turn them half a turn...THROW THEM BACK IN THE LIQUID WRENCH! Because you have moved the threads the chances for better penatration of the liquid wrench has increased! To get the bolt inside the swingvlalve use your 3/8" ratchet and 1/2" socket on it with the hammer. Remember take your time and do this right. Or you will be paying a machine shop to tap out bolts for you!
6. If you have to put the turbo back into the Liquid Wrench for swingvalve bolts....try the exhaust housing bolts b4 you put it in. Notice there are 6 bolts. # are easy to get at w/ the box end and 3 are Impeded! Particularly notice the 2 bolts directly under the coolant intake and return passages....DAMNIT! Now remember I said there are some indexing points when putting it back together...you will know you put the turbo back together in the end when your new bolts are directly under these passages (pretty neat huh?) The third PARTIALLY hidden bolt is under one of the oil flanges. Here is the trick...go to sears and buy a 1/2" closed (crescent) wrench...and grind down the box on a 45 so there is only about 2mm of metal left (enough to keep it a closed unit and to wrap around the bolt..see pic for example)
This will let you get the one bolt very simply under the oil flange...but for the 2 under the coolant passages we will need to do some grinding if you buy a center section that doesnt require a core return....or you are rebuilding your own c-section. If you try to use an open wrench on these bolts you will notice 2 things first it wont fit on there..second it will keep slipping off them while trying to loosen unless you did something right in a previous life and god likes you... So to get the box end on notice there is a lot of meat that can be ground off around those coolant holes...well grind some off! But dont grind the bolts! You have now created a big enough area to squeeze in your modified wrench! If any bolts feel like they are going to break throw the unit back in the L.W. after you get the bolt to move. Sometimes the exhaust housing rusts onto the center section....to get them seperated you can keep unscrewing the bolts under the water housings and they will act like a pry! Pretty cool huh? Just make sure you dont take off too much metal when you are grinding so you dont crush the outlet. You could always use a hammer also...but I HAVE cracked the turbo support boss and oil flanges doing this....so you prolly can also crack a housing too! Be careful using tht B.F.H.! If your housing has really bad cracks (little ones are ok....one like the ones in the pic arent!) you can always go to your boneyard and snag a TI garrett an use its housing..you just have to grind the notch in it to clear the intake runner!
UNACCEPTABLE
CRACKS..TO BIG!
NOTCH
7. Now the easy part..take off the aluminum compressor
housing...these bolts are loc-tited on there so hey will be rough to get
out...BUT THEY NEVER BREAK! If you break one of these you have really been
living your life wrong and God hates you!!! NO really its funny..they use
good SS bolts on this..but use cheap ass bolts on the exhaust side...go figure.
8. Now clean your stuff up! Take a wire brush to that compressor housing while dipping it in the liquid wrench..the stuffs a pretty decent solvent! And while you are at it get your exhaust housings Sandblasted and hit them w/ a coat of 1500 degree exhaust paint (only on the outsides!) and follow their curing directions or cure it on the car following their directions. Also Now is a great time to make yourself an adjustable wastegate arm!
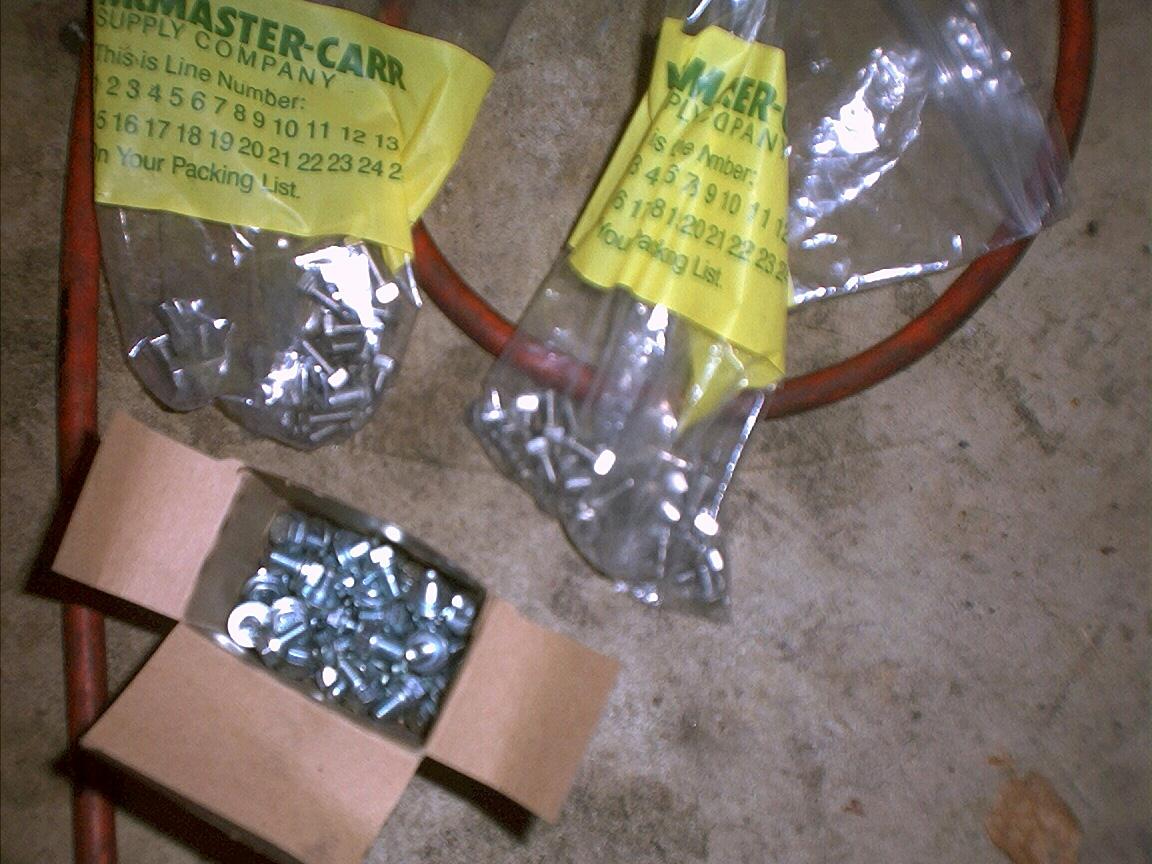
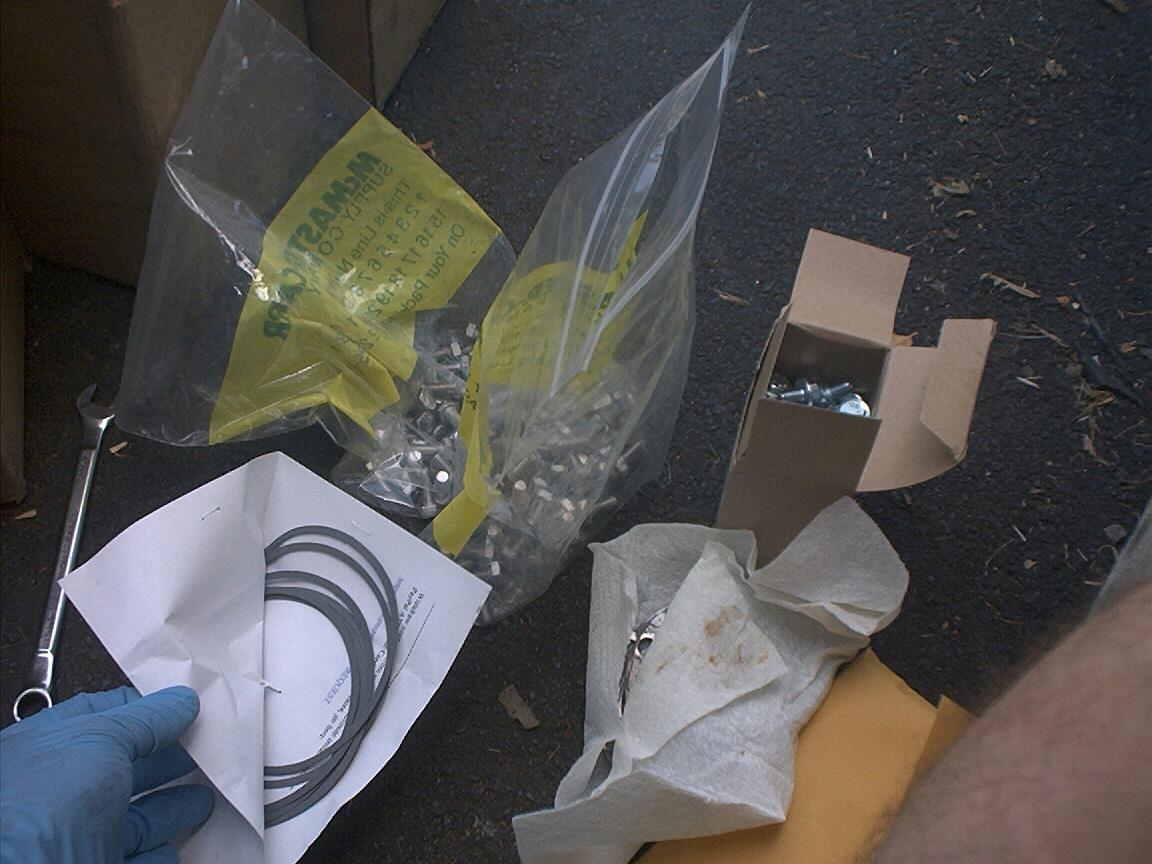
9. Now its time for some decisions (actually only one decision) . DO NOT REUSE YOUR EXHAUST BOLTS....Order some new ones (STAINLESS..not the nasty black ones) from mcmaster.com they will sell by the piece. The thread pitch is M8X1.25 and the thread length (if I remember right but measure your self) is 12mm for the housing and 16mm for the swingvalve bolts. As for the compressor bolts..feel free to reuse them...finding new bolts is ROUGH! They use a flganged bolt that is NON-serrated. Since I was rebuilding 8 turbo's at once I ordered some through A&A bolt in pennsylvania and for 95 of them they cost me 50 bux! And for the other bolts through mcmaster (for 8 turbo's) cost me $34. You can also reuse the retaining clips that were original w/ the turbo. My girlfriend is in the jewelry manufacturing business so I had her run the clips through her polisher and the exhaust ones came out ok (but still pitted) and the compressor ones came out nice and shiny! Also you will need a new paper gasket for the compressor housing and a new oil return line gasket. Both of which are available through any turbo dealer (or just order from Gary Donovan @ relentlessracing.com) OR you can just order a hardware kit for 30 bux through anyturbo dealer which will include all the parts I just mentioned (Including new rust prone exhaust bolts!)
10. Now its time to put it back together. Put your paper gasket in the compressor housing (make sure the old gasket has been removed!) and gently put the center section in semi-alligned and put the bolts and clips on but dont tighten them al the way..just semi-tight. Now sometimes the new center section and your old housing arent a perfect fit...if the new section and your housing dont just push together and are able to rotate freely index it and tighten the bolts down in a circular pattern the same amount (the idea is not to let the blades hit the side during tighening so be careful it will fudge up the wheel) I had a couple which were not PERFECT fits..you just keep tightening down the side that needs it to keep it alligned and centered during this process little by little to work the tow sections together (remember keep it alligned!) cause once its tight in there if you need to go back and adjust the allignment it will be together snug and you will have to take the bolts and clips off and gently hammer it w/ a soft mallet in order to break them apart (and once again run the risk of hitting the blades on the housing wall)
11. B4 we do the exhaust housing its a good idea to take the tap (m8X1.25) and clean out all the bolt holes from the rust thats in them and to clean up the threads. Remember to use a good cutting oil (or wd-40) and do not force your way in there...go slow and back out and clean tap frequently if you feel it binding up. NOTHING IS WORSE THAN BREAKING A TAP! It is hard ass metal and will be your worst nightmare to try and drill out...might as well hop in the car and go to the boneyard and snag a TI housing to spare you the heartbreak. Now its time to put the exhaust turbine housing on easiest thing to do is to lay it on the ground and lower the center section into it CAREFULLY.. remember keep them blades from hitting. The smae thing applies here as with the compressor housing...not always a perfect mate. Keep in mind though do not tighten the bolts all the way down...you will have to rotate the housing in order to get the bolts under the fittings and flange into their correct spaces because you cant thread them in while the 2 sections are indexed. It is a good idea to keep spinngin the wheel on the compressor side to see if you are hitting! if you are fix the problem...or ruin the blades...or mess up the balancing! Just go slow and take your time and think about what needs to be done and you will be good! Make sure you put some antiseize on those bolts too.
12. Now for the swingvalve...easy cheasy...just use antiseize on these too! I am a big fan of antiseize...especially on these turbos. If you tighten the bolts well they should not come out. But the fact that you know they WILL come out when you want them too (upgraing turbine housing...or putting on a bigger swingvalve) is more than enough reason to use it religiously!!!! So dont be cheap and not use it you will pay for it in the future....
13. Now put on your wastegate can and you are ready to go! you wategate arm (if you are alligned properly) should be perpendicular to the can mount at rest and should look correct...it it looks funny you prolly mess something up. Thats why it is imperative you index this thing b4 you start.
There are a couple of more suggestions to keep in mind and for you to mull over:
1. Put some grease where the swingvalve housing mates to the exhaust housing...it will burn and char and form a seal for you and make up for any casting imperfections.
2. The same thing applies to the header/turbo flange!!!
3. PRIME YOUR TURBO!!! The biggest reason for turbo failure is lack of oil!
The easiest thing to do is to buy the braided turbo oil feed line and buy a oil gun and pump a load of oil into it THEN connect the line to the block. After that unplug your coil and crank your car for 2 minutes in 15 second bursts. Yes this will heat up your starter a TAD....but think about all the trouble you jsut wen through to rebuild this turbo.... a little starter wear pales in comparison when you put this job in perspective! ALSO its a good idea to change your oil RIGHT BEFORE you tkae your old turbo off an let the car run for a minute to fill the oil filter. OR better yet throw on a new oil pump too while you are at it!!
4. If you are doing an on the car turbo install (i.e. not taking the head off...it can be done!) I would highly recommend the braided oil feed line...first off the factory feed line is hard enough to thread into the housing (tight space) and if you are a little off in your indexing it will be EVEN HARDER. The braided line is much easier to put back on! The same thing goes for the coolant feed..but that one at least is very easy to get at w/ your hand.
5. Clean out your old oil drain tube (gun bore brush)...or better yet...dont be a cheap bastard and spend the 15 bux it is for a new one from Ma Mopar.
8. Now clean your stuff up! Take a wire brush to that compressor housing while dipping it in the liquid wrench..the stuffs a pretty decent solvent! And while you are at it get your exhaust housings Sandblasted and hit them w/ a coat of 1500 degree exhaust paint (only on the outsides!) and follow their curing directions or cure it on the car following their directions. Also Now is a great time to make yourself an adjustable wastegate arm!
9. Now its time for some decisions (actually only one decision) . DO NOT REUSE YOUR EXHAUST BOLTS....Order some new ones (STAINLESS..not the nasty black ones) from mcmaster.com they will sell by the piece. The thread pitch is M8X1.25 and the thread length (if I remember right but measure your self) is 12mm for the housing and 16mm for the swingvalve bolts. As for the compressor bolts..feel free to reuse them...finding new bolts is ROUGH! They use a flganged bolt that is NON-serrated. Since I was rebuilding 8 turbo's at once I ordered some through A&A bolt in pennsylvania and for 95 of them they cost me 50 bux! And for the other bolts through mcmaster (for 8 turbo's) cost me $34. You can also reuse the retaining clips that were original w/ the turbo. My girlfriend is in the jewelry manufacturing business so I had her run the clips through her polisher and the exhaust ones came out ok (but still pitted) and the compressor ones came out nice and shiny! Also you will need a new paper gasket for the compressor housing and a new oil return line gasket. Both of which are available through any turbo dealer (or just order from Gary Donovan @ relentlessracing.com) OR you can just order a hardware kit for 30 bux through anyturbo dealer which will include all the parts I just mentioned (Including new rust prone exhaust bolts!)
10. Now its time to put it back together. Put your paper gasket in the compressor housing (make sure the old gasket has been removed!) and gently put the center section in semi-alligned and put the bolts and clips on but dont tighten them al the way..just semi-tight. Now sometimes the new center section and your old housing arent a perfect fit...if the new section and your housing dont just push together and are able to rotate freely index it and tighten the bolts down in a circular pattern the same amount (the idea is not to let the blades hit the side during tighening so be careful it will fudge up the wheel) I had a couple which were not PERFECT fits..you just keep tightening down the side that needs it to keep it alligned and centered during this process little by little to work the tow sections together (remember keep it alligned!) cause once its tight in there if you need to go back and adjust the allignment it will be together snug and you will have to take the bolts and clips off and gently hammer it w/ a soft mallet in order to break them apart (and once again run the risk of hitting the blades on the housing wall)
11. B4 we do the exhaust housing its a good idea to take the tap (m8X1.25) and clean out all the bolt holes from the rust thats in them and to clean up the threads. Remember to use a good cutting oil (or wd-40) and do not force your way in there...go slow and back out and clean tap frequently if you feel it binding up. NOTHING IS WORSE THAN BREAKING A TAP! It is hard ass metal and will be your worst nightmare to try and drill out...might as well hop in the car and go to the boneyard and snag a TI housing to spare you the heartbreak. Now its time to put the exhaust turbine housing on easiest thing to do is to lay it on the ground and lower the center section into it CAREFULLY.. remember keep them blades from hitting. The smae thing applies here as with the compressor housing...not always a perfect mate. Keep in mind though do not tighten the bolts all the way down...you will have to rotate the housing in order to get the bolts under the fittings and flange into their correct spaces because you cant thread them in while the 2 sections are indexed. It is a good idea to keep spinngin the wheel on the compressor side to see if you are hitting! if you are fix the problem...or ruin the blades...or mess up the balancing! Just go slow and take your time and think about what needs to be done and you will be good! Make sure you put some antiseize on those bolts too.
12. Now for the swingvalve...easy cheasy...just use antiseize on these too! I am a big fan of antiseize...especially on these turbos. If you tighten the bolts well they should not come out. But the fact that you know they WILL come out when you want them too (upgraing turbine housing...or putting on a bigger swingvalve) is more than enough reason to use it religiously!!!! So dont be cheap and not use it you will pay for it in the future....
13. Now put on your wastegate can and you are ready to go! you wategate arm (if you are alligned properly) should be perpendicular to the can mount at rest and should look correct...it it looks funny you prolly mess something up. Thats why it is imperative you index this thing b4 you start.
There are a couple of more suggestions to keep in mind and for you to mull over:
1. Put some grease where the swingvalve housing mates to the exhaust housing...it will burn and char and form a seal for you and make up for any casting imperfections.
2. The same thing applies to the header/turbo flange!!!
3. PRIME YOUR TURBO!!! The biggest reason for turbo failure is lack of oil!
The easiest thing to do is to buy the braided turbo oil feed line and buy a oil gun and pump a load of oil into it THEN connect the line to the block. After that unplug your coil and crank your car for 2 minutes in 15 second bursts. Yes this will heat up your starter a TAD....but think about all the trouble you jsut wen through to rebuild this turbo.... a little starter wear pales in comparison when you put this job in perspective! ALSO its a good idea to change your oil RIGHT BEFORE you tkae your old turbo off an let the car run for a minute to fill the oil filter. OR better yet throw on a new oil pump too while you are at it!!
4. If you are doing an on the car turbo install (i.e. not taking the head off...it can be done!) I would highly recommend the braided oil feed line...first off the factory feed line is hard enough to thread into the housing (tight space) and if you are a little off in your indexing it will be EVEN HARDER. The braided line is much easier to put back on! The same thing goes for the coolant feed..but that one at least is very easy to get at w/ your hand.
5. Clean out your old oil drain tube (gun bore brush)...or better yet...dont be a cheap bastard and spend the 15 bux it is for a new one from Ma Mopar.
*RANT*
Now I know most of us bought these cars becasue they are cheap, easy to fix, and go really fregging fast! There are some things which you just SHOULDN'T BE A CHEAP BASTARD ABOUT! Buy new lines...the only line which I would reuse (in my personal cheap bastard opinion) is the coolant feed line. It is 80 bux....I would just recommend putting a new rubber hose section on it. All other lines are highly affordable. Remember...you will pay for any iniquities down the road!!

Now I know most of us bought these cars becasue they are cheap, easy to fix, and go really fregging fast! There are some things which you just SHOULDN'T BE A CHEAP BASTARD ABOUT! Buy new lines...the only line which I would reuse (in my personal cheap bastard opinion) is the coolant feed line. It is 80 bux....I would just recommend putting a new rubber hose section on it. All other lines are highly affordable. Remember...you will pay for any iniquities down the road!!
6. LIVE BY THE CARPENTERS CREED- MEASURE TWICE
AND CUT ONCE! This will save you alot of trouble if you just think about
what you are doing while rebuilding one of these...
LAST BUT NOT LEAST: I WILL NOT ENTERTAIN OR ANSWER ANY EMAILS ABOUT YOUR TURBO REBUILD OR THE POSSIBILITY OF REBUILDING YOUR TURBO FOR YOU! All information that is of use to you is allready here!
ALSO, I WILL NOT TELL YOU WHERE I GET MY CENTER SECTIONS FROM...it is MY source. You (yes you!) can also use the internet as a tool and find a turbo rebuilder that will sell you a reman center section w/ no core charge also! If you are lazy and just dont have the time or energy to track it down here is an out: I WILL tell you...IF AND ONLY IF...you make a "donation" to my local SDAC chapter by way of a one year membership ($30). Once you are a member you can feel free to pick my brains for all the information you want..PLUS you get a club decal and a cool t-shirt (when we get them) included in your membership fee!!! Not a bad deal!!
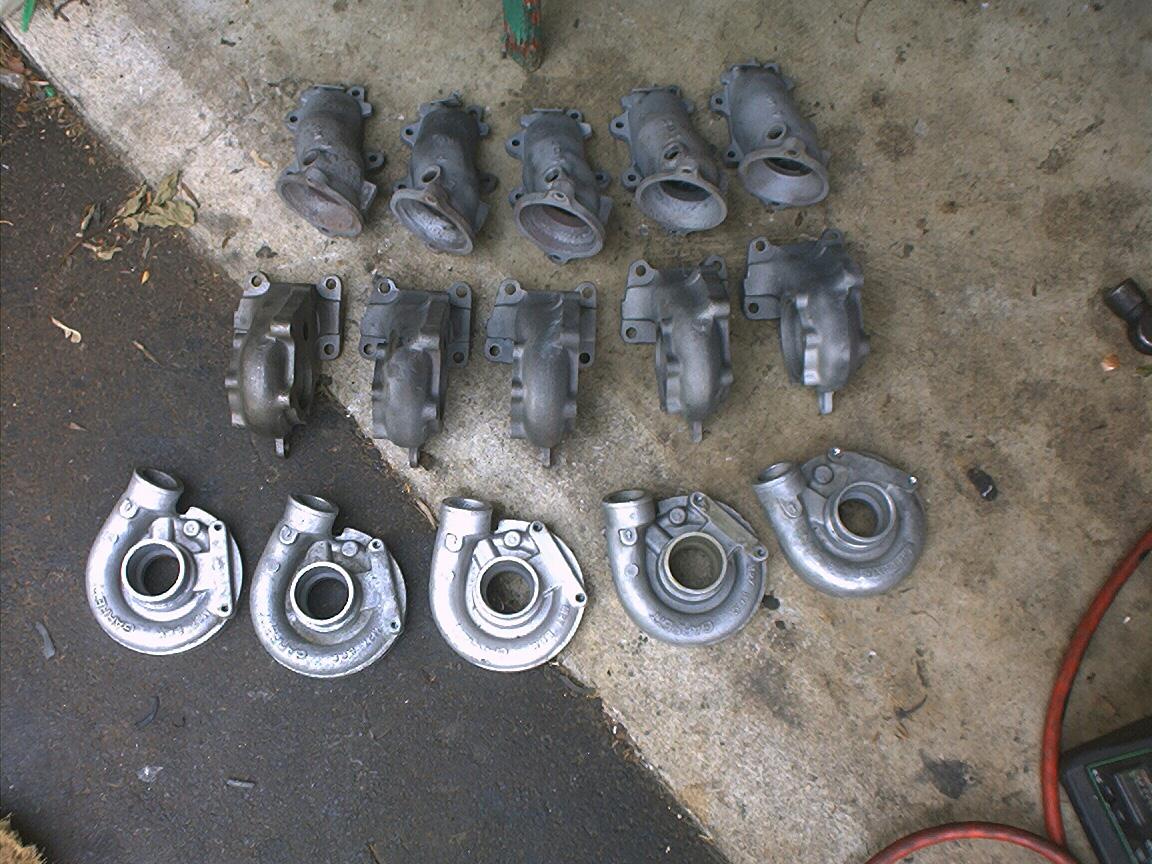
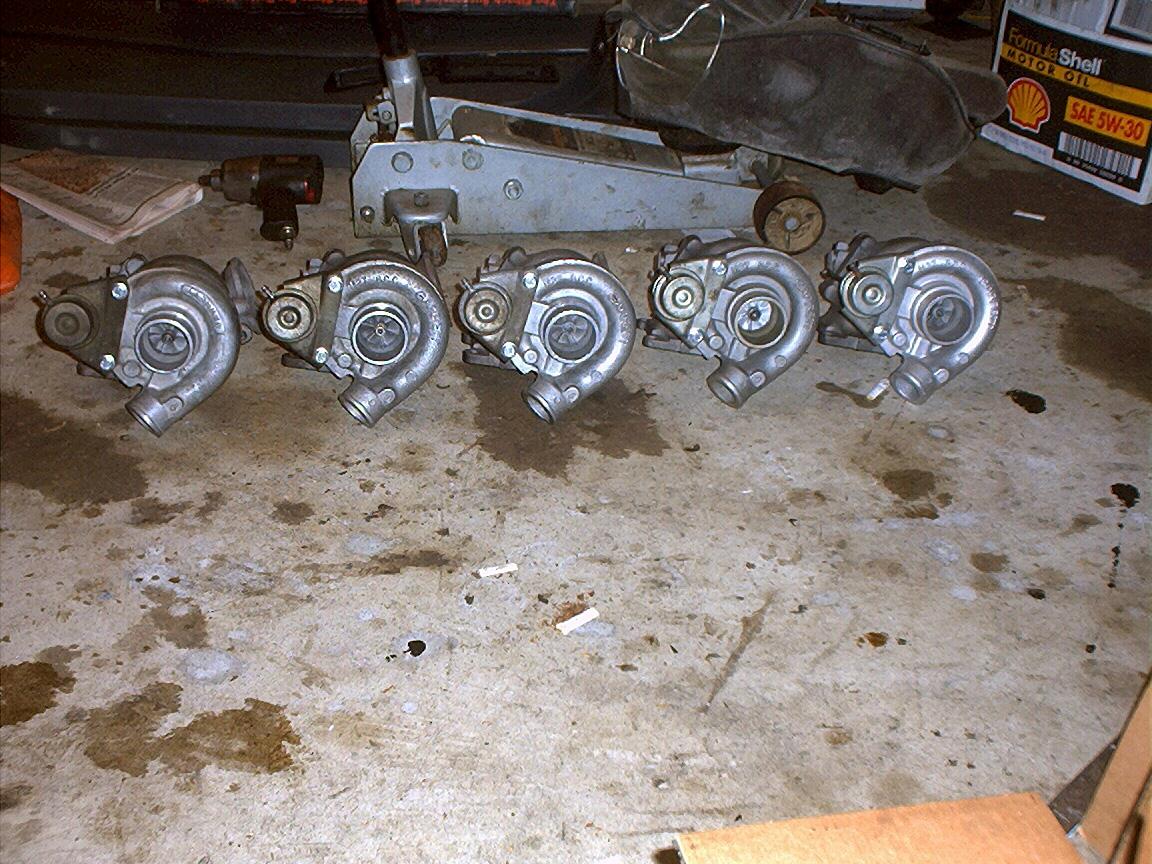
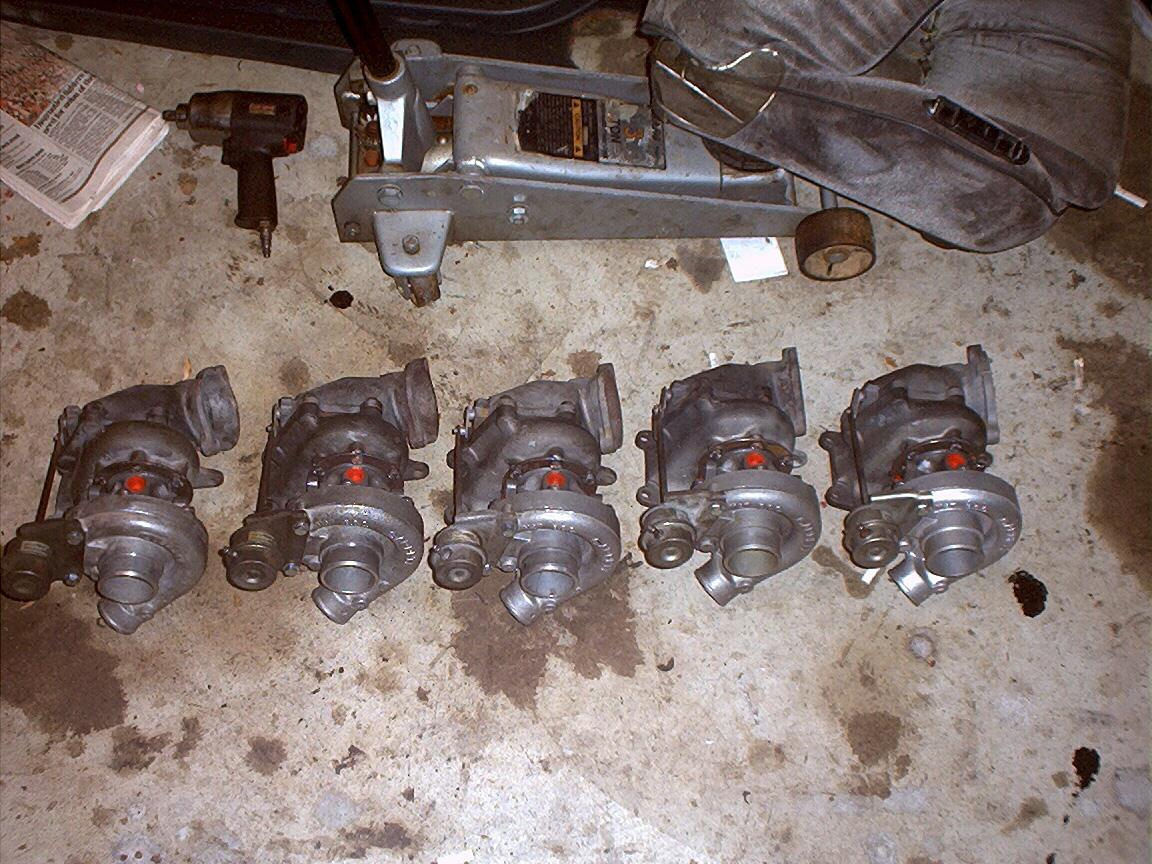
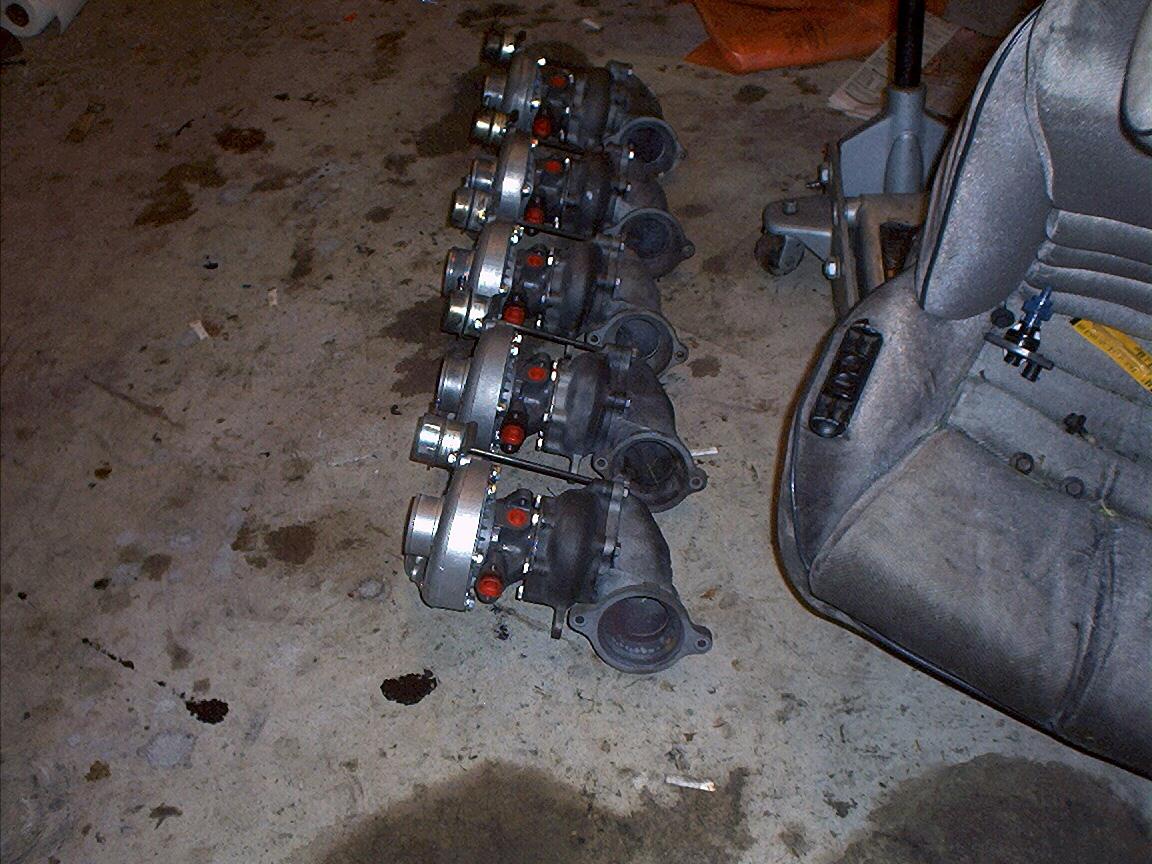
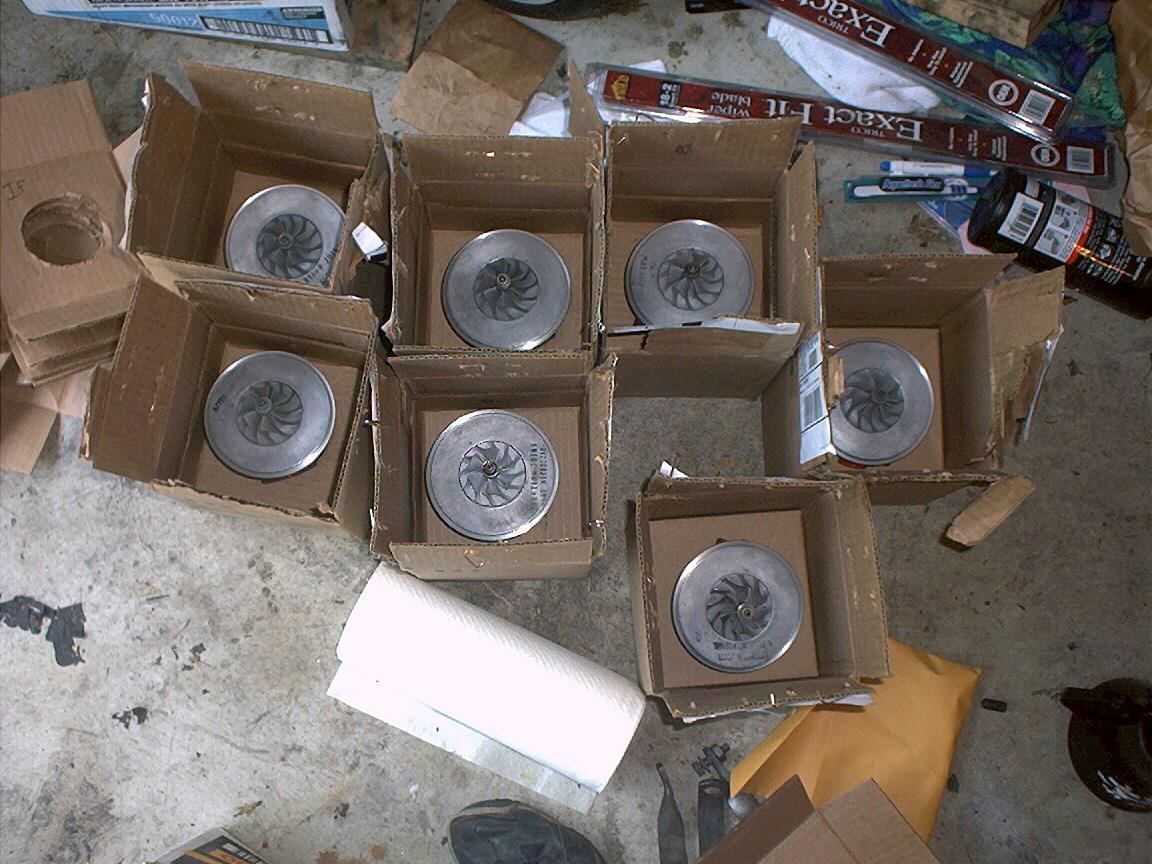
Here are some more pics for your viewing pleasure!!!
LAST BUT NOT LEAST: I WILL NOT ENTERTAIN OR ANSWER ANY EMAILS ABOUT YOUR TURBO REBUILD OR THE POSSIBILITY OF REBUILDING YOUR TURBO FOR YOU! All information that is of use to you is allready here!
ALSO, I WILL NOT TELL YOU WHERE I GET MY CENTER SECTIONS FROM...it is MY source. You (yes you!) can also use the internet as a tool and find a turbo rebuilder that will sell you a reman center section w/ no core charge also! If you are lazy and just dont have the time or energy to track it down here is an out: I WILL tell you...IF AND ONLY IF...you make a "donation" to my local SDAC chapter by way of a one year membership ($30). Once you are a member you can feel free to pick my brains for all the information you want..PLUS you get a club decal and a cool t-shirt (when we get them) included in your membership fee!!! Not a bad deal!!
Here are some more pics for your viewing pleasure!!!