12-7-01
Motor start and flight test day! And I thought it would be so simple. Just goes to show you how wrong I could be. The machine was all charged and ready to go. I set everything up in the gararage. Fueling went OK, even though I didn't have a fueling valve installed. Radio on, glow on, start wand inserted; give it a go and the engine spins. And spins. And spins. Hmmmmmm....this is not how an OS engine is supposed to work. I have plenty of glow and starter speed but there's not a pop from the engine. I look at the fuel line and see there's no draw to the carb. I plugged the exhaust with my finger tip to create a draw but this doesn't work either. Time to re-read the OS engine manual. I am wondering if the needle valves are not set right. So I set them to the reccomended turns in the manual. This time success, but short lived. The motor runs but only for about 10 seconds. After applying the starter again it stops turning. Perhaps hydraulic lock. Remove the glow plug and try to clean it out but no joy there. This engine will not turn. No I am fearful I royally screwed something up. Never mind I've been messing with engines for years and years now. First flights always seem to do this.
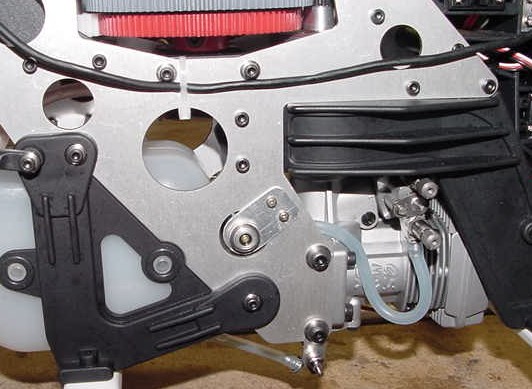
I removed the engine and it spins fine. So the problem lies elswhere. I thought I had adjusted the gear lash properly but I guess I didn't. After fiddling and diddling for about 2 hours and just past sunset I finally got the motor to run. And it was sweet. The Weston pipe was much more quiet than I had anticipated. At least the neighbors wouldn't shoot me. The engine was running slobbering rich but that was OK. This is break in time after all. However, there were still some problems. I had to advance the throttle to at least half stick before the rotors would start spinning with any real gusto. Then the heli would spin massively nose left. Something was amiss. I pondered the clutch engagement issue for a bit then decided to remove the engine for a look. Was the liner slipping? Were the shoes not engaging? Everything looked fine then it hit me. I needed to spread the clutch shoes out a bit using the tip of a flat bladed screw driver. Not much because you have to be careful you don't snap them off if you gorilla them. It's been a long time since I've had to tweak the gap on the clutch shoes. Plus my Nexus has two piece shoes. I haven't had a clutch like this since my Shuttle and Legend days.
Success! At least for getting the rotor to engage at a lower engine RPM. The motor starts right up now, the clutch engages where it's supposed to but now the damn heli spinning. I double check the tail rotor servo direction and it's good. I think I have it narrowed down to the gyro. I turn up the gain a bit. No help there. I try the reverse switch on the gain but again no joy. The only conclusion I have is the gyro is junk. Remember this was an older one I had as surplus. Unfortunately it came from my Legend which crashed many years ago. Outwardly the gyro looked OK and seemed to work on the bench but I really think it's garbage now.
I went into the shop and got the gyro from my Nexus (which I stuffed the week before while being a hotdog) and installed that. Same problem with that one then I remembered to reverse it and BINGO! I could hover. I needed to add some trims; about 50% forward cyclic and 50% right rudder but it did hover. And it was smooth. There was no shaking and the blades were tracking beautifully. The only thing was the tail was acting a bit twitchy. I hovered for about half a tank then landed. I was happy. After 3 hours it finally came together. I decided that was enough for one evening. Some local kids came by and were asking hundreds of questions. They wanted me to fly again but it was dark and I didn't have that much light from the outside lights and it was a new machine. Better to wait until daytime. The only real problem was the tail's twitchy-ness. I think that has to do with the servo mounting tape I used. I just grabbed the stuff that came with the kit. It really isn't that good for mouting a gyro. I think too much vibration was being transmitted to the gyro sensor to make it behave the way it did.
After getting the flight box put away I went back to the shop and added another layer of foam tape to the gyro mounting to give it more cusion. I'll try that and see how it works. It's only temporary until I can get the new gyro from the hobby shop. I also made a bracket for a DuBro fueling valve and installed it. Now fueling will be easier since I use these type of fueling valves on all my aircraft. I also added some sections of AeroTrend tubing to the landing skids. My driveway concrete was pretty rough on them. The batteries are on charge now so hopefully in the next few days I can get some more test flights in (and my new gyro gets here!) |