| P47 Thunderbolt |
| Now under construction is a Ryan Aircraft P-47 Thunderbolt. This is another electric powered plane. It's construction is very similar to that of my bearcat (also by Ryan Aircraft). It will be powered by a 6V speed 400 motor, spining a Graupner 6.5x4 semi scale prop. The ESC is a GP 20A unit and the radio a Hitec Focus 3. AUW is projected to be 18-19oz. I'll be glassing and painting this particular warbird. I haven't chosen the final marking scheme yet but it will be one from the ETO in late '44 or early '45. Probably from the 56th or 350th FG. |
 |
 |
 |
 |
 |
 |
 |
 |
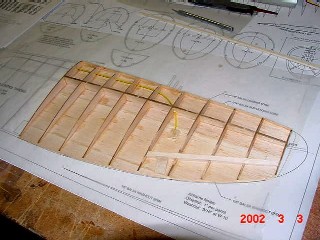
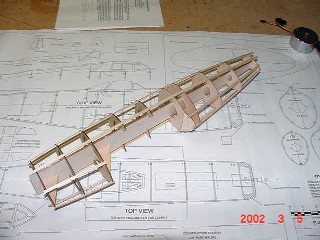
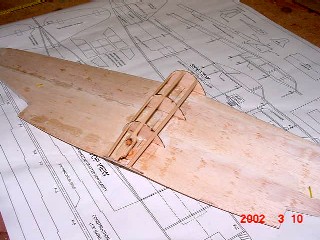
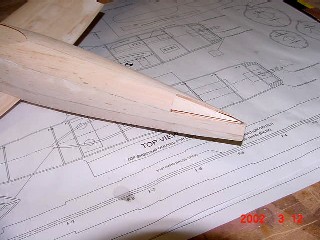
| This is the basic wing framing. The aileron control cable guide tube is snaked. I added a reinforcement where it exits the wing sheeting and also added one where the aileron control horn is going to go. |
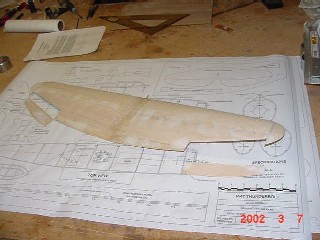
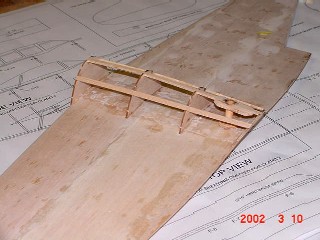
| The wing halves sheeted and joined. The ailerons have been cut out and their leading edges beveled. |
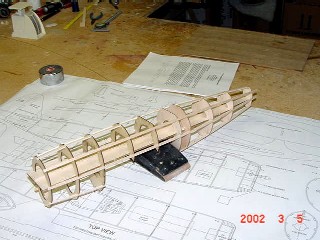
| The basic fuse framing. It's built over a removeable crutch. The first 5 formers are ply and the remaining ones are balsa. The parts are laser cut and the fit is perfect. |
| I added two small triangle gussets to keep the formers square with the crutch. This is important in the fuse alignment as well as setting the thrust line for the motor when it's mounted. |
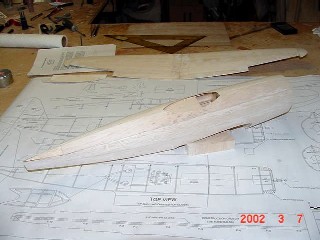
| The fuse has been sheeted. The laser cut skin sections fit very well and require very little trimming. They do need to be wetted though to fit the curves. |
| You can see the ply plate where the wing mout bolt threads into. I tapped the hole with a 6-32 tap and reinforced it with thin CA. This is a very light and strong fuse. After it's sheeted you remove the crutch. |
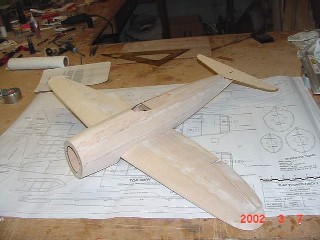
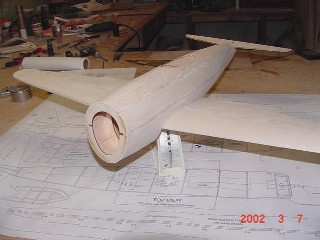
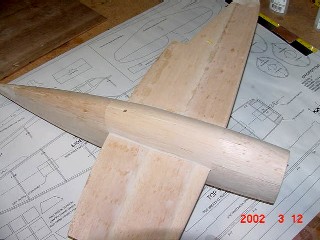
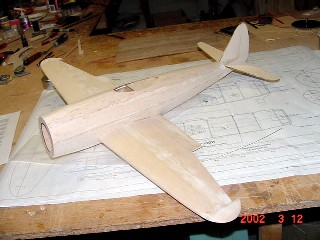
| Here's the fuse and wing assembled together. The stab is just placed for now to give an idea of arrangement.The belly pan still needs to be made. |
| On the scale. Right now the weight is at 4oz (not quite). I'm shooting for a dry airframe weight of 6 oz or less. |
| back to the airplane page |
 |
 |
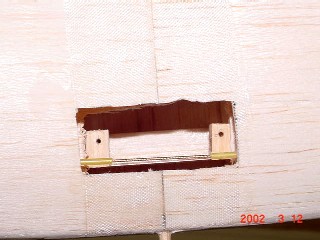
| The belly pan framing in place. I added a tube for the wing hold down bolt along with a lite ply plate to prevent the wing skin from being crushed on bolt installation. |
| Another view of the wing bolt tube. made from a rolled paper and coated with thin CA. |
 |
 |
 |
 |
 |
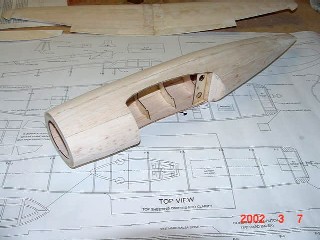
| Here's the belly all sheeted and sanded. A very nice fit. |
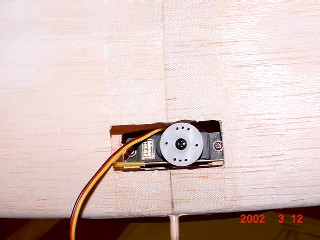
| This is the cut out and mount for the aileron servo. You're pretty much left to your own when doing this. I made the mistake of sheeting the belly first BEFORE making the servo mount. It caused me a little more work but I was able to get it in there. I fabricated a partial box from 1/32 ply and balsa with hard points for the mounting screws. The 'box then slips in and is CA'd to the belly sheeting and stringers. A very rigid installation. |
| Here you see the servo mounted. The rubber grommets that are furnished with it are not needed. The top of the servo wheel is flush with the bottom surface of the top wing skin. I still need to devise my method of attaching the control cables to the servo wheel. perhaps 'Z' bends that are 'tinned' with solder. |
| The tail fillets are in place and sanded to shape. Use of 1/8" scrap balsa CA'd in 'T' arrangement is uses to simulate the stab and fin. The tail fillet blocks are then glued to the fuse bulkhead, rough carved to shape then everything is sanded, including the simulated fin/stab. Once shaped you remove the 'T'. |
| The aircraft is in its basic arrangement now. I'll be adding the cowl block next. Although you can't see it the aileron servo is installed. As it sits here the weight is 6oz. So far I'm on target for my goal of 18oz AUW. |
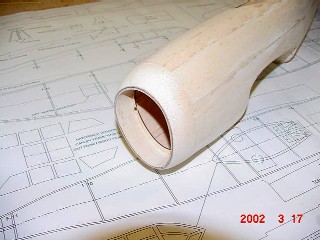 |
| The balsa cowl block has been installed and shaped. The motor mount plate will be attached to it. The airframe is now ready for glassing. |
| The airframe has been glassed with .56oz glass cloth. Now the fun part comes with filling the weave and sanding everything smooth prior to the primer coat. Ever weight conscience the Jug tips the scales at 6.5 oz in the bones. I have about another 1.5oz to play with in getting the final finish on. I did a preliminary weigh in of everything; airframe, motor, servos, Rx, battery, etc and the total was 16.5oz. If things keep going the way they are I'm hoping for about an 18.5oz AUW. This should be OK on the S400. If the weight gets out of hand though I'll be looking at a Hacker B20-12L brushless motor and 4:1 gearbox for power. |
 |
 |
 |
 |
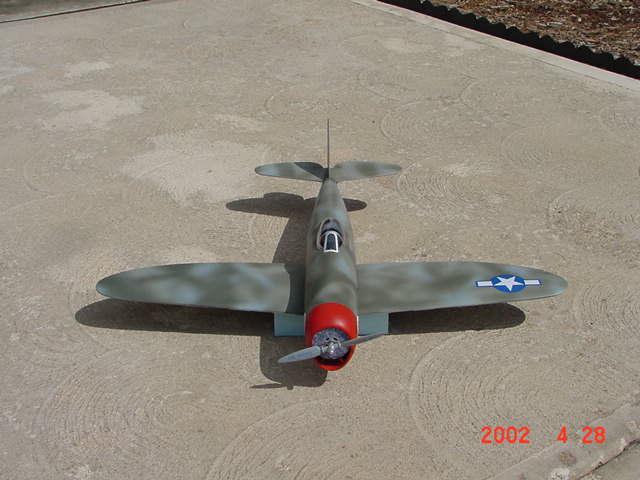 |
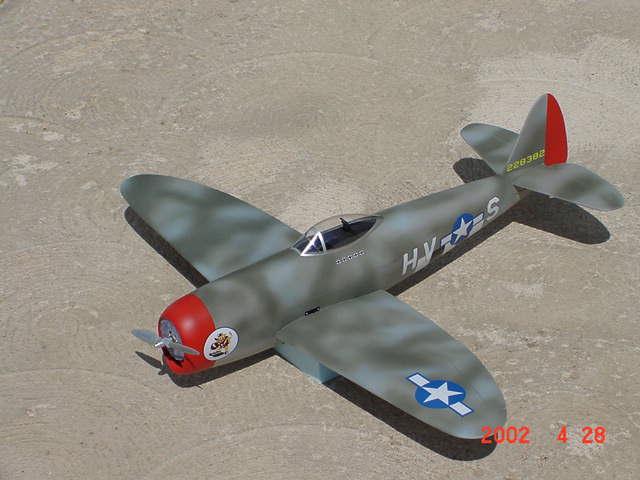
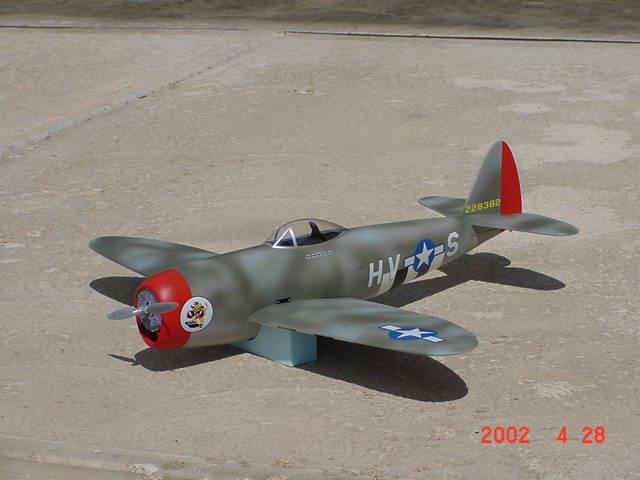
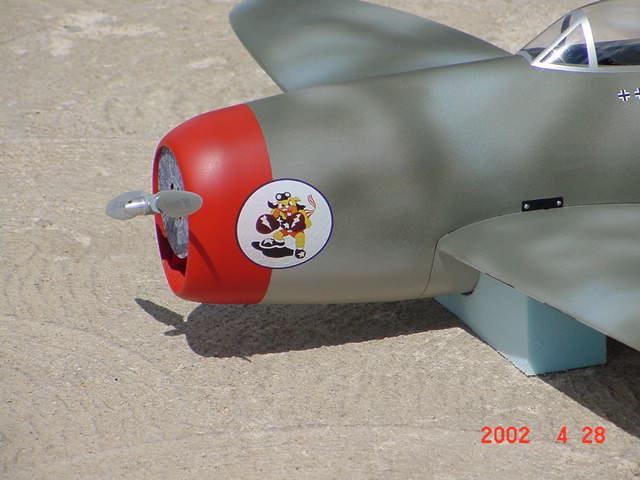
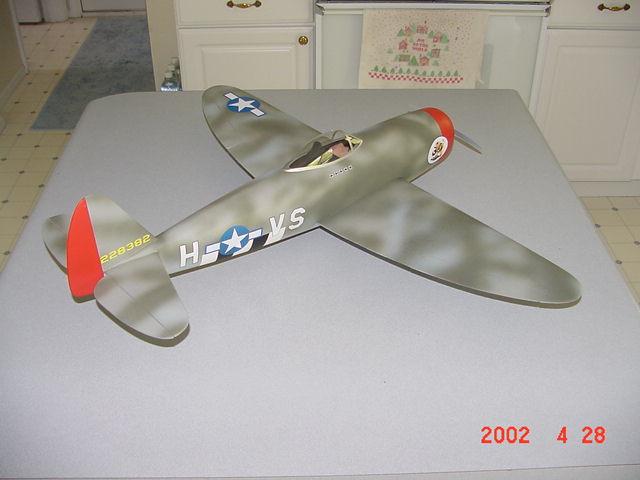
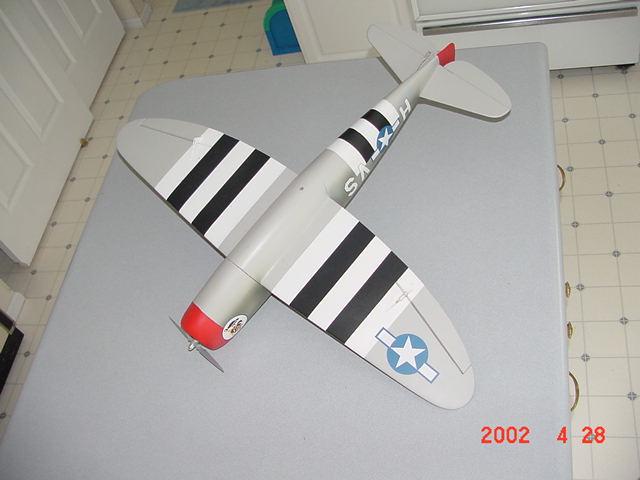
| As you can see the P-47 is finished. The final weight is 21.5oz. I missed my target by two and half and ounces. It should still fly OK but not as spritely as my Bearcat. The model was finished in Humbrol paints airbrushed on. The markings depict a P-47 with the 56th F/G in Europe, during the fall/winter of 1944/45. The markings were custom made by Tom Prestia of TangoPapa Decals. I sent him the graphics file I created and he printed them up on his Alps printer. Tom does great work and you should contact him if you need any sort of custom decal work done. Flight report: This update has been a long time in coming. The P-47 as originally built flew well with the stock S400/600AE setup. While not blistering it was OK. Aerobatics were good (for a aileron/elevator only plane) and the plane is very manueverable. However, getting only 3 minutes of flight time per pack was not that great. By the time I was getting in the groove it was time to land. You can really tell when the pack is getting low as the performance starts to lag. My initial predictions on flight performance were very close, spot on. It was not like my Bearcat at all. I tried an 8 cell NiMH 1050KAN battery but still things could be better. I only got perhaps a minute more of flight time. Jim Ryan is right when he says to build these planes light. 2.5oz overweight doesn't sound like much but in one of these S400 powered warbirds it can mean the difference between tearing up the sky and just putting around. Fast forward to late 2003....... The brushless motor wave is almost reaching the crest. The Jug is in for a change. I ordered my first brushless motor; a Mega 16/7/12. I thought this would be a good choice for the Jug. It's a direct drop in replacement for the S400 when mounting. I added a Jeti 18-3P controller and it was off to the flying field for a test flight. Unfortunately, performance was almost no different than before. I did get longer duration (almost 8 minutes) on the 1050KAN pack but the plane flew no better than with the brushed motor. Hmmmmm, maybe this brushless thing wasn't all it was cracked up to be. So the Jug was put into semi-retirement. Spring 2004........ Brushless motors are hitting their stride and the Lithium Poly craze is firmly entrenched. Perhaps it's time to rethink things. After some research on E-Zone I came to the realization my original brushless motor choice was all wrong. Now armed with new information I ordered a Mega 16/15/5 brushless motor and decided to try one more time. Once again the motor is a drop in replacement. Off to the field we go for a test flight and.....WOW! This is what I am talking about. This is a totally different P-47. I have power to spare. The Jug was tearing up the sky and on an old 8 cell 600AE pack to boot. I must have flown for 5 minutes at 3/4 to 1/2 throttle. Unlimited vertical, loops from level flight, consecutive rolls, cubans, split-esses were now effortless. My P-47 has a new lease on life. But, it gets better. I added a Thunder Power 3s 2100mAh LiPo battery and performance increased further. More power and more duration. Now typical P-47 flights are 10 minutes and filled with any manuever you can want. All at 1/2 throttle or less. Plus with the conversion to brushless/LiPo I saved a 1/2 oz in weight. I finally have the P-47 I wanted when I started building her over 2 years ago. If you build one of these Ryan warbirds I heartily recommend going the brushless route from the beginning. You won't be sorry. |
 |