 |
|
|
|
|
|
|
|
|
|
|
|
|
|
|
|
|
|
|
|
|
|
|
|
|
|
|
|
|
|
|
|
|
Herculiner Install |
|
|
|
Herculiner is a great product. Time will tell how well it holds up to beach sand and Uwharrie mud. The biggest suggestion I can give to someone getting ready to use Herculiner is, PREPARATION! |
|
|
|
 |
|
|
|
 |
|
|
|
|
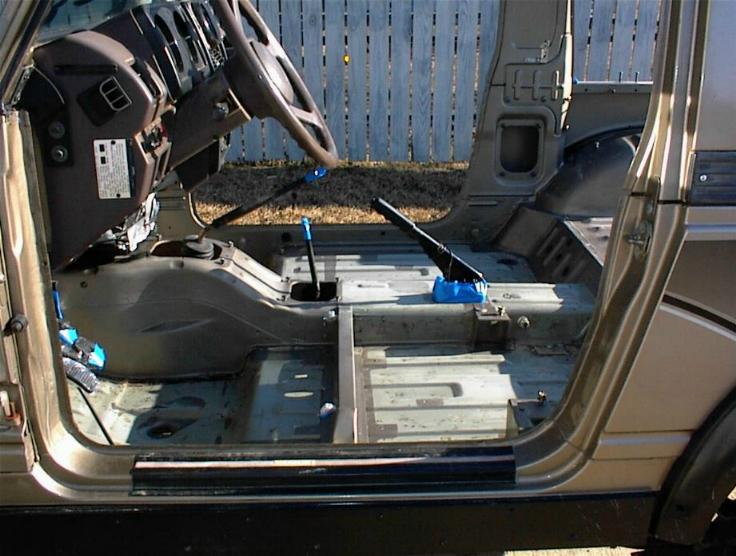
I removed all of the tar stuff from the floorboard and under the seats. I used ospho to convert any rust I found. |
|
|
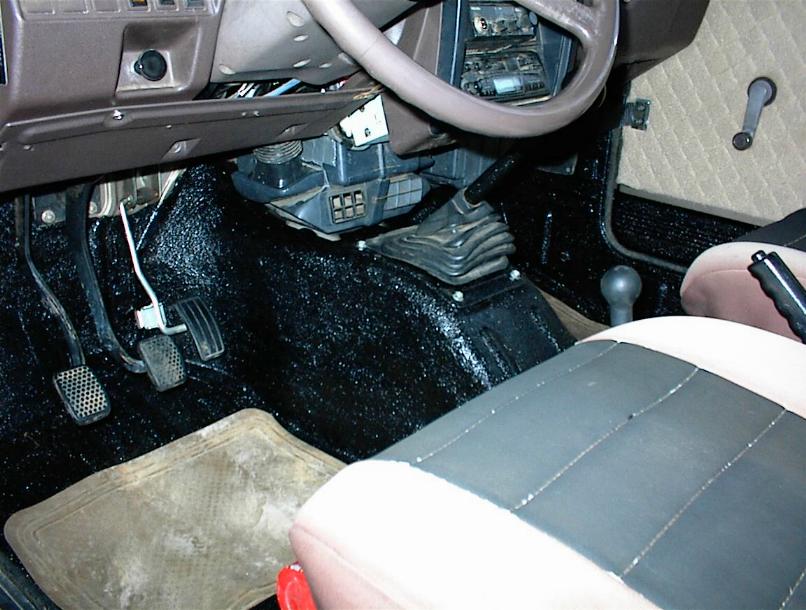
I took a lot of time to remove everything I didn't want to get herculiner on. Notice the seatbelts and gearshift boots are removed. |
|
|
|
|
|
|
 |
|
|
 |
|
|
|
|
|
|
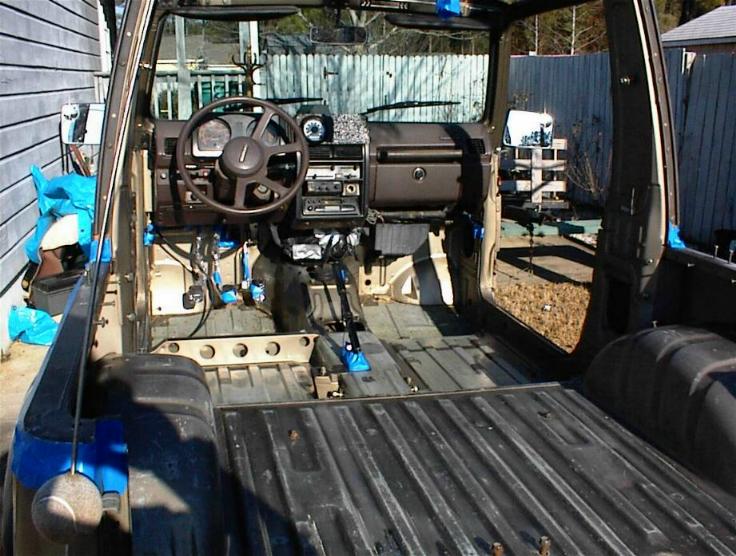
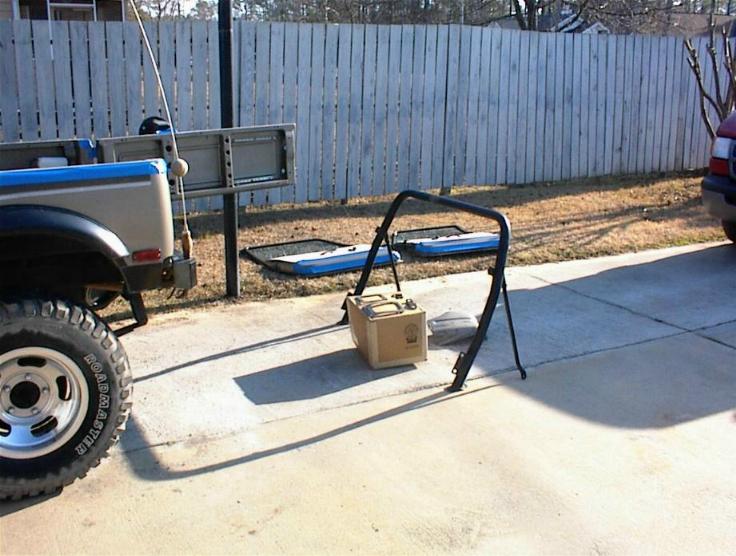
I removed the rollbar so it would be easier to paint. This picture shows everything taped and ready for Herculiner. |
|
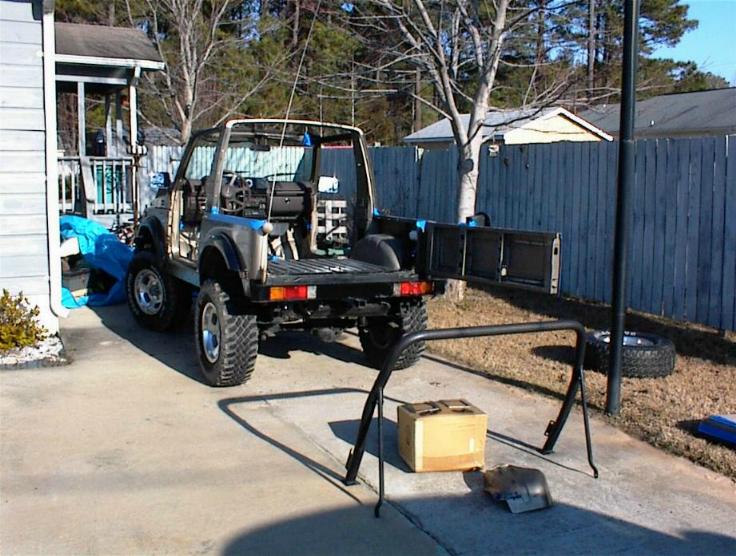
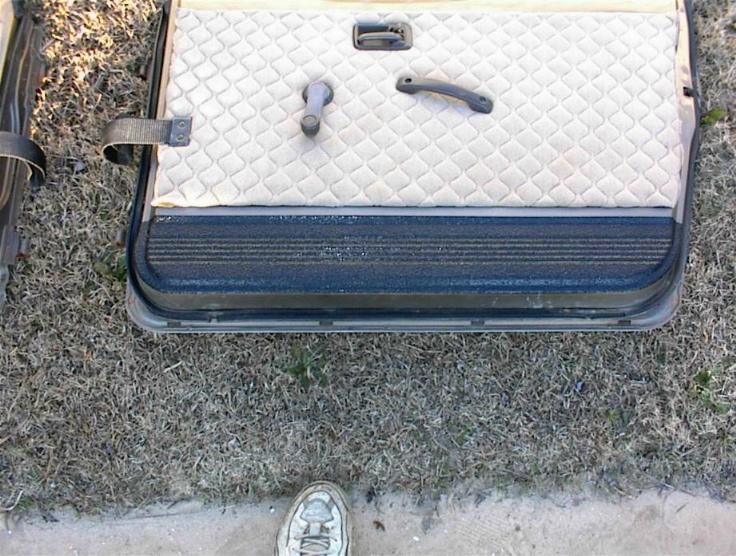
In the distance on the grass you can see my doors. I Herculined the very bottom of the door. |
|
|
|
|
|
 |
|
|
|
 |
|
|
|
|
|
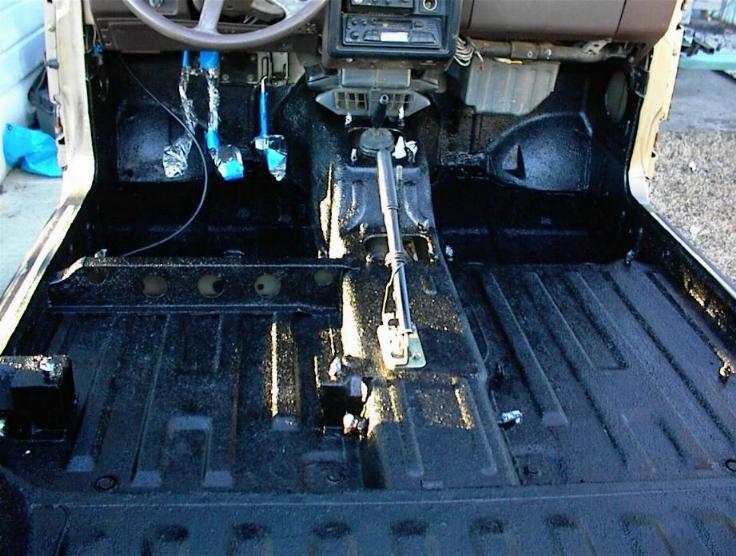
This is after 2 coats of Herculiner and I've started removing the tape. |
|
|
|
Here's a good picture of the bottom part of the door with Herculiner on it. |
|
|
|
|
|
 |
|
|
|
 |
|
|
|
I covered the bolts with plastic wrap & tape and threaded them back into the hole they came out of. This kept the Herculiner out of the threads and helped me keep track of what bolts went where. |
|
|
|
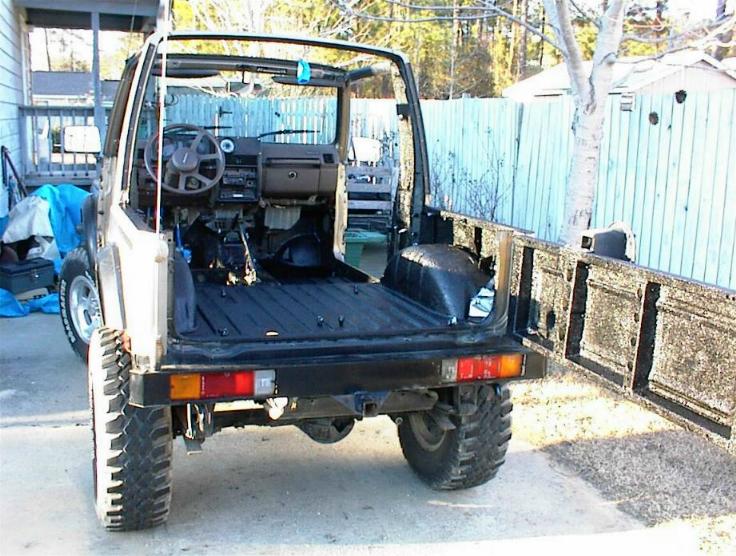
All done and everything back together. If I had to guess, I'd say I put over 16 hours of work into this project. A lot of time and effort but well worth it. |
|
|
|
|
|
Home |
|
|
|
|
|