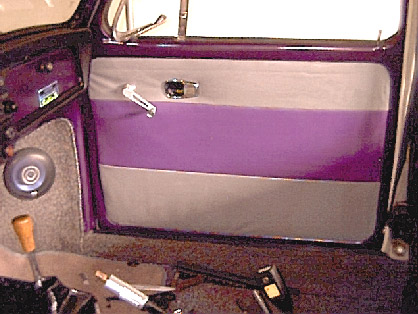
In the continuing interior redo of my 71 Super Beetle, I decided
to do my own door panels. This was mainly due to the purple grey
color scheme that I had chosed for my car, and the fact that to get those
sort of colors on a door panel would have been cost prohibitive if I had
chosen to order it from a company such as Sew Fine. Custom made door
panel questions are prevelent enough on RAMVA that I thought I would put
a quick page together to demostrate how I did it.
Materials needed:
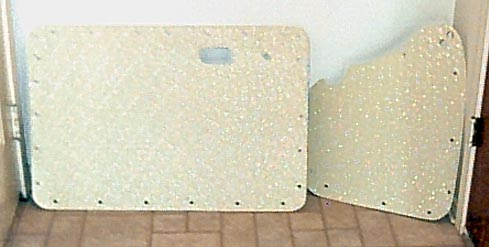
Old door panels (use these as
templates) Backing material (I used FRP,
see below) Adhesive such as contact cement
(I used 3M Super 77 Spray adhesive) Binder clips (I had about 40,
didn't need them all at once) Padding material, such as is
used in quilting. Your cover material.
Here you see the backing material I used. FRP is a plastic / fiberglass
type material that is used in building. I chose it for several reasons:
#1 Someone gave me a sheet for free. #2 It has just the
right amount of flexibility. #3 It is of course waterproof,
eliminating the need for a plastic water barrier between the door and the
panel.
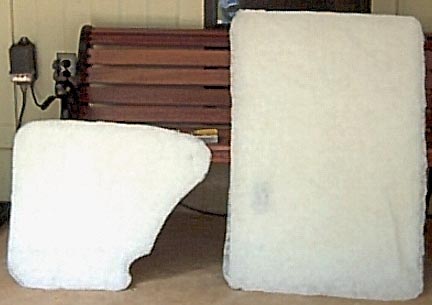
After cutting the backing material from the template, use padding to
give your panel that soft spongy feel. This is a matter of personal
choice, but I like it that way. Just spray the adhesive on the door
panel, then lay the padding on it and cut to fit.
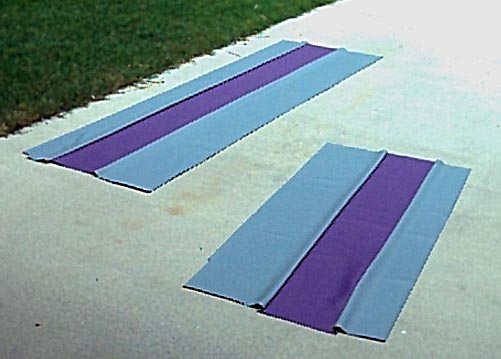
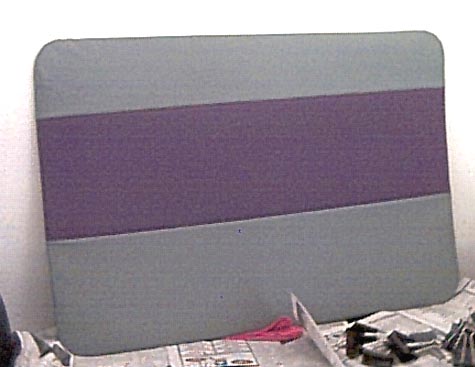
These are the sheets of material that my mother-in-law sewed for me.
She does alot of quilting and was a great deal of help. One sheet
is for the rear, one for the front.
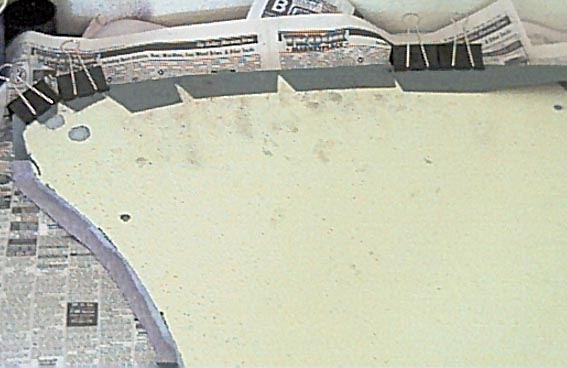
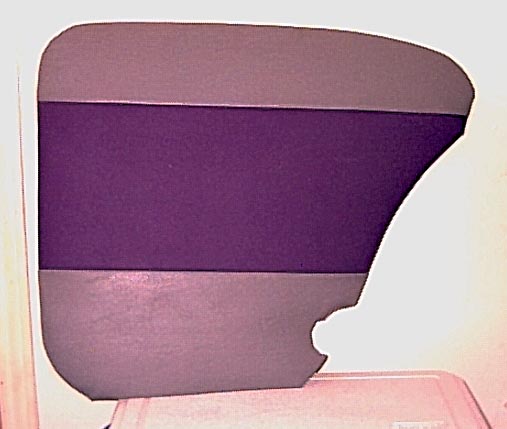
After cutting the sheets in half, I placed the door panels on the back
of the vinyl. Note... if you iron the vinyl, make sure the put a
cloth down between the vinyl and the iron, and use a relatively low setting
on the iron itself.... otherwise your vinyl will melt. Mount the
fabric by gluing the edges onto the back of your frames. Note the
cutting around the corners to relieve the tension of the fabric during
the turn. The panels all clipped down. I found that if you
do opposing sides, then you can stretch the material better.