 |
|
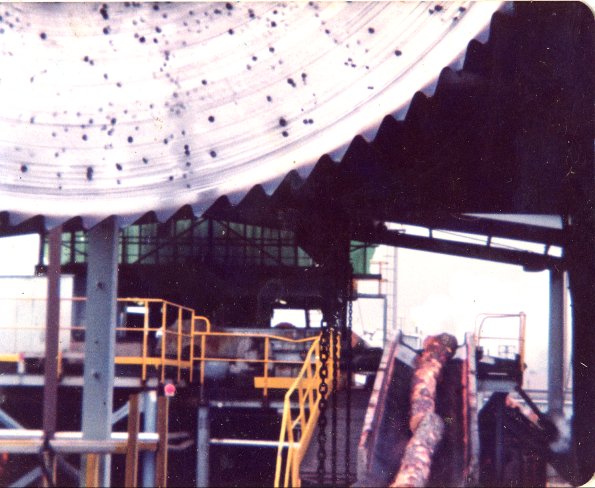
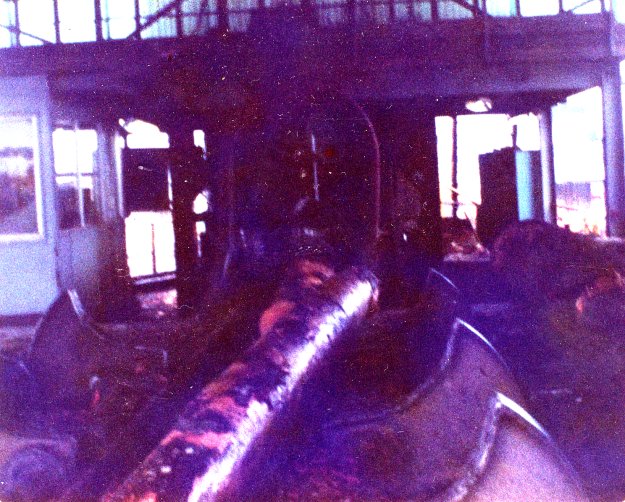
The blades are spinning at great speed but the camera has caught the blade as if it wer still. Logs were fed into this chipper and it chopped the log into little wood chips which were for the Pulp and Paper Mills. |
 |
|
|
 |
|
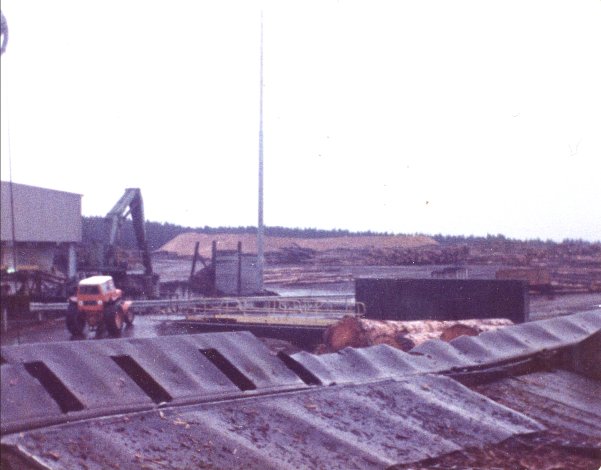
area and going past the Kinlieth Plywood Mill. The Plywood crane is easily seen here. At the bottom of this photo you can see 3 slots. These are where the large steel steam powered kickers emerge to "kick" a reject log that is not safe or good enough for the Sawmill onto the Number 6 Chipper Deck. The logs travel from the right to the left. |
 |
|
|
 |
|
Here you can see to the left the chain that the logs ride on as they travel under the Logend Tower. |
|
|
|
|
 |
|
The logs are heading up on the chain conveyor to the De-Barker. |
 |
|
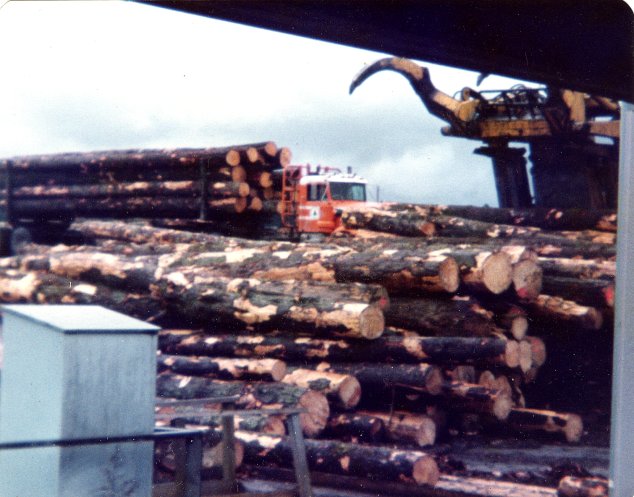
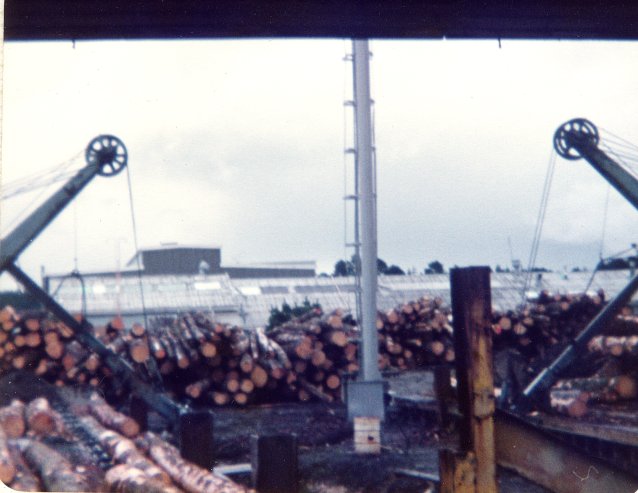
The load will be added to the stack of logs seen at the front of the photo so that the RB crane operator can load the logs one-by-one on the conveyor chain which leads to the Sawyer Hut. |
 |
|
|
 |
|
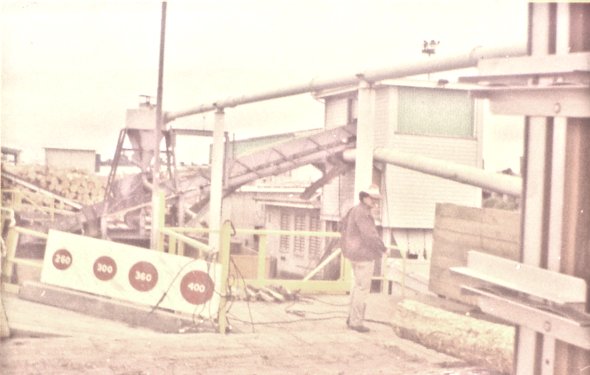
This photo taken by James M Sandbrook was taken from the Reject Kicker Hut - this is where the person sits who controls the chain (conveyer) that the logs travel on to go to the Kinlieth Sawmill and also presses the button that "kicks" the reject logs onto this No 6 Chipper deck to be chipped up and then used for paper making. |
 |
|
Also seen is one of the tractor trailers which were used to carry sawdust, log ends etc. |
 |
|
then into the Logend De-Barker to remove the bark from the logs. To the left you can see the De-Barkers Operators Hut. This photo faces the Reject Button Hut which is where these logs are headed. |
 |
|
two Sawyers with logs to go to the De-Barkers then to the Tower and then to the Reject Button Hut and either to the Number 6 Chipper or to the Kinlieth Sawmill. |
|
|
|
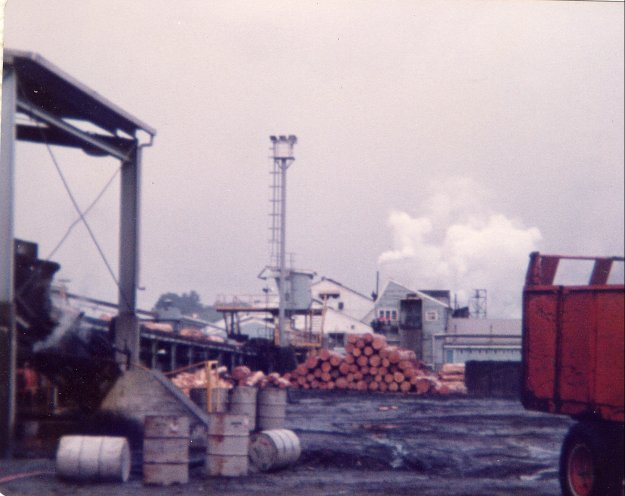
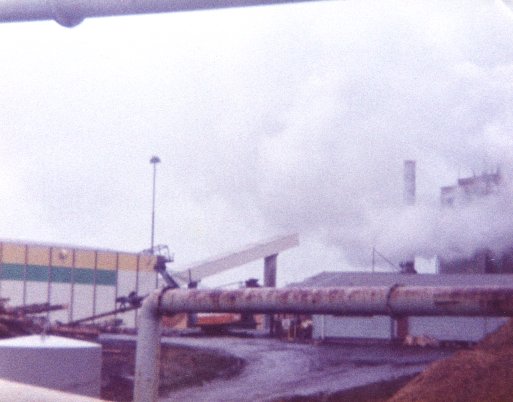
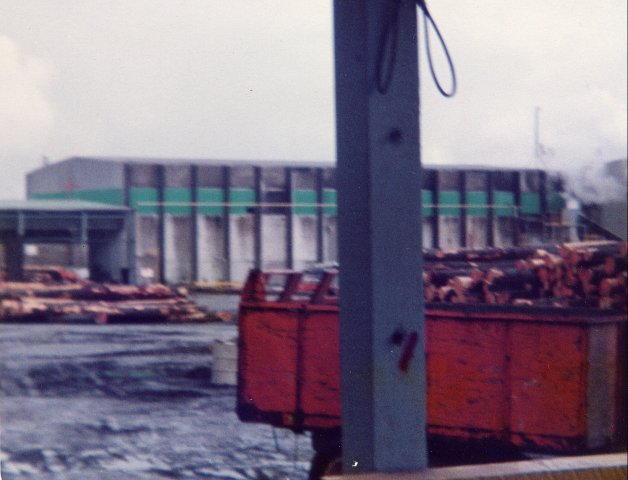
of the photo. Whith steam pouring out its chiminys is the Kinlieth Sawmill. To the left of this photo is the De-Barker where the logs come out and travel to the Tower and on to the Sawmill. If you look carefully you will see logs on the chain conveyors and stockpiles of logs on the ground ready to be fed on the the chain conveyors in case of a break down so that the Sawmill can be constantly be fed with logs to keep productions going. |