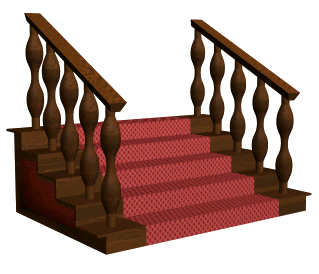
Applying colours and textures
Let's finish our set of stairs by applying colours and textures to them. If you haven't seen the first part of this tutorial, you can check it out here:
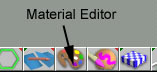
Insert the Stairs object that you created in Putting it all together in a new TrueSpace scene . Click on the Material Editor button.
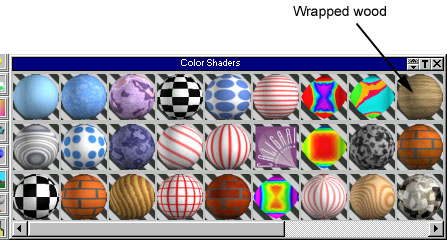
Expand the Material Editor and right click on the Color shader button to list all of the installed shaders.
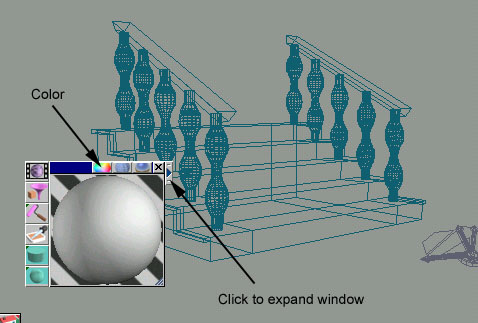
Click on Wrapped Wood from the list with the left mouse button.
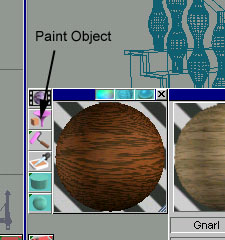
Click on the Expand component arrow to display the shader properties. Set the Wood floor type to Oak, Scale to 0.5, the Groove width to 0, and the Replication type to Floodboards and then click on the Paint Object button with the stairs object selected.
You may notice some holes in the texture. That's because the object hasn't been assigned the UV space to the object. Press the arrow down on your keyboard to select the steps object. Now press the Cubic UV projection button.
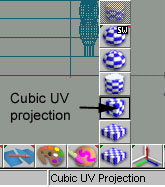
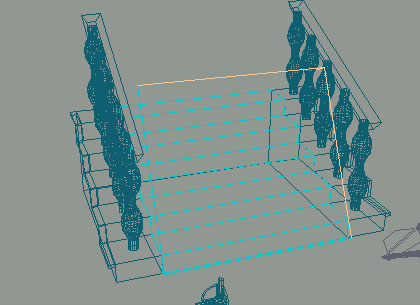
An orange cube will completely surrond the steps object. It has now been assign the Cubic projection. The Cubic projection fits well with the steps as they are basically a cube that has been cut diagnolly in half. Now select the Object Tool to exit applying UV or right click on an empty space.
Press the right arrow key on your keyboard to select the bannisters and select the Cylindrical UV projection. A coloured cylinder will encompass the two bannister groups. You don't just have to apply UV just to individual objects but to object groups like the bannisters. If we had assigned the same UV mapping to each individual post they would all appear the same, but by applying the UV projecton the groups, each post will have a slightly different UV space. Click on the Object Tool to finish applying the cylindrical projection to the bannisters and press the up arrow on your keyboard to select the entire object.
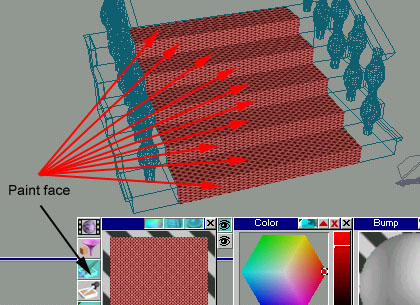
In the material editor, set the Wood floor type to Cherry. Select the Paint Face tool and click on each side of the stairs. You will have to rotate the perspecitve view to click on both sides.
Right click on the Colors shader button in the Material Editor and select Texture Map from the list. Left click on the Get texture map texture preview pane to display the Texture browser. Find the ZigZag_BW.tga image (it should be near the end of the list) and double click on it. Click on the color Expand parameters button and enter in the value 10 for both the U repts and V repts. This is going to be our carpet texture. "But wait!" I hear you say, "I thought the carpet was red!". To make the carpet red, right click on the MatPreview pane and select Add new layer. A new color layer is displayed. Change the colour of the layer to red by clicking on the colour cube. You're carpet texture should now be red. Use the Paint face tool to paint the carpet onto the stairs.
If you render the stairs now you may notice that the carpet doesn't look quite right, especially on the horizonal steps. To corrent this, we need to apply a Planar UV projection to them. With TrueSpace, you can assign UV projections to individual faces too. Rotate the perspective view so that you have a good view of all the steps and right click on the stairs object and select the top step face.
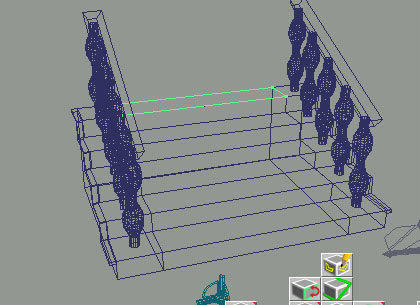
Now click on the Planar UV projection button and then select each of the steps, both the risers and runners, as shown below.
Press the Object tool button to exit the UV mapping and render the stairs. Congratulations! You have completed this tutorial Making stairs in TrueSpace5.1. I hope you found it informative, and look forward to many more to come!