The basic stairs
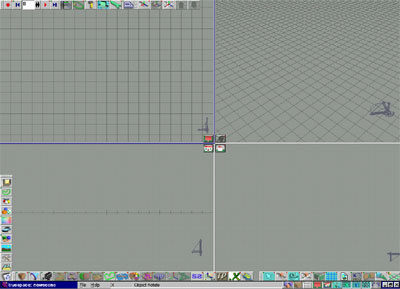
This tutorial is a step by step walkthrough on how to create stairs in TrueSpace 5.1. Start with a new scene in 4-views layout mode and Enable grid.
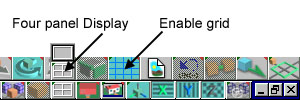
4-views layout mode and Enable grid are accessable by holding the left mouse button down over the following buttons and selecting them from the popup menu.
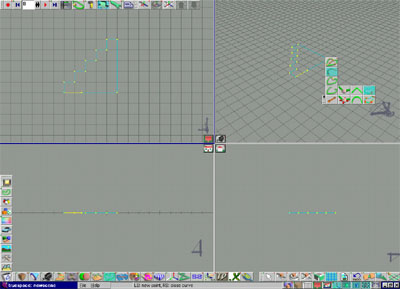
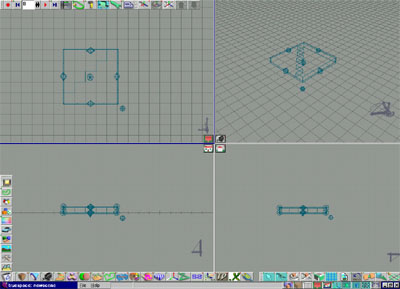
Select the Add Polyline tool.

In the top/left view (Top) trace out the side-profile of a set of stairs.
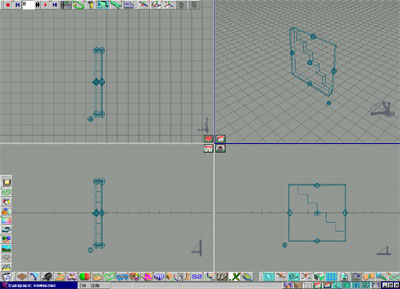
Select Sweep to extrude the profile out into 3 dimensions.
You should now have a thin set of stairs lying on its side.
Select the rotate object button (X on keyboard), click and drag the right mouse button in the front view to the left to rotate the stairs verticle and in the left view to rotate the stairs so they are facing forward. Note: Because Enable grid is enabled it will take more movement of the mouse before it snaps 45�.
You should now have something like this:
Because we built our stairs on its side the axis of the object is off. We want the x axis to be the width, the y axis to be the depth, and the z axis to be the height of our stairs. This is the world axis orientation for trueSpace. Select the Axis tool to create an axis object for the stairs and select Normalize rotation to orient the axis to the standard orientation. Press the Delete key on the keyboard or select the axis tool again to hide the axis object from the scene.
With the stairs selected, right click on the object tool (the white arrow), to display the object info panel. Enter in the values 3, 2, and 1 in the x,y,z size fields (the default unit of measurement is in metres, to select another unit click on the red arrow at the top of the object info panel to expand it to access the object's unit measurement).
Congratulations! You now have a set of stairs. We now want to create a object library to add your stairs to so they can be reloaded. Select the object library (along the left edge of trueSpace), right click inside the default library that opens and select New. A new blank library window is displayed. Right click and select Rename and type in a name that describes what type of objects you will save there, for example House objects. Now with your stairs selected, right click again in the House objects library window and select Insert. A rendered thumbnail of your stairs appear. Rename the thumbnail to Basic stairs by right clicking on it. You can also save your stairs object to by selecting File->Save As->Object from the menu.