 |  |
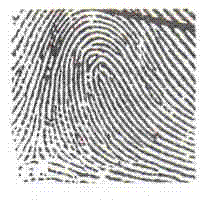
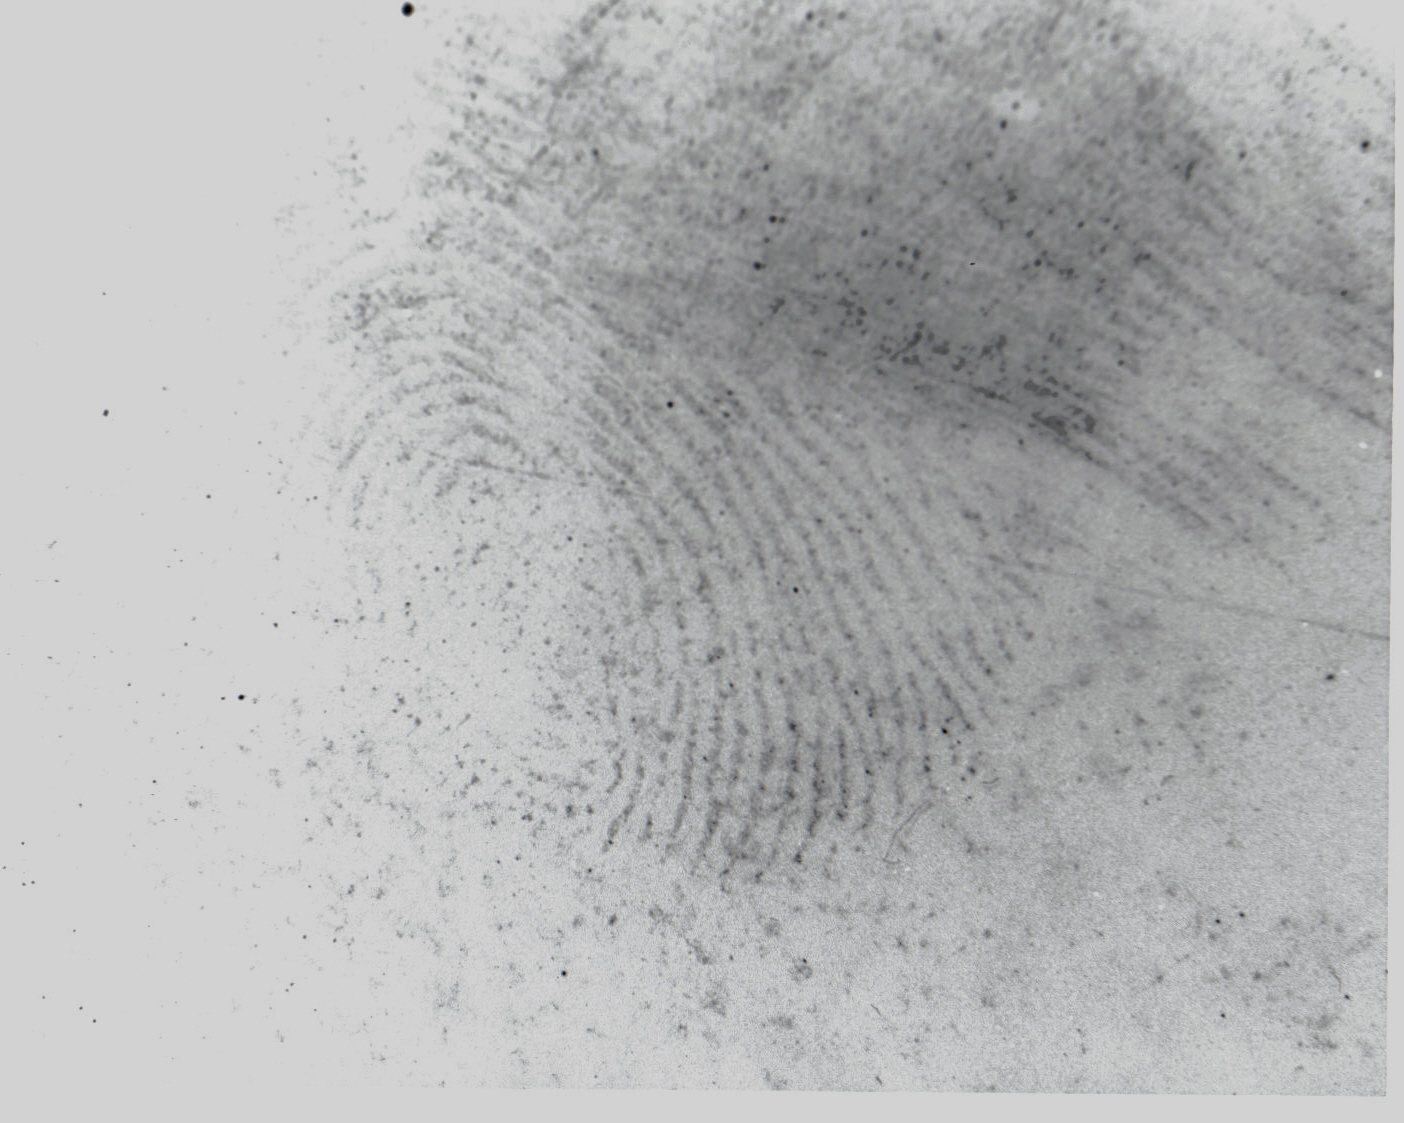
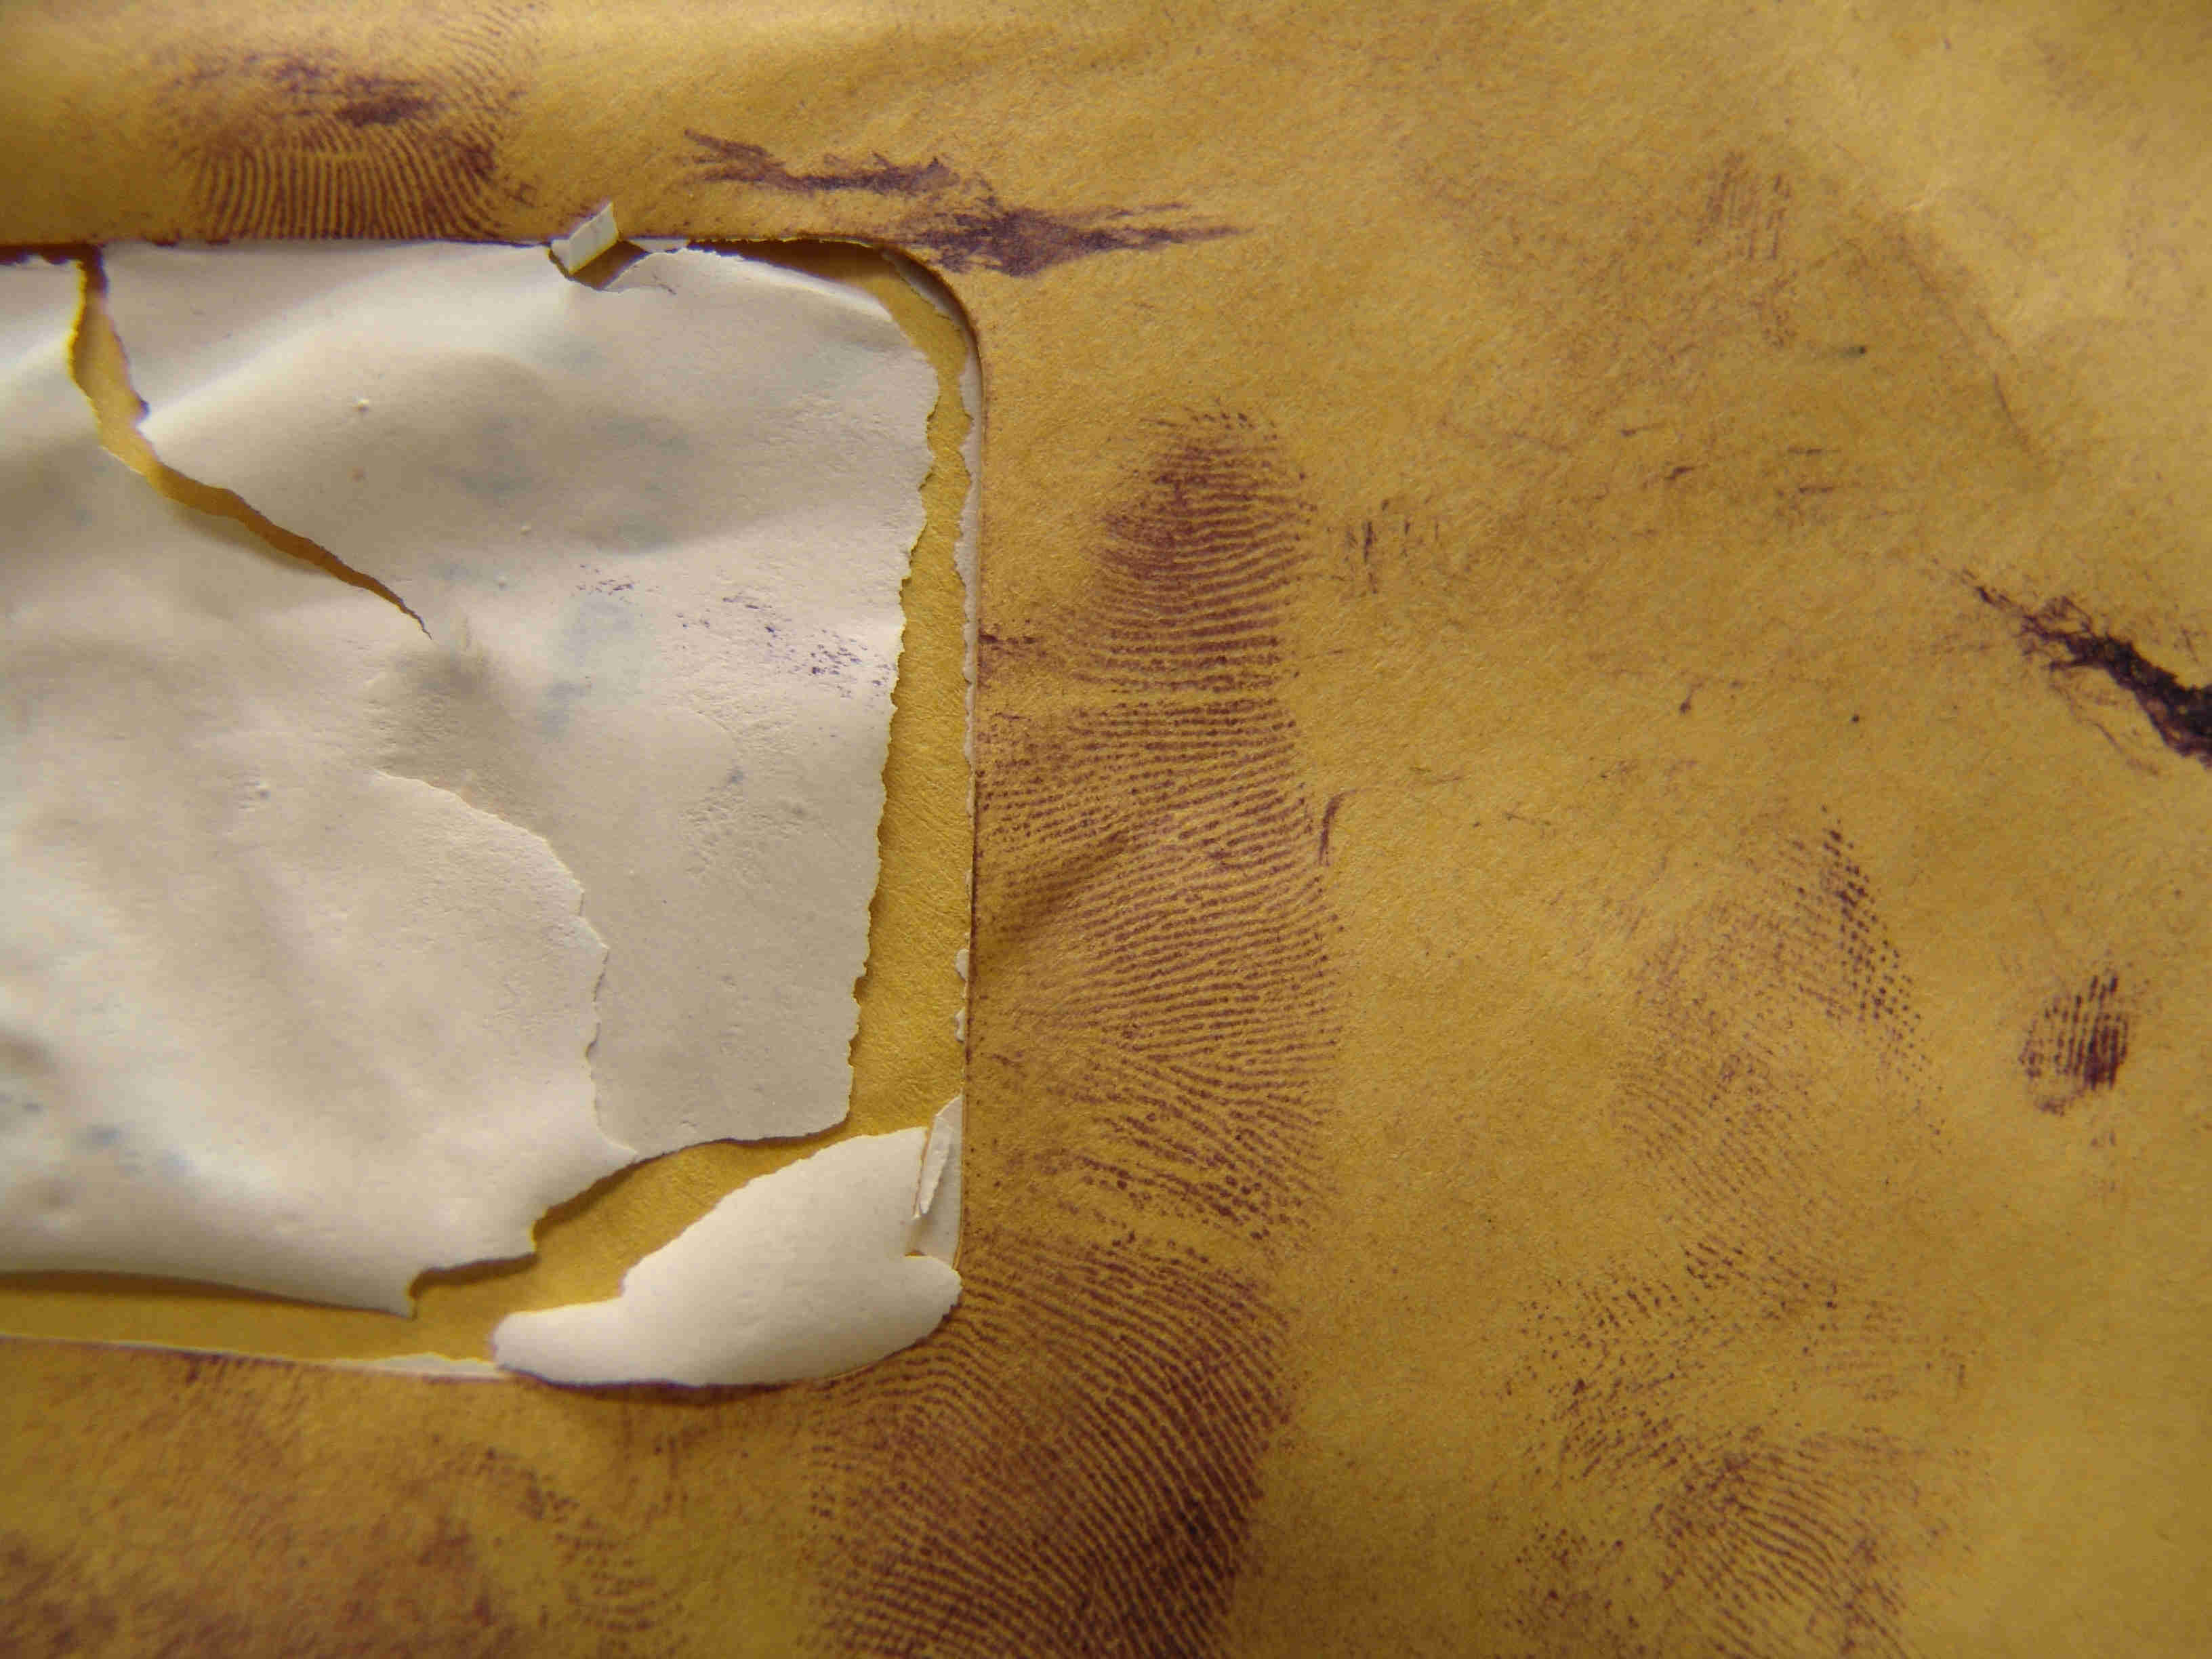
To be able to use fingerprints, you have to be able to see the fingerprints. This part is all about contrast. The following photograph shows what I mean. The fingerprints deposited on the envelope below are invisible until they are developed. All the development process accomplishes is contrast. The fingeprints are now visible on the envelope because they are in contast with the color of the envelope. The fingerprints are now purple and can be seen against the color of the envelope. I accomplished this by dipping the envelope in ninhydrin. Click on the picture to see a bigger version of the picure at the peril of longer loading time.
Footwear impressions
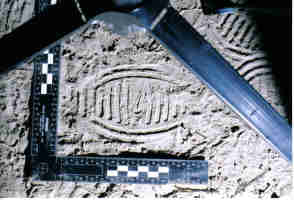
Footwear impressions are often overlooked for their true potential as physical evidence. Though not as easily as fingerprints, footwear impressions can be individualized. There are enough footwear sole patterns out there that finding someone wearing footwear that matches impressions found at a crime scene can be important evidence. The sooner this happens after the crime is discovered the better.
| Here is a photograph I took of a footwear impression at a crime scene. It is only one half of the total footwear impression but there is enough information here to identify the brand of the footwear. | This is an unusual footwear impression. At first I thought it was the track of a dolly used to remove a heavy air compressor. Upon closer examination it proved to be the footwear impression of a K-Swiss shoe. | |
 |  |
Footwear impressions can be collected using several methods. Footwear impressions can be photographed, lifted with fingerprint tape or rubber gel lifters, developed with chemicals and photographed like footwear impressions in blood, or casted. The following photographs demonstrate the casting method. This footwear impression was found outside my police department. The footwear impression was partially in water so I used this opportunity to practice the method for obtaining footwear impressions immersed in water. The first photograph is the partially submerged impression and the second photograph is the cast of the footwear impression. The area on the left side of the cast is the portion of the footwear impression that was under water.
 |  |
Photography
Photography is a vital part of crime scene investigation and forensics. All of the above sections on forensics were photographed. Proper documenation of the scene and photography go hand in hand. The pictures taken at a crime scene will represent your department and yourself when you are up on the stand. I have had to testify in local and Federal court on pictures I have taken at scenes. I am lucky that I didn't have to do this until I learned how to take a proper forensic photograph. Crime scene photographs are required to be an accurate representation of the scene as it was at the time the pictures were taken. You, the crime scene photographer, will have to testify to this on the stand. If your pictures are poorly organized, out of focus, improperly lighted, or full of distortions of perspective they will not serve you effectively in court.
| I took this photograph around 9:30 P.M. | I took this photograph only a couple of minutes later. I did not use flash and no extra lights were turned on. | |
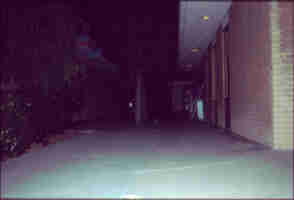 | 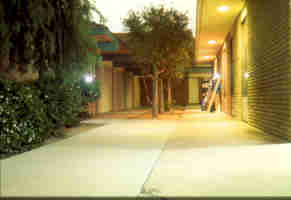 |
This photographic tecnhique is known as "ambient light" photography. Though some people that I have shown these photographs do find this hard to believe, these photographs were taken around 9:30 at night only a few minutes apart. No flash was used on the second picture as it was on the first. There were no more lights on in the second picture than there were in the first. In fact, there were fewer lights because I did not use a flash. Both pictures were taken with the camera on a tripod. The second picture was taken by using the camera's bulb setting. This setting keeps the shutter open instead of closing it quickly to take the picture. When the shutter is open light goes into the camera and exposes the film. The same image is exposed and over time the film of the camera is exposed to more and more light creating the second well lit image. I have used this technique before and I testified in court about the technique. It is valuable to show relationships of things to each other that could not be shown at night without multiple light sources. There might be some color distortions but it can be argued that it is even a truer representation of the scene as it was that night because flash has not been added.
Cigarette Butt Identification
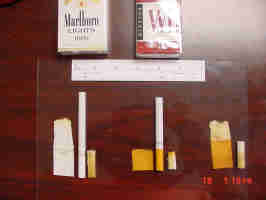
This is an area introduced more out of curosity that actual use. I have never used the techniques for cigarette butt identification on a real case before. I have tried it out in practice, however, and I do have to admit that I was impressed. I can see how it can be useful. All the information to do this came from "Cigarette Butt Identification Aid" by Bob Bourhill, 14th edition 1994. This is the last edition that I am aware of at this time. You might still be able to get a copy from Lightning Powder. It isn't difficult to learn and you can use materials that you should already have in your forensics arsenal. Quite often in stalking cases or violation of court order cases a suspect might stand in a certain location for a long period of time. If that person is a smoker naturally they might take this time to smoke. Cigarette butts have been found at many crime scenes. Now I am not talking about DNA here. You probably wouldn't test for DNA on these types of cases even if you knew who the suspect was. However, if you can identify the cigarette smoked by the suspect and then find these same type of cigarettes in possession of your suspect, while certainly no the smoking gun, this along with other pieces of corrobarting evidence can be very powerful.
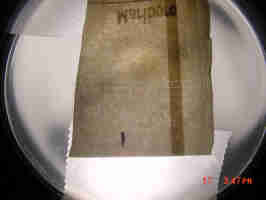
| This first picture shows three cigarette butts that I picked out of the ash tray that sits in the back of my Department. The paper around the filter has been sliced down the length of each butt and carefully peeled away. | This next picture shows my poor mans light table. I put one of the papers that went around one of the butts on the lens of my flashlight and then turned on the light to show the number of holes in the paper which is an intrical part of the formula for determining the brand of the cigarette. | |
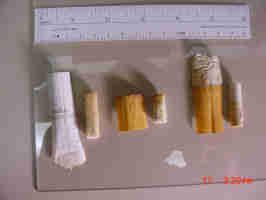 |  |
After all the holes are counted and the filters are measured and the formulas applied you take your results to a chart and identify the cigarette. The last step is to purchase the identified cigarette and do an actual comparison to the unknown cigarette butt. This last picture shows such an identification. When I did this I was satisfied that I had identified the right brands. I was unable to find a representative of the third brand in my town.
Links
Go to the SCAFO web site.Go to the International Association for Identification web site.
Contact me
If you would like you can contact me at "[email protected]".Last updated on : 04/21/05