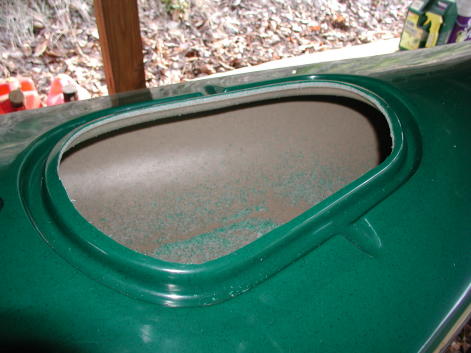
The hatch looks really trick and gives it that touring look. I used a tape measure, dry erase marker, cordless drill rivet gun and a Rotozip for this project. One hole and 5 rivets later and we have a hatch kit fully installed. Placement of the strap loops was the toughest part but I managed to get it pretty close. There is a similar retaining loop riveted to the hatch on the front strap to prevent hatch loss which was a good idea.
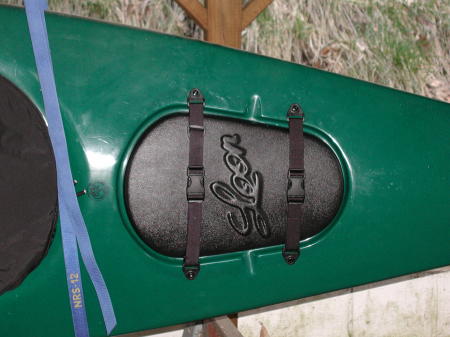
Do I think it was worth the 50 beans? No way, it fits very loosely and is bound to leak, there is no seal whatsoever. I really think they could've done a better job on this kit. I will seek out some weatherstripping material from an auto parts store to place around the lid in an attempt to improve sealing.
In their defense, this was never meant to keep water out in the event of a roll or heavy seas, that is not the intended purpose of this kayak. It will however allow easier acces to gear stowed behind the seat. I would have liked to see another loop fastened to the hatch on the back strap in addition to the single one on the front strap. I think this would help keep the lid from bouncing around or twisting on the single strap while it is off. All in all, there are worse things I could do with $50 but we'll see how much this upgrade actually benefits me when I get it on the water. |