 |
|
|
|
|
|
|
|
|
|
|
|
|
|
|
|
|
|
|
|
|
|
|
|
|
|
|
|
|
|
|
|
|
|
|
|
|
|
|
|
|
|
|
|
|
|
|
|
|
|
|
|
|
This site under construction |
|
|
|
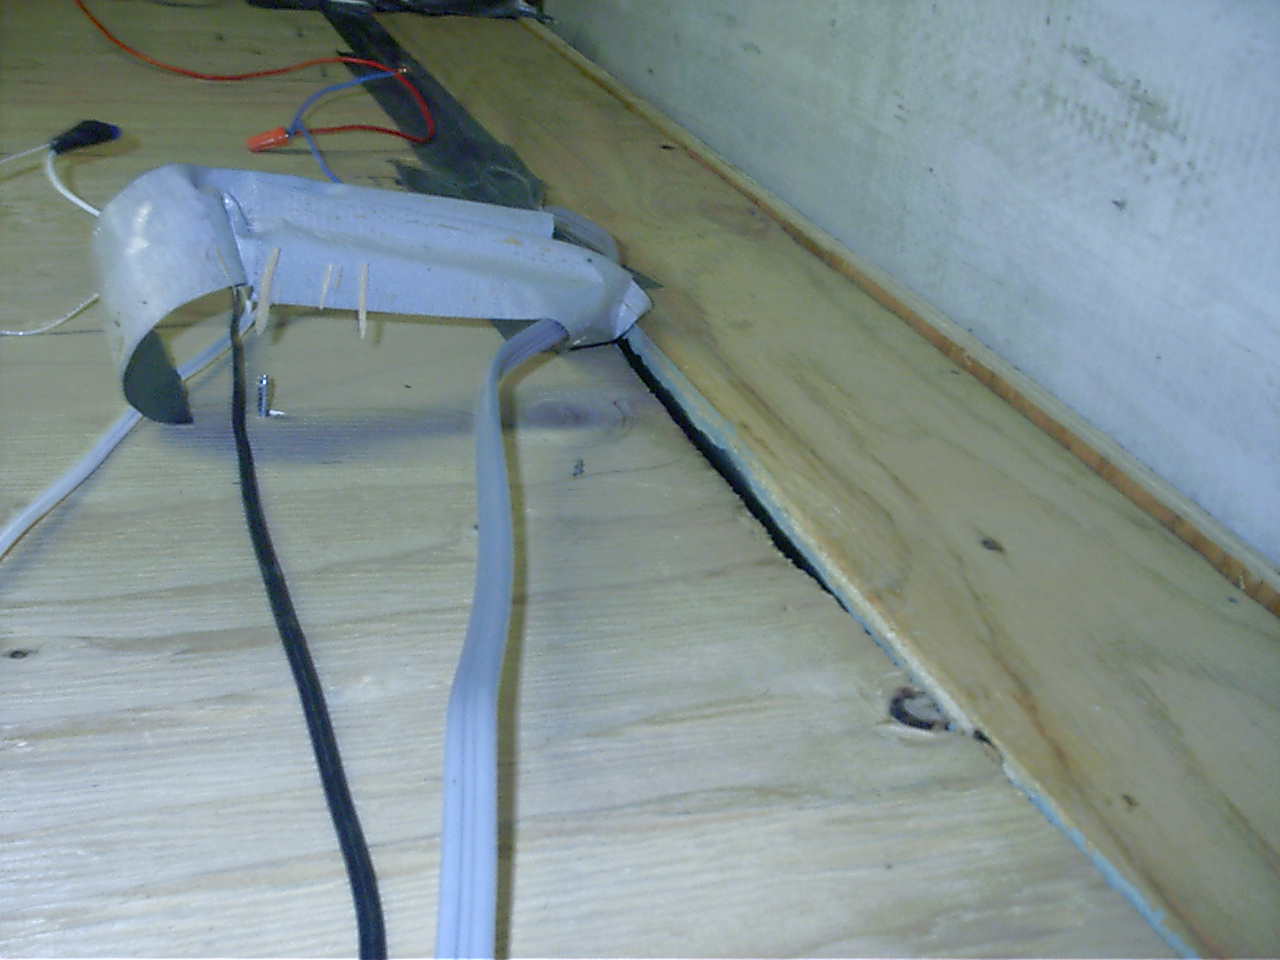
The ducktape pulled up shows a gap inbetween 2 pieces of wood that wires come out of. |
|
|
|
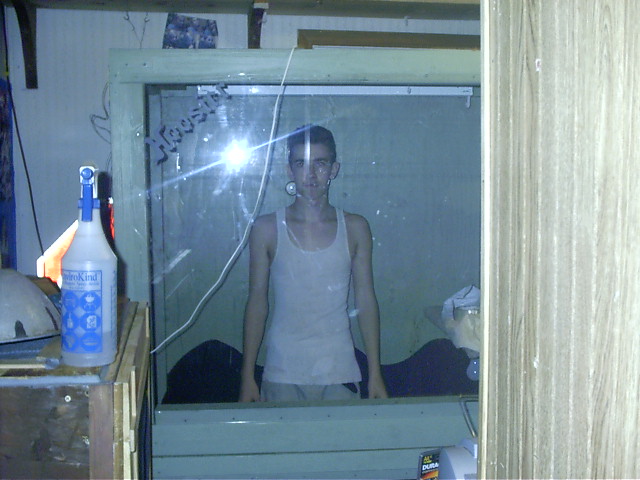
Size comparison. I'm 5'5 standing inside the cage!!! |
|
|
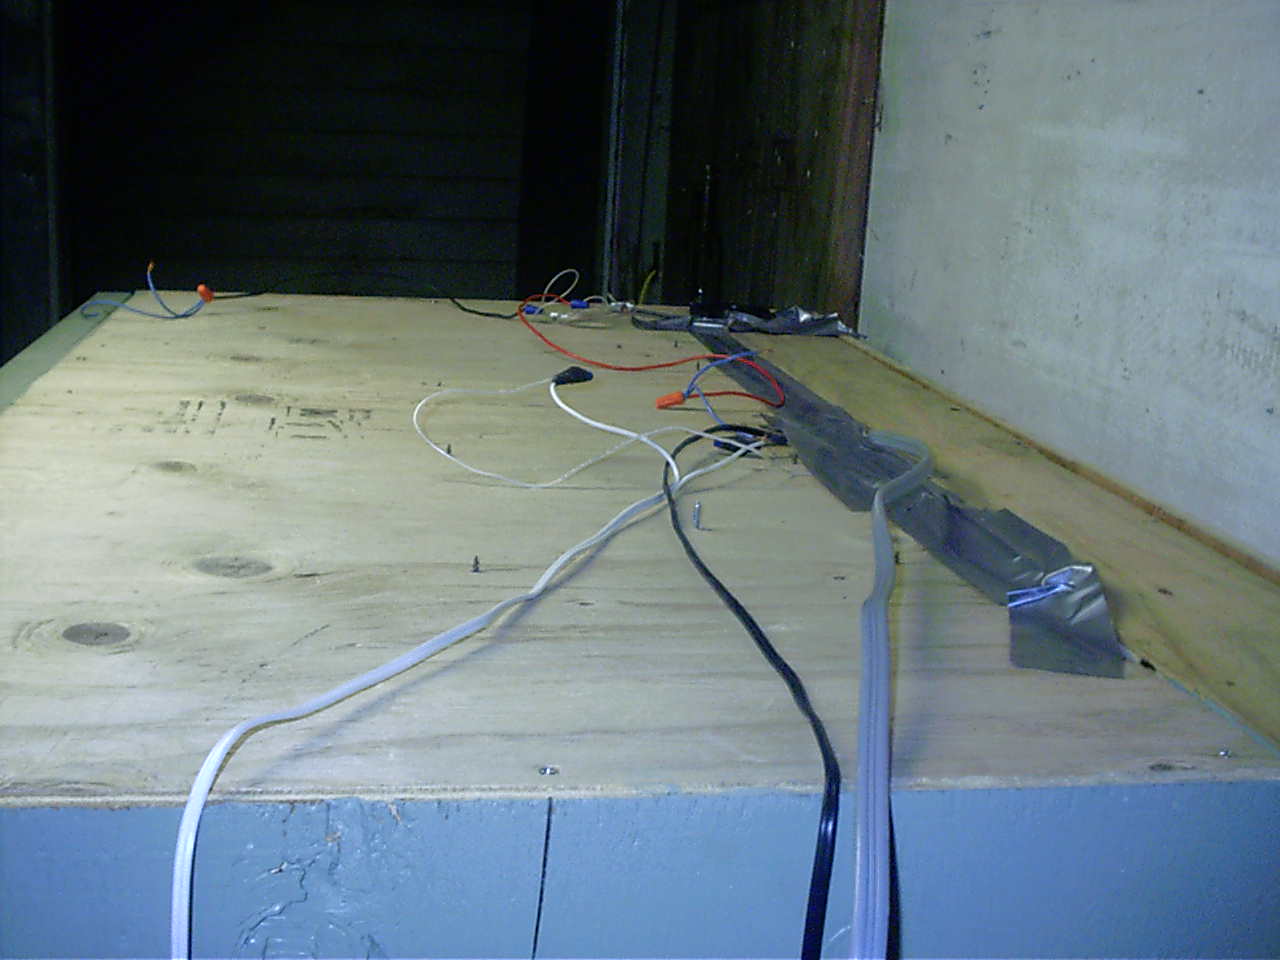
This is the top & nbsp, as you can see the wiring and some duck tape |
|
|
|
|
|
|
|
|
|
|
 |
|
|
|
 |
|
|
|
 |
|
|
|
|
|
|
|
|
|
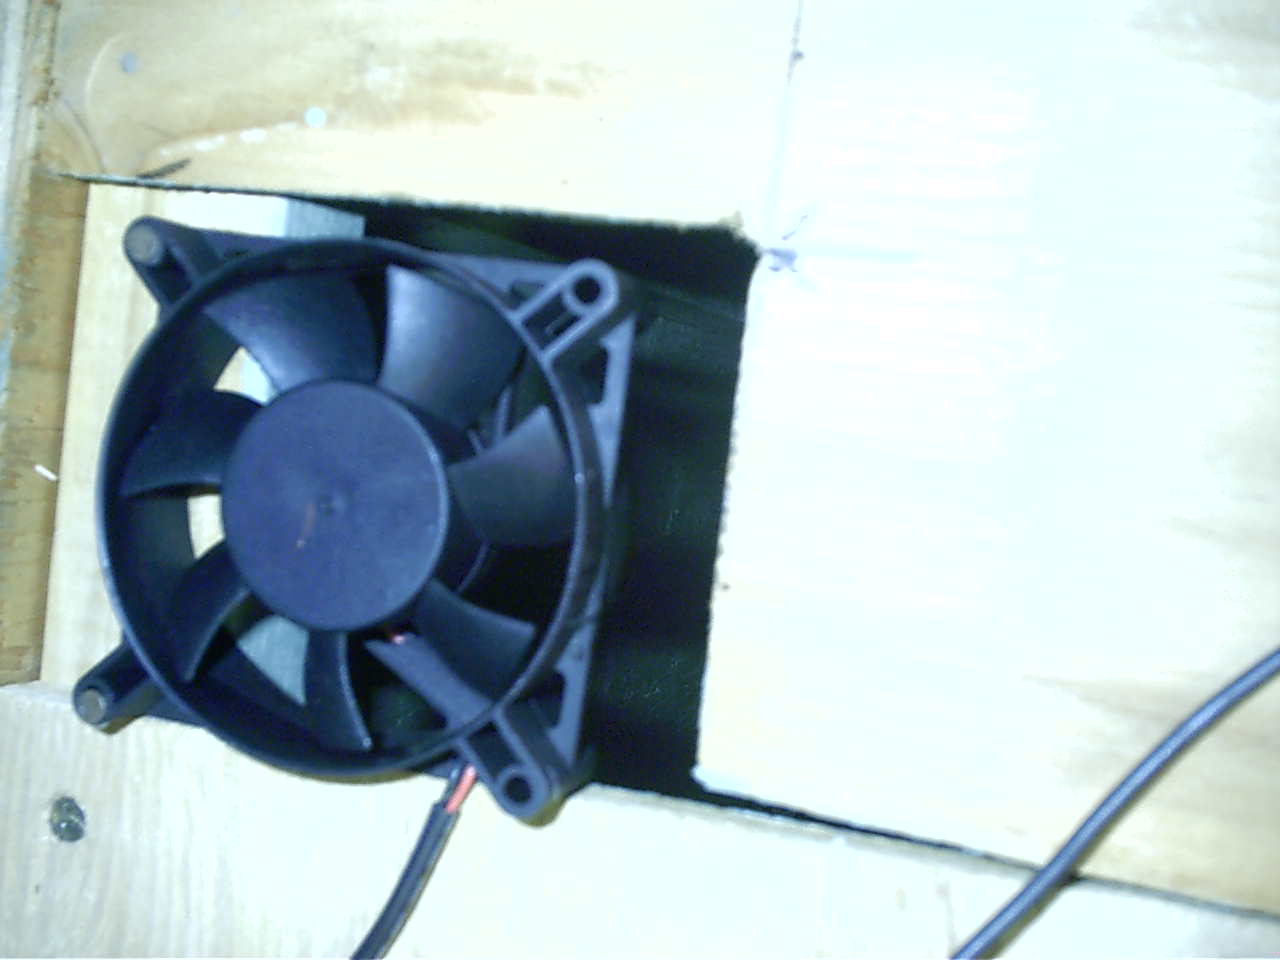
The fan on the top (see the gap around it ) |
|
|
|
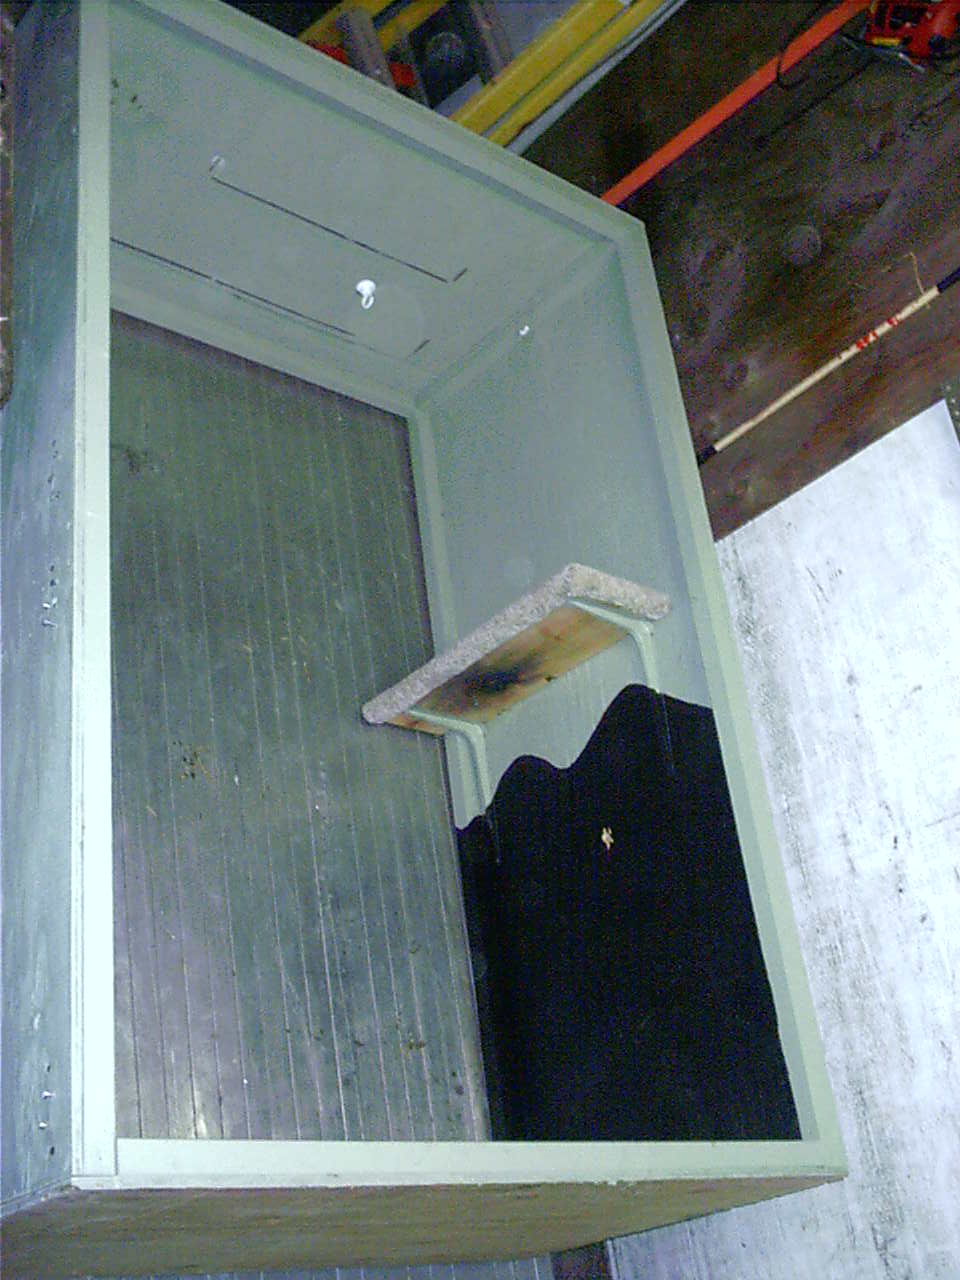
Step two: & nbsp. (Removed back and layed it down) |
|
|
|
Step one: taking apart & nbsp. (I Removed both doors.) |
|
|
|
|
|
|
|
|
|
 |
|
|
|
|
|
 |
|
|
 |
|
|
|
|
|
|
|
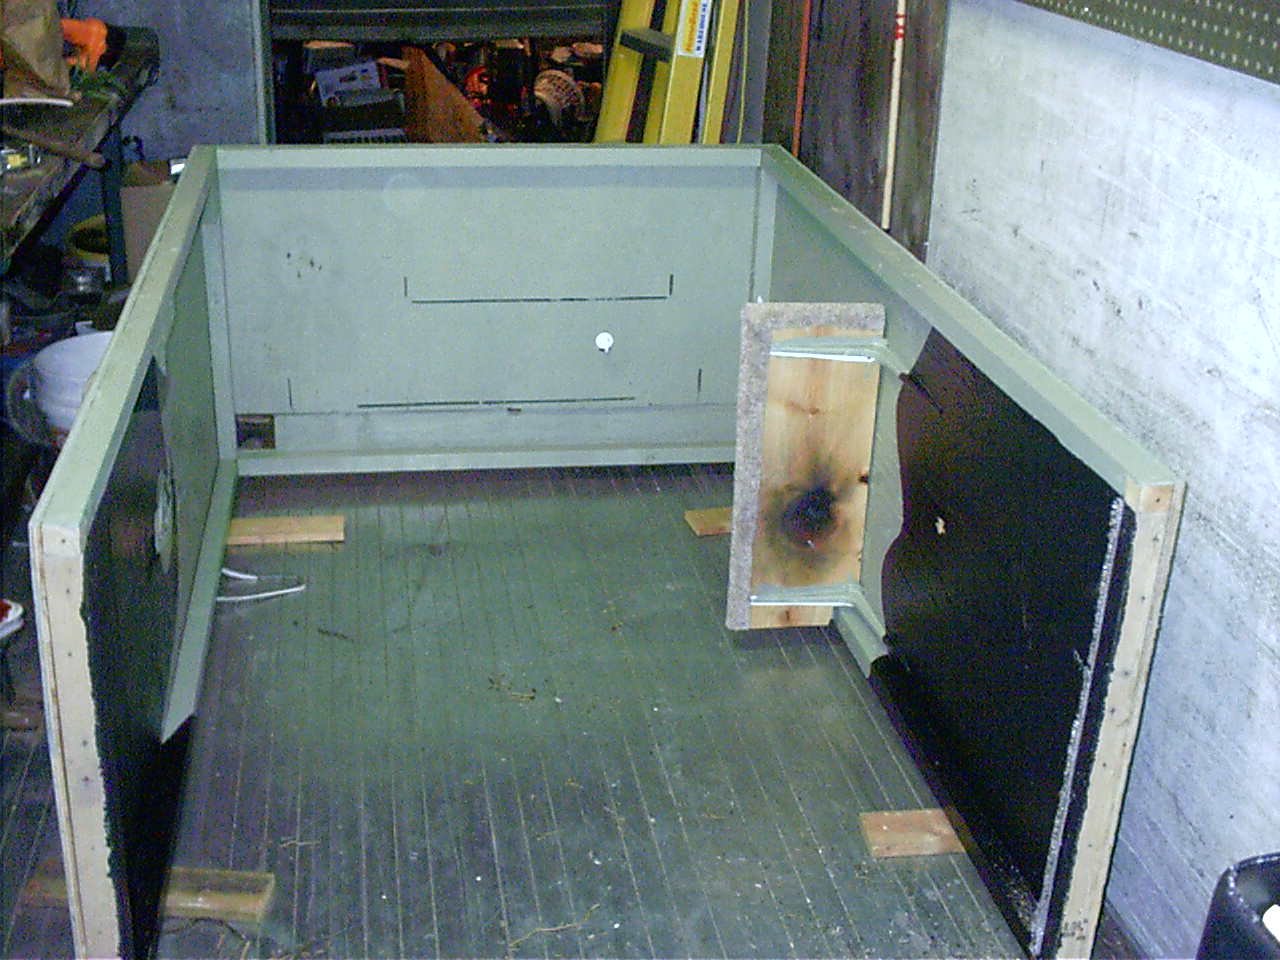
Step three: (Removed bottom, notice burn under shelf from their wiring.) |
|
|
|
|
|
|
|
|
|
|
Step six: Reconnecting the left wall onto the floor piece. |
|
|
|
|
 |
|
|
|
|
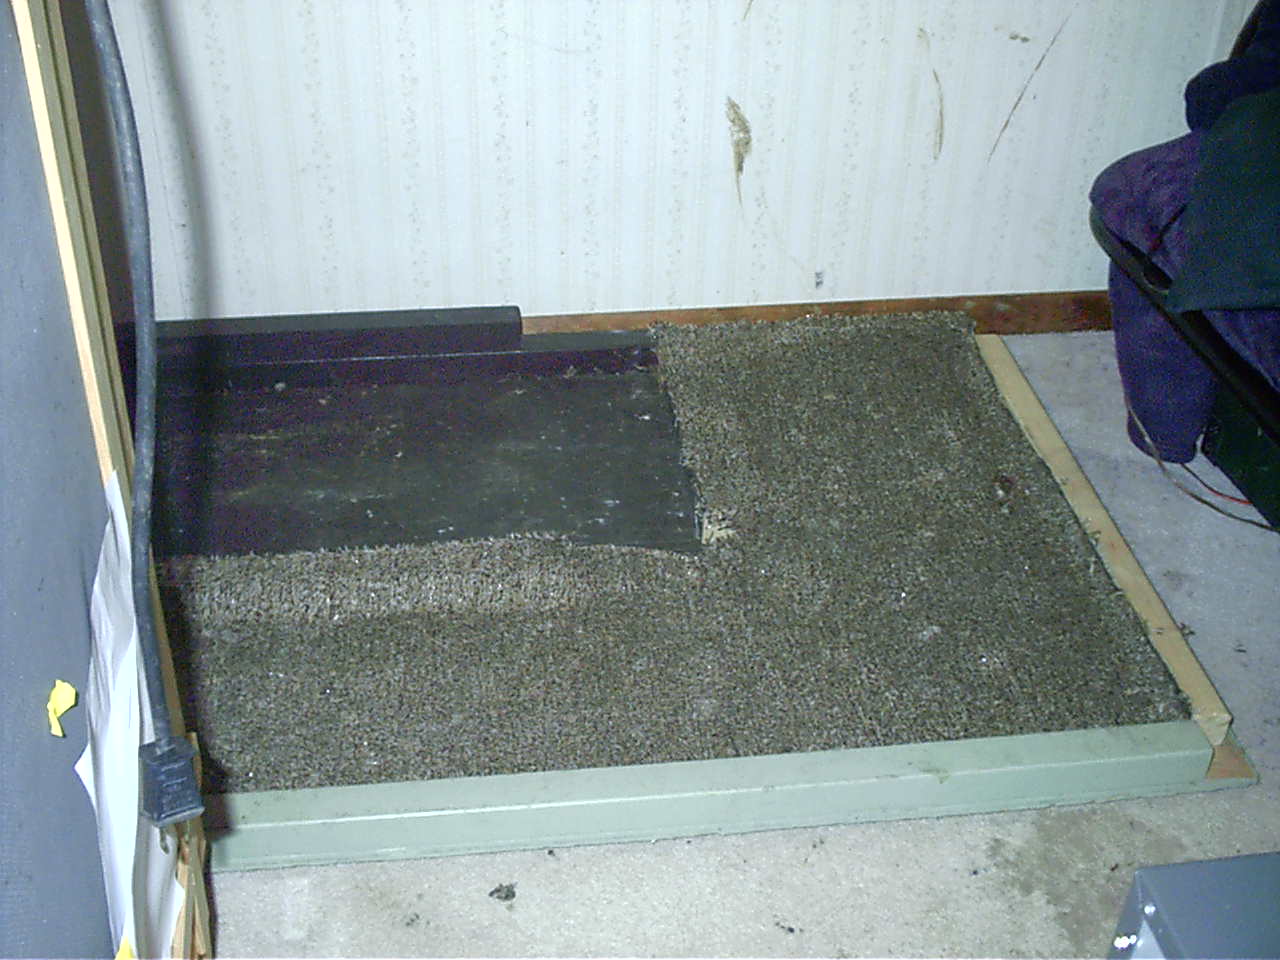
Step five: Put the floor in my room |
|
|
|
|
Step four: I removed the top of the cage. (No pic) |
|
|
|
|
|
|
|
|
|
|
|
|
|
 |
|
|
|
|
|
 |
|
|
|
|
|
|
|
|
|
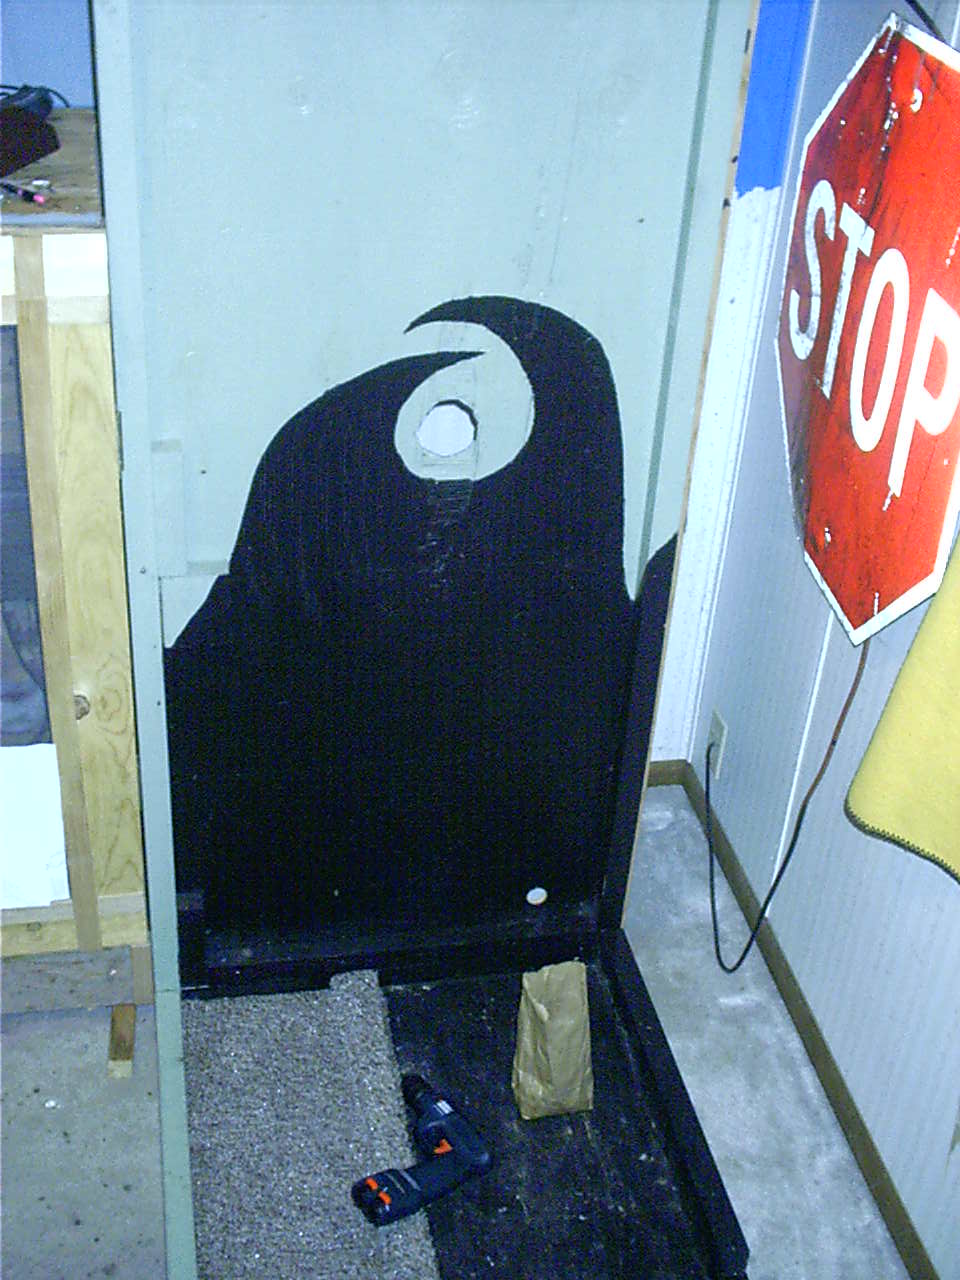
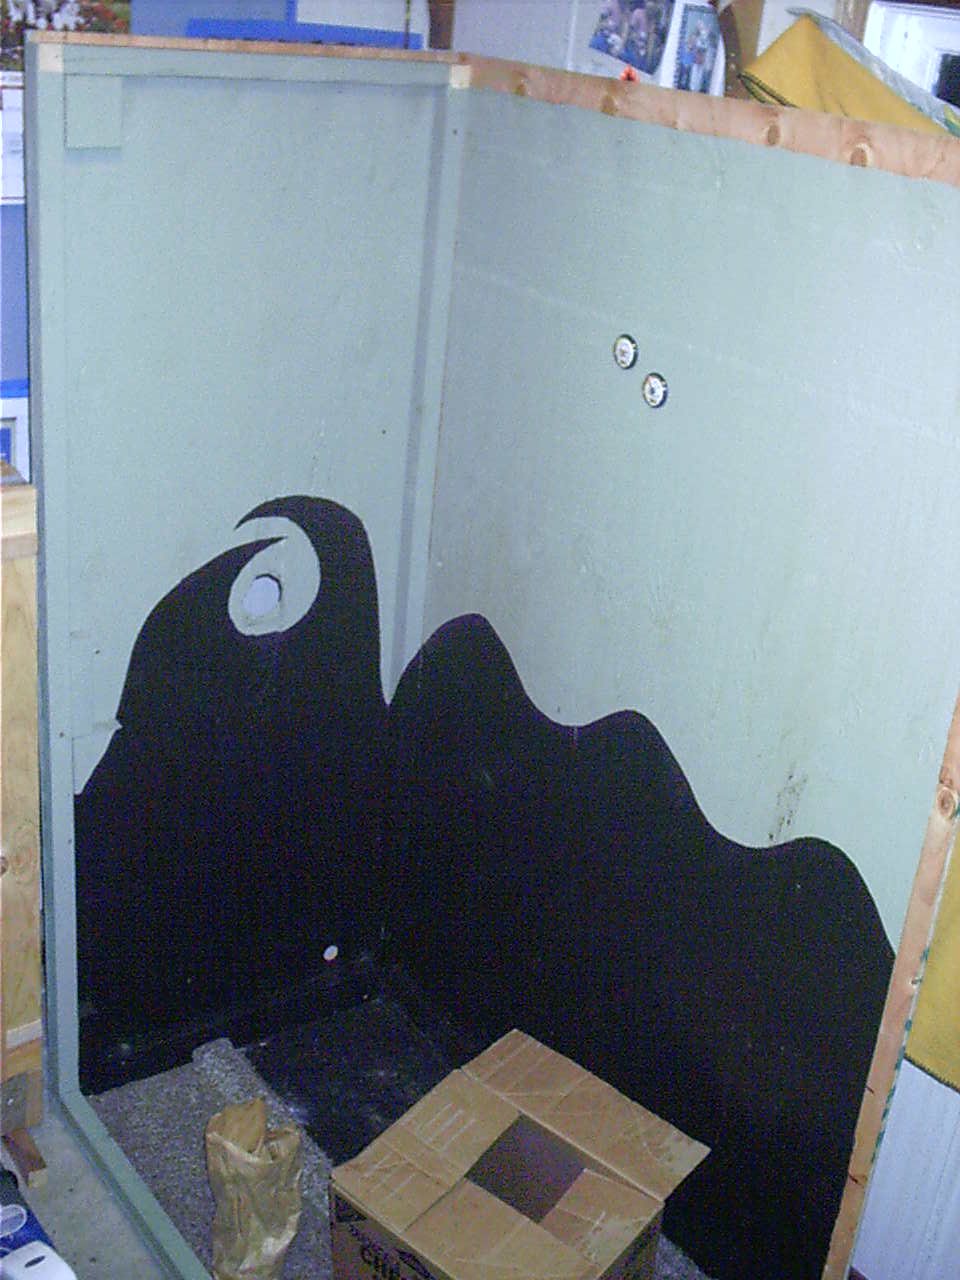
Step seven: Adding back wall to the floor and the left wall. |
|
|
|
|
|
|
|
|
|
 |
|
|
|
|
Step nine: Adding the 2 doors (No pic) |
|
|
|
|
Step eight: Adding the right wall to the back and to the floor pieces. (No pic) |
|
|
|
|
|
|
|
|
|
|
|
Step ten: Adding a sub floor & nbsp. (No pic yet will be coming soon ) |
|
|
|
|
|
|
 |
|
|
|
|
|
|
|
|
|
|
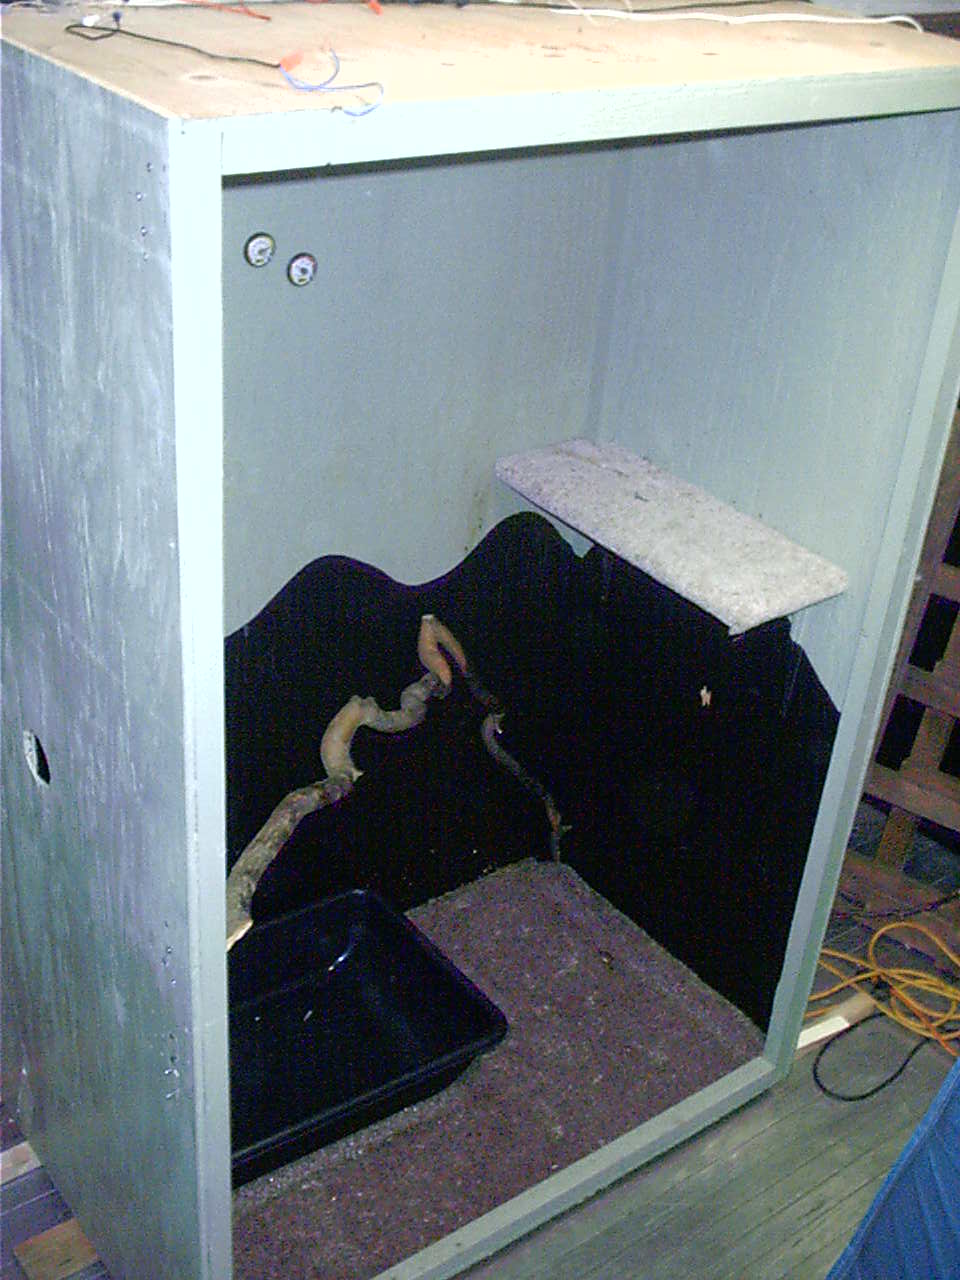
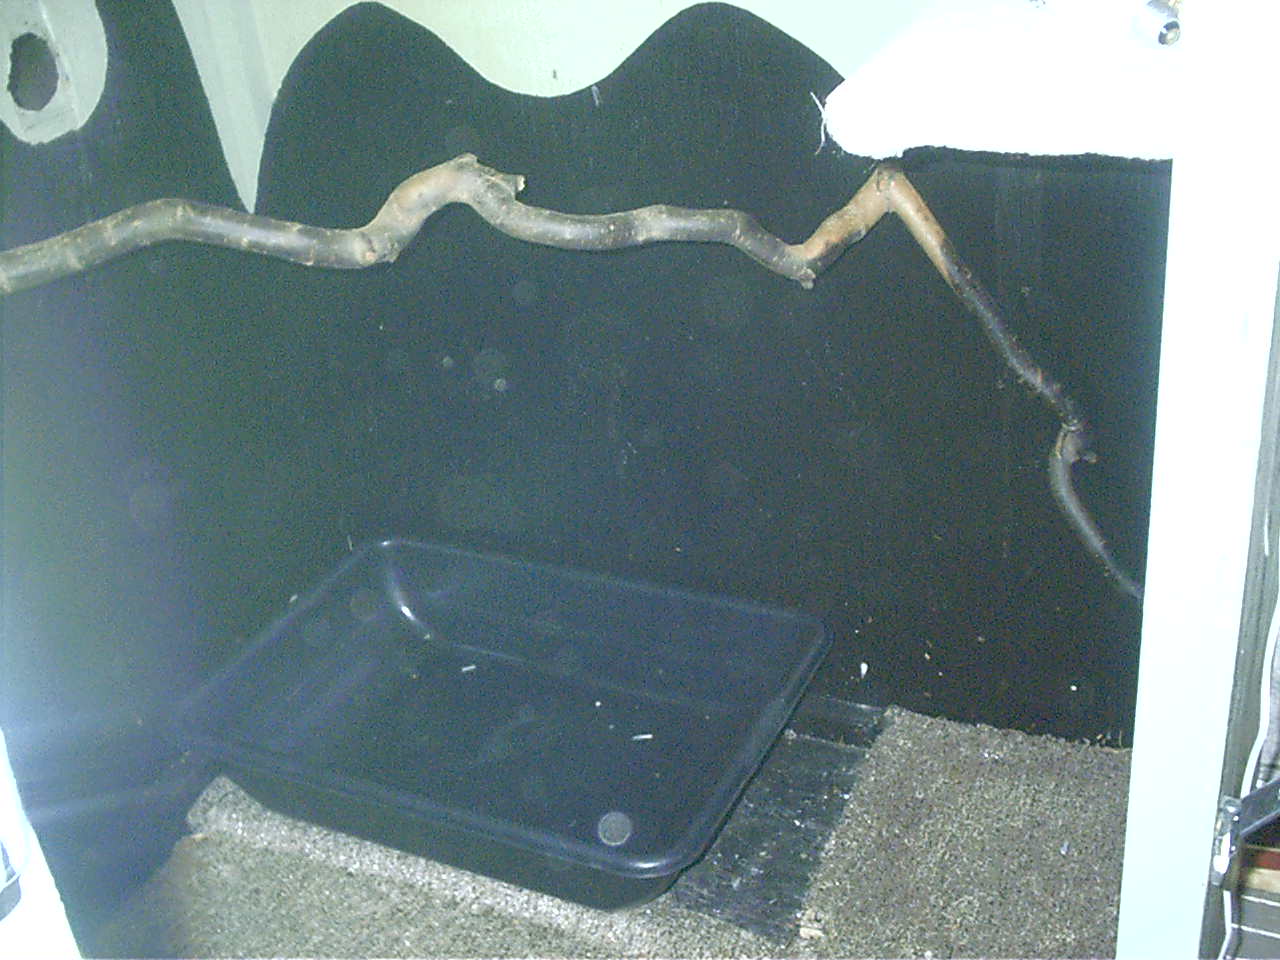
Water area and floor. how the previous owners of wally had it & nbsp, I changed this as you will see when i get the pix on here
|
|
|
|
|
|
|
|
|
|
|
|
|
|
|
|
|
|
|
 |
|