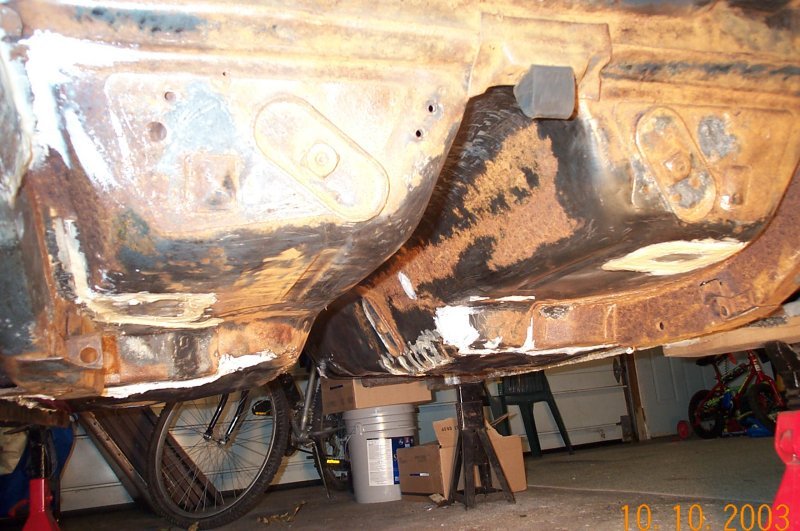
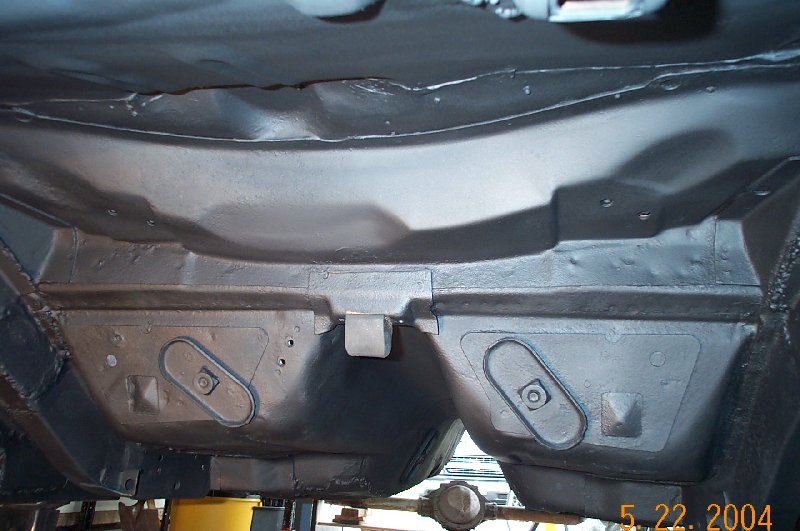
Pics 1 and 2 show some of the underbelly after I shot the MarHyde #4311 Rubberized, Paintable Undercoating. I played with several brands and styles until I decided on this one. It's very tough, has the finish that I liked most, dries super fast, is paintable and won't show scuffs and marks like most others. It cleans very easily too! That's the best part.
**SPECIAL NOTE**
This is the type of process that DEMANDS safety! Please wear the proper PPE (Personal Protective Equipment) when dealing with chemicals during projects like this! That includes a proper respirator and skin protection!
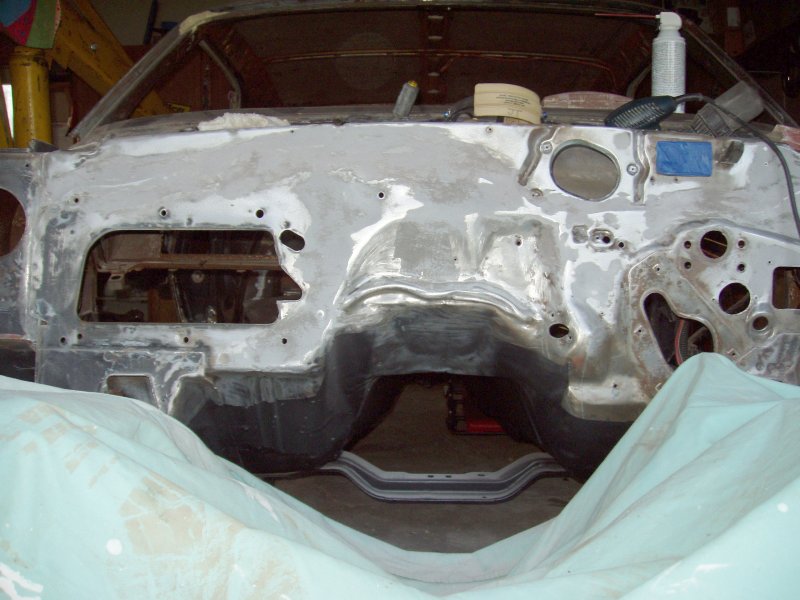
Next pictures show the firewall being smoothed out a little bit. This also marks the first time I've done any type of bodywork besides welding panels. Why am I smoothing the firewall? Hell if I know! But it's good practice for areas of the body that WILL show.
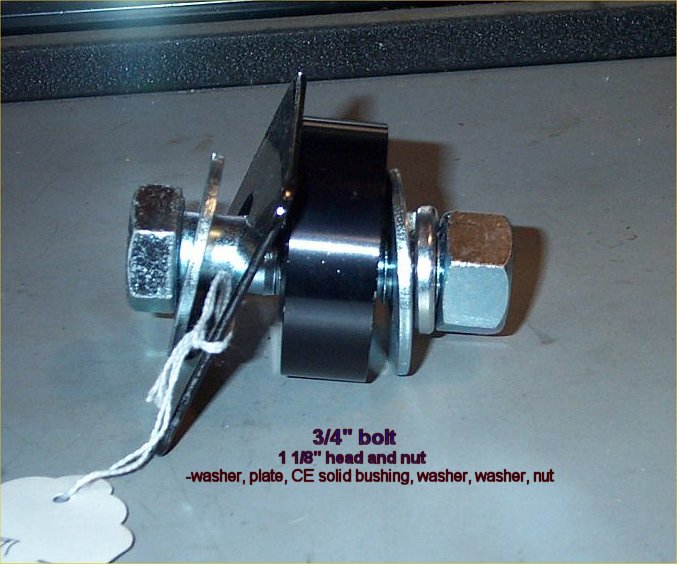
To the right is a shot of the body-to-frame mount bolt setup I had to come up with. I wasn't satisfied with using the tiny bolts the factory used in mounting the body to the subframe so I replaced them with 3/4" bolt combinations. The picture explains the setup. The 'plate' shown is used against the subframe rail mount itself to help hold the Competition Engineering subframe connectors more securely.