 |
 |
| Repeat step 11 & 12 but now apply the white color |
 |
 |
 |
 |
 |
 |
| Shell Painting step by step instructions page 3 |
| Engine |
| Diffs |
| Set Ups |
| Electric |
| . |
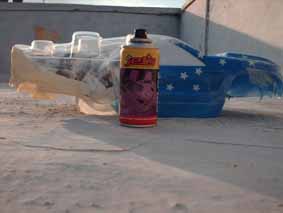
| Mask all the parts that will mot be covered with the first colour to be used (always start with the darkest color first ) |
| NOTE Shake well the can before applying any of the coats. Apply a lightcoat of the colour let dry for a min |
| Step 9 |
| Step 10 |
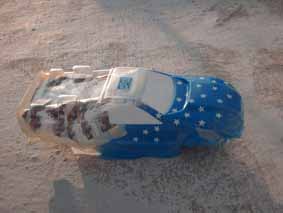
| when it is dry applye another 2 coats leat there for 15 min to dry |
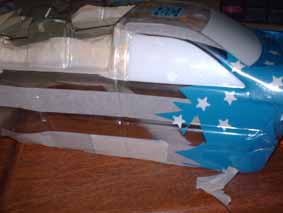
| remove all the masking you have made but leave the contact paper you have applied we are going to do the 2nd colour the red |
| Step 10 |
| Step 11 |
| Step 12 |
| Step 13 |
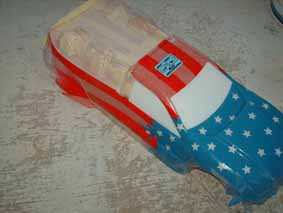
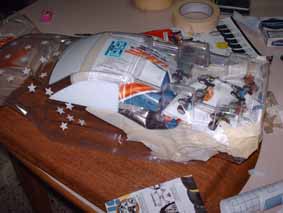
| Follow step 10 to apply the red color |
| Step 14 |
| Step 8 |
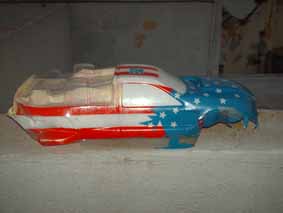
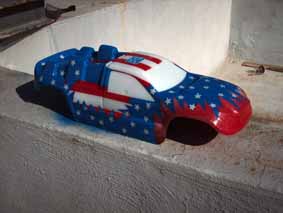
| Remove all the maskings including the contact paper leave just the window tints in the pic abouve i gave a color to were the contact paper was affixed now you can either choose a n otehr color and go what i did which is i masked the rear part and prayed the front in red and the rear in blue it depend on what you have in mind |
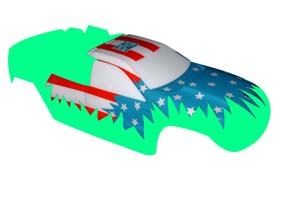
| Now you should have something like this all you have to do now is remove window masks attach the decals place on the chassis and get RC-ing enjoy!!!!!!! All Parts are available @ compunet Ltd Misda |
 |