A big mistake when starting to strip a piece of furniture if leaving the piece fully assembled. Break it down as much as possible to make the job easier. Also you need to remember the care of your stripper. Never leave the top off of the stripper (they evaporate quickly). Also make sure you apply enough remover to the surface to keep it wet. It will evaporate and it also dries out the wood. Being patient while the stripper is working is key. Most strippers require 15-20 minutes to remove any varnish or paint. And when you are stripping don't leave blocks of paint on the surface with intentions of sanding it off. This will require much more time, and that is what the stripper is for.
Stripping a painted piece fo furniture has less chance of damaging the wood than tank stripping, and it also leaves the wood a brighter color. Which if you plan on staining your wood you can stain it a lighter color if desired.
Most strippers have either a semi-paste or a thin liquid consistency; the premium agent in these is methylene chloride. When working with built-up layers of paint or varnish (which is what I enountered), begin with the semi-paste to remove a majority of the paint. You can use the liquid stripper to complete the stripping. The ideal temperatures when using a wood stripper is between 60 and 70 degrees, and never use it in direct sunlight.
Before beginning, make sure you have covered your floors with the plastic drop cloth (which needs to be around 4 mi. thick), and any other surrounding furniture. You will also want to have your gloves and safety goggles on along with your old clothes during this step. If you are working indoors, like I did, make sure you have all windows open and all fans going to help with ventilation. A respirator can be handy just in case the fumes get to strong. And if this happens take time out to step outside and get some fresh air, remember you are working with very harmful chemicals.
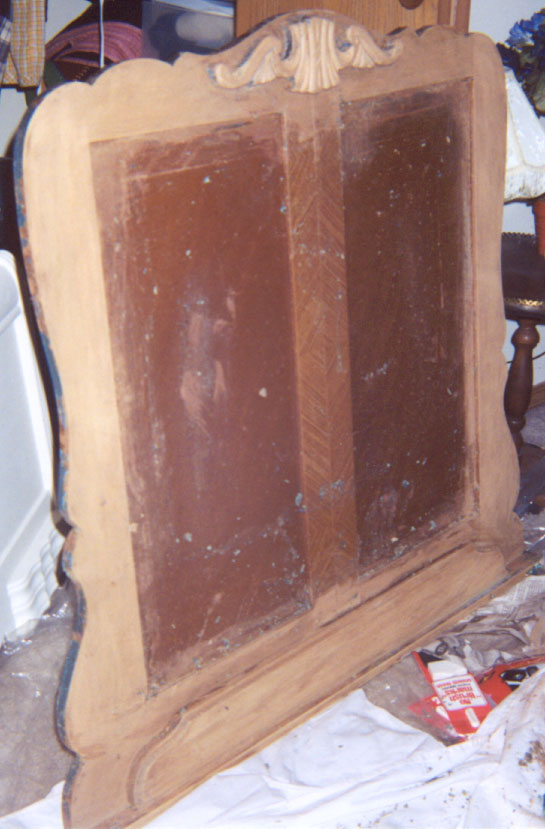
Remember to strip parts separatly. Remove mirrors and drawers prior to stripping. Remove any handles before stripping too. You can place these in a bucket of stripper if you feel it is necessary.
Apply the semi-paste stripper to the surface of the wood using the natural bristle paintbrush. Work from top to the bottom when stripping and always spread the stripper in one direction with the brush. Apply it thickly, making sure on carved areas that you have a generous amound applied. As the stripper starts to work you will want to keep the surface wet, so applying more stripper can help this. As you apply the paint remover, the old finish will start to soak it up, and the reaction from the stripper will stop. So applying enough remover is essential. |