|
How
I painted Dr.Fraiser pt1 • By HowlsThunder
a step-by-step but brief walkthrough for the curious and because I was bored. This page may take a bit to load. Immages are slightly less than wonderful quality so that they loaded faster. Some of the images can be seen a bit larger if you click on them. |
|
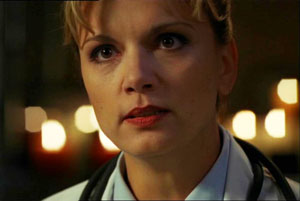 |
The original
photograph. Not mine, mind you... |
 |
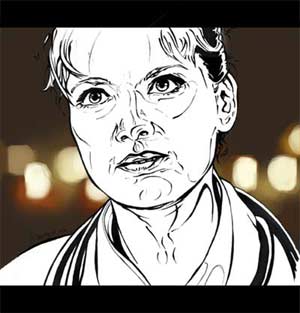
My pen
illustration I drew by hand. I scanned this image into Photoshop at 300dpi in RGB mode, not bothering with any sharpening while scanning. Click on the image to see a larger version. |
 |
With the image in Photoshop, I copy the entire image and paste it as an Alpha channel. Using the channel to select only black areas, I paint in the lines on a new layer to seperate the lines from the paper and to get rid of any flaws from scanning on the cruddy scanner I had to use. This done, I painted in the background and gave the image a "frame" since I didn't draw the top of Dr.Fraiser's head. |
 |
Next, I put in the background - the blurred candles. For this I used the airbrush and selected colors from the original photograph. This was actually the easiest part. Just how I did it I won't say - you didn't think I'd give out ALL my tricks, didja? |
|
All images
on this page except for the first one were all created by Kara Stenberg,
who cannot and does not claim copyright since it's all directly based
on a copyrighted image owned by MGM and who knows what else. This page
was created for FUN and nothing more. |
|