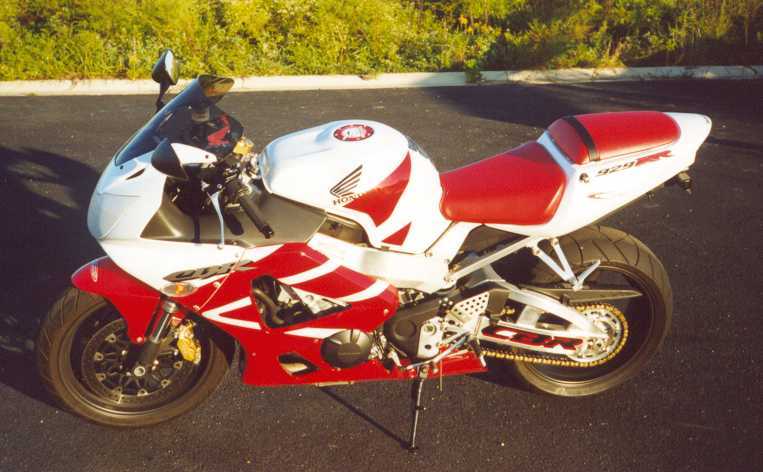
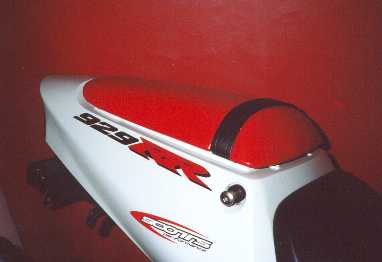
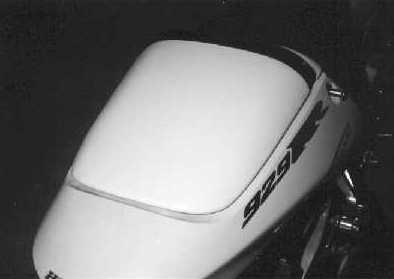
There are companies who already sell seat
"skins". But have you seen the prices? I was not interested in spending that kind of loot. I wanted a quality seat cover that would look and feel good, and be durable enough to stand up to the abuse a motorcycle seat can be subjected to! I finally found the right material, and created an installation that I'm proud of.
Now, I would like to make these covers available to other 929 owners who would like their bikes to stand apart from the rest, and enjoy the pride associated
with doing the work themselves.
In contrast to the high prices you'll find for comparable covers from some of those other companies, you can get these for VERY reasonable prices! (Pricing below) At present, you can get your covers in either Red or White. (Sorry - I have not yet been able to match Honda's Pearl Yellow - but I'll keep trying!) Other colors may follow...
"Install-'em-yourself"
The covers are cut using custom templates. The OEM rear cover is a flat piece of vinyl, as is my replacement cover. The OEM front cover presented a little more of a challenge - it is a sewn, multi-panel cover. My first 'prototype' cover (and the one pictured above) was a two-dimensional (non-panel construction) design, which was tough
to install properly. The end result was good, but it required way too much work, and I didn't want to sell anything that was annoying to install. After much experimentation, and a little help from my wife, and both our mothers, we come up with a superior, sewn multi-panel design which very closely mimics the OEM cover. This cover is now ready and 'shipping' in place of the original. The cost is slightly higher (but still
much less than those other guys...);this cover requires a LOT more work and material (and takes me approximately an hour to create). I'm sure the multi-panel fron cover's fit and ease of installation will make it worth every penny!
I wish I could tell you that installation was a piece of cake, but the fact is - it takes patience, a little creativity, and a good staple gun! The end result depends entirely on the quality of the install. (You will need: a staple gun and staples, thin
flat-blade screwdriver, 'hobby' knife and needle-nose pliers) If necessary, the skins can be cut or trimmed during installation for the best fit. It's difficult to wrap fabric around a three dimensional object with complex curves and NOT get 'bunching' or 'folding' of the material. For best results, I suggest looking at the OEM covers before removing them, and installing your replacement skins using the "gather and staple" technique similar to that used for the stock covers.
Installation should take about 15-20 minutes per seat. With the right tools and a little patience, you will be able to achieve excellent results! |