from anatomical chart company. Since all I really needed for
him to do was move his mouth and swing his head from side to side I only needed two
servos to run him. These were installed just like the ones in the organist head but I didn't
put any LED's in the eye sockets. The false eyes that I used were epoxied onto 6 inch
pieces of wire and drilled into the socket backs and epoxied so they floated in the sockets
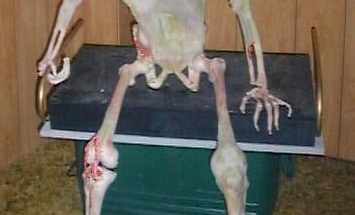
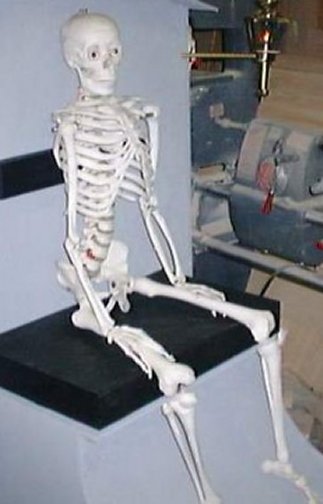
instead of just gluing them to the bottoms of the openings. Now take the pelvis bone and
with the seat top attached position him where you need it to look natural and screw down
through this bone into the seat top. I found that I also needed to put a wood spacer under
the tail bone so he sat more natural and then I used a piece of wire from his spine by the
shoulder blades to the seat top to steady the whole upper body.
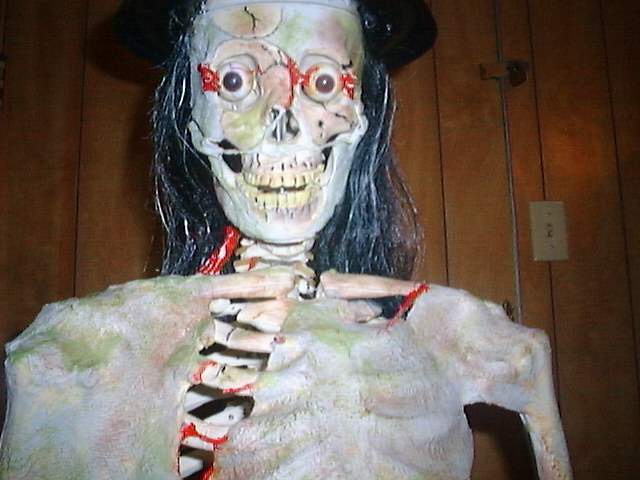
the best way I like is to use liquid latex and cheese cloth. After it dries and
enough coats of latex are applied it really looks like old skin. For the muscles around the
eye I used the latex straight from the jar and made a patch on some plastic of about 4
coats. Then I peeled off some strips and rolled them into long strands, using more latex I
glued them onto the eye and bone of the socket. After this was dry I painted it red and
high lighted them with white paint. To apply the cheese cloth to the rest of the bones lay
down a coat of latex then put the cheese cloth over that and keep putting on coats of latex
until you have the desired look (use a hair dryer to speed up the drying process). The rest
of the body skin was painted with different colors of green craft paint.
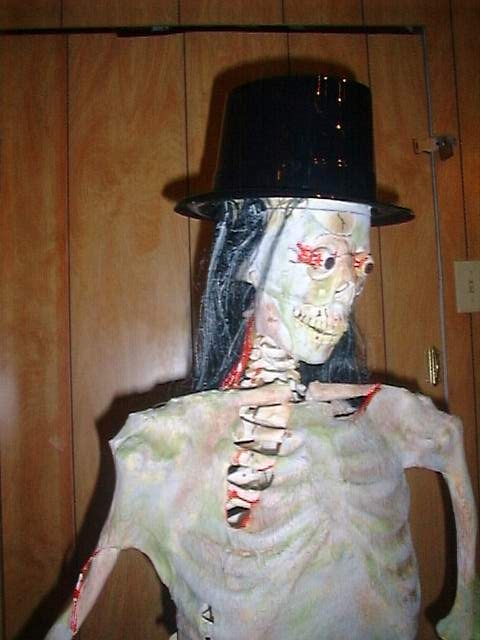
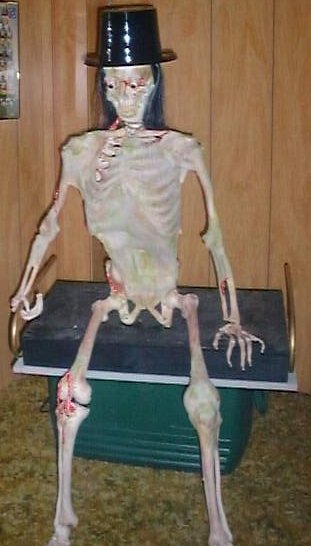
$2.00 these are top hats for wedding table decorations. The under side did not fit his skull so I made a foam insert and glued it to his skull and the inside of the top hat. Then I used ribbon around the outside of the top hat and secured it with tape. The computer speaker for his voice was hot glued to the inside of the rib cage and can not be seen because of the skin over his ribs, but makes it like his voice is coming out of his mouth. After I had him painted I coated the whole thing with clear coat and added a plastic cape around his neck.
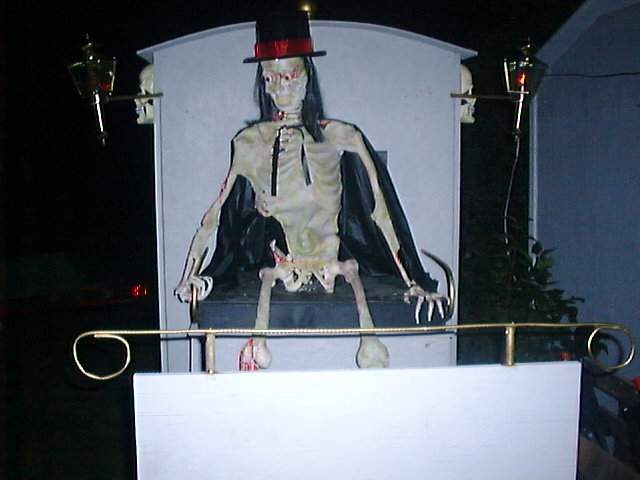
His voice is activated from the OOPic computer controller by way of another servo under
the seat that runs a loop tape and controls the coffin in back. So all told you still need
three servo motors. The reason I did it this way is the hearse is about 75 feet away from
our house and it is now a self contained unit only needing 110 volt power and an air line to
run it.