


SIMPLE AVATAR
Welcome to a very exciting lesson using Photoshop 7.0! Let us have our materials ready.
- Open up Photoshop 7.0 and open the image you would like to change into an avatar.
- We need to change you image into a square shape of 100 by 100 pixels. Take
the Rectangle Marquee and round up the main part of the image you want.
Go to Image>>Crop. The image now needs to be fixed into the correct size.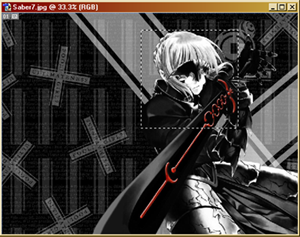
- Go to Image>>Image Size>>And set both the width and height to 100 pixels.
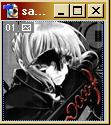
- Now right click the current layer of your image, and click "Duplicate Layer".
After the new layer has been created, go to Filter>>Sharpen>>Sharpen.
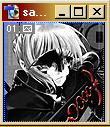
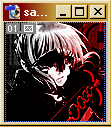
- Now go to Image>>Adjustments>>Selective Color. Play around with the settings
until you are satisfied with the results. Watch the colors change carefully! (Note
that the image below has the red in a deeper shade now.)
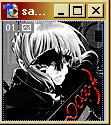
- Now create a New Layer over the last layer made. Go to the Paint Bucket tool,
but right click it to change it into a Gradient Tool. Go to the Gradient Editor
(which is now the new color strip up on top of the toolbar), and change the
colors to your liking. Then over the new layer, click to watch the colors cover
the layer. Back to the Layer palette, change the "Normal" setting of the gradient
to "Overlay". (Of course, you can use any kind of setting you want, but I prefer
Overlay for this one avatar.)
- Now you are done! Go to Layer>>Merge Visible. Add text or any kind of effects to your new avatar. =) Hope you enjoyed the tutorial! Check out the others for more fun.
About
Name: Lisa L.
Birthdate: February 4, 1991
Horoscope: Aquarius
Birthstone: Amethyst
Element: Wind
FEATURING...
NAVIGATION
Credits
Copyrights & Credits
THE OTHER WORLD © Lisa L.
Brushes & Textures © Ivy Tran
Designed by Aethereality.net