

FACTORY PHOTOS

The making of a Christmas Ornament,
a bottle
or a stemmed wineglass, is much
more labor intensive and
complex than
you would think. What makes Egyptian
glass unusual
is the fact that no molds or time
saving machines are used
during production. Another
unique feature
is the fact, that clear
glass is used and then paint is
baked in to the object. Please
scroll down
this page and follow the steps
involved
in order to see how your
special ornament or bottle is made.
Step 1: MAKING A GLASS ROD
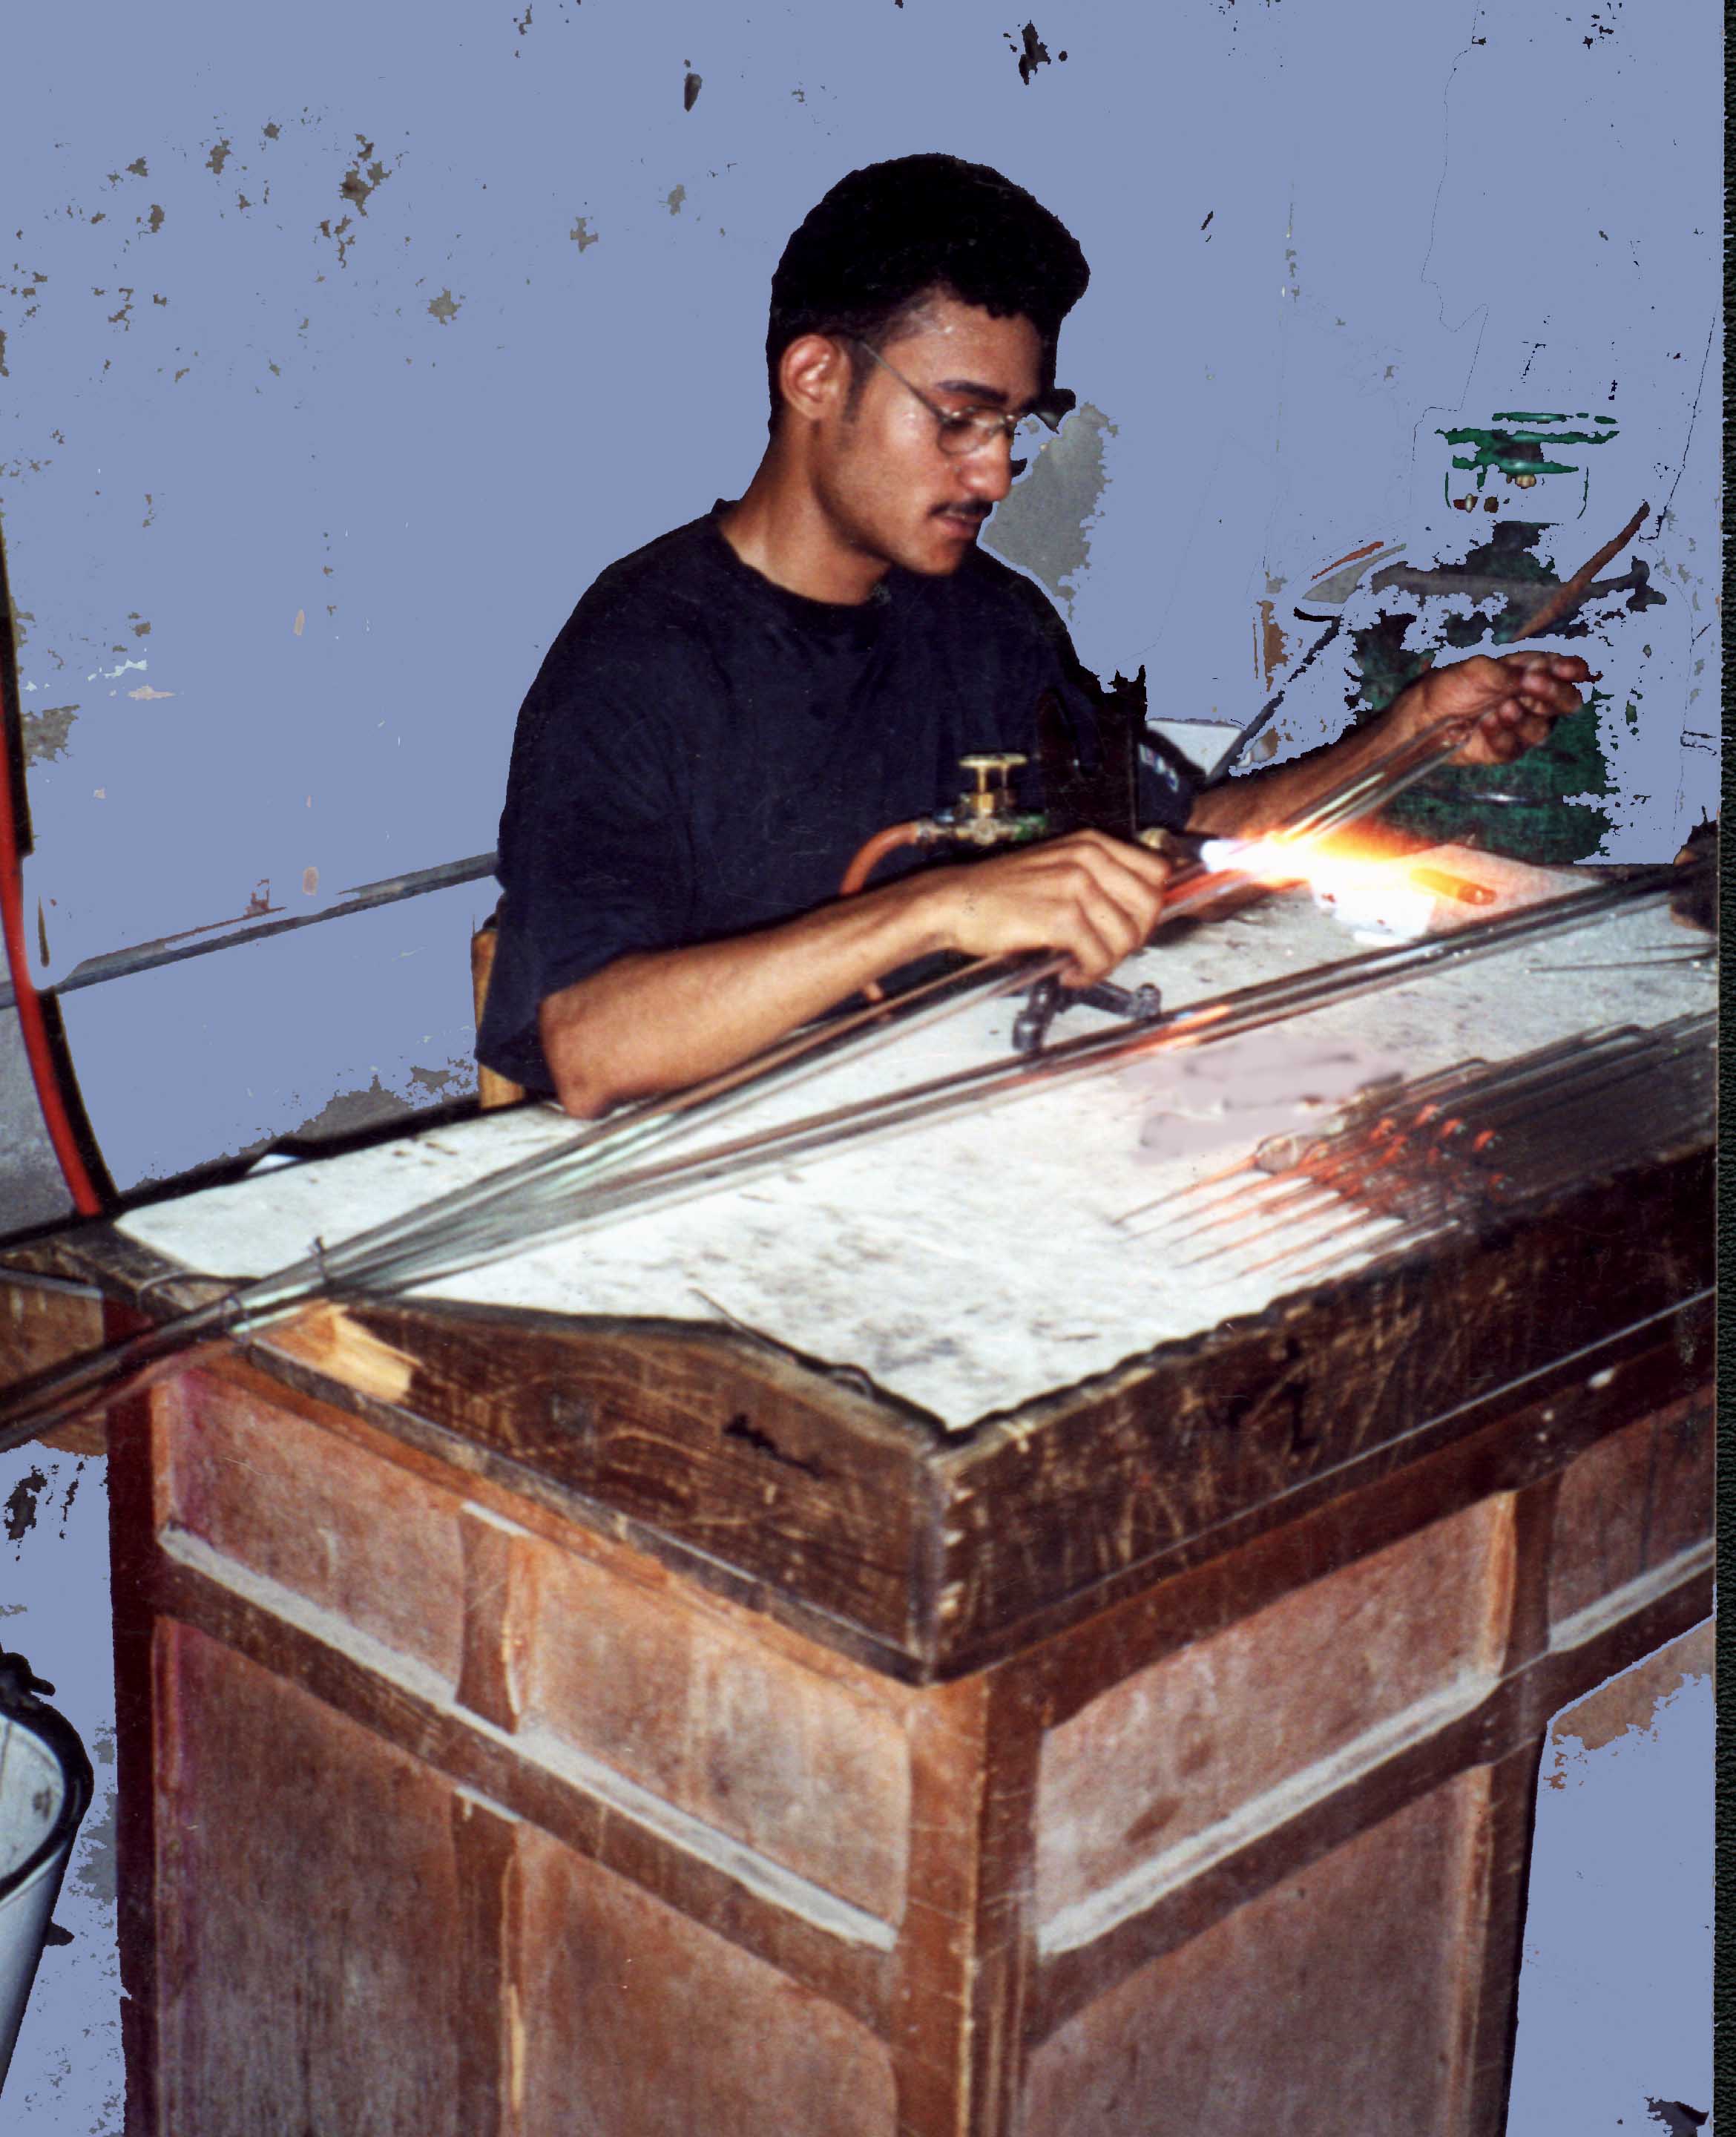
We start with long tubes
of imported Czech pyrex glass.
Pyrex is used because of its high
tolerance
for heat and for the fact that its
thickness allows for deep etching
and intensive handling.
Before the craftsman can begin giving the
piece its shape or its ornamental
decorations, he must shorten the tube
into a workable length and then fatten
the center a bit by blowing air into it.
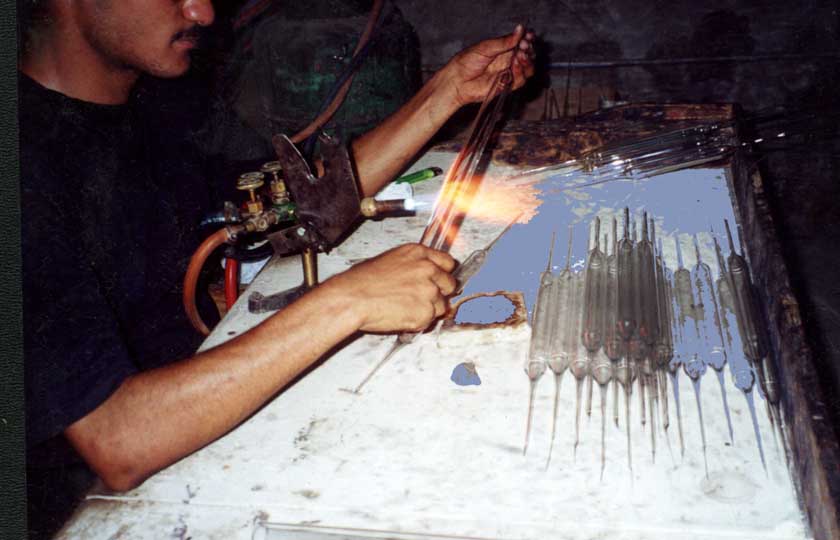
After 15 minutes or so of the
pre-production
prep work of creating the rod, the
craftsman
can now begin blowing.
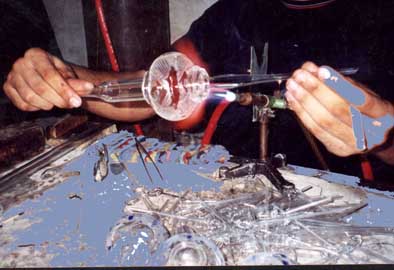
Step 2: GIVING THE OBJECT IT'S SHAPE
By blowing air into the tube and
then twisting and turning the rod , the
craftsman is able to turn a sterile rod
into a ornament or bottle with
unique properties.
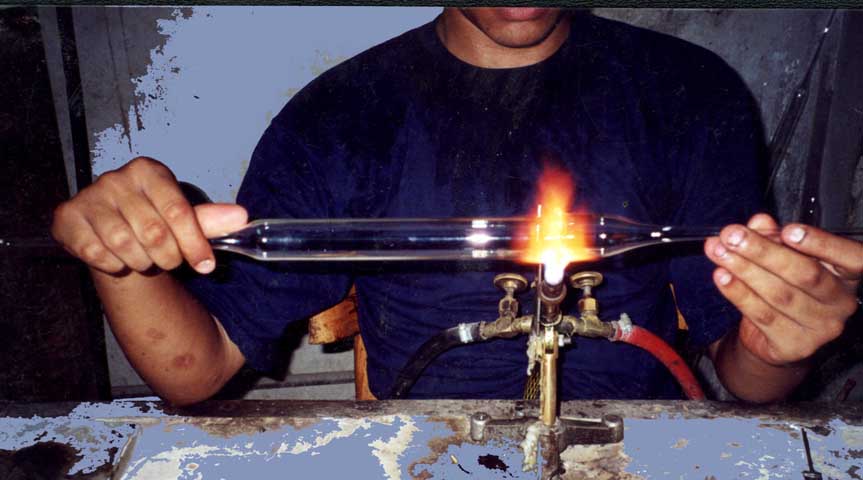
Depending on the complexity of the piece,
this step of blowing air into the piece by
mouth and
then refining its shape by the movement
of your hand, can take up to a half hours
amount of time and is repeated
over and over again till the desired
shape
has been obtained.
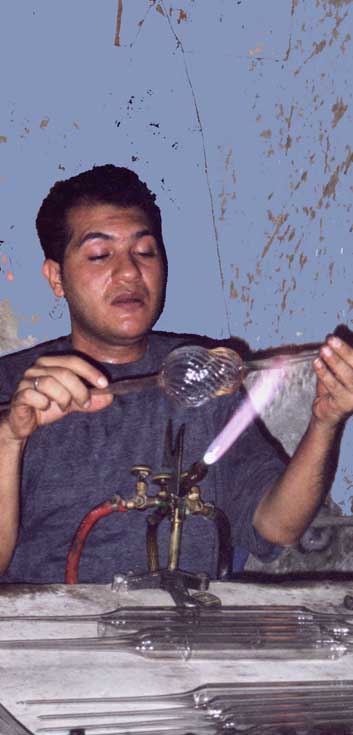
STEP 3: APPLYING SPECIAL TOUCHES
Once the ornament or bottle has its shape
and has been cooled, the extra touches,
such as etching or applying decorative
thin lines of glass on top of the piece,
can
now be done. This is where the real
skill of the craftsman shows and
the difference between a unique
piece and a mediocre one reveals itself.
STEP 4: APPLYING THE PAINT
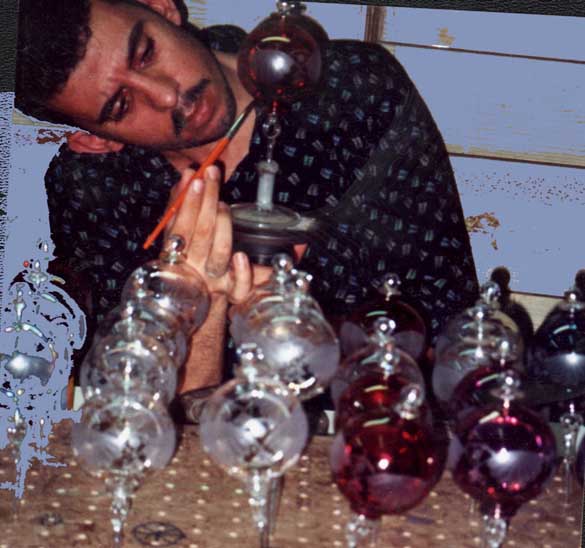
In order to ensure that the paint bakes and
dries evenly, the object
is placed on a turnstyle wheel. One
hand applies the paint and the other keeps
turning the wheel, in a
manner very similar to how
pottery is made.
While the actual painting process takes
less than 10 minutes, this is
the place where the most errors can take
place. Since the paint is baked in, the
defect isn't seen till the item is baked
and then it
is too late to correct any smudges
or spots. The only way to ensure high
quality at this point, is to use high
quality German imported paint and to use
highly skilled
painters. Imported paint and liquid
gold has the advantage of drying more
evenly and doesn't chip as easily.
STEP 5: BAKING
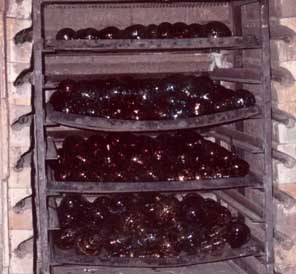
On the second day of production, once
the object has been blown and painted, it
is now ready to go into the oven.
Depending
on how thick the paint is, the objects
will stay in the oven for up to 2 hours.
If the object has liquid gold on it, it
will be baked twice- once to bake in
the paint and then a second time to bake
in the gold.
If you have really enjoyed this factory
tour, why not continue with photos
on how the heart ornament is made.
Just click on the button below:

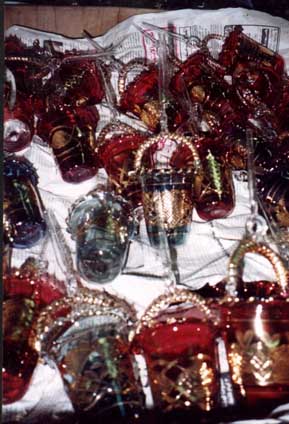
STEP 5: THE FINISHED OBJECT
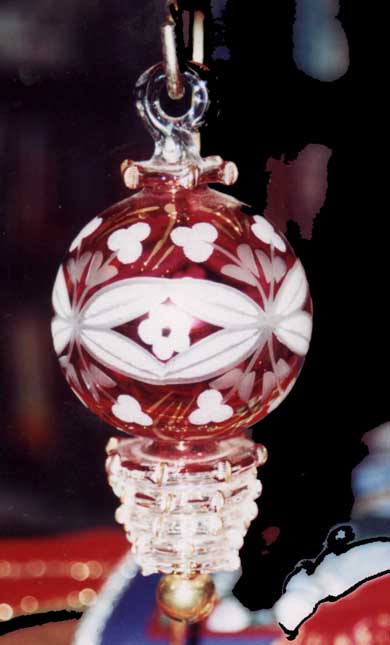
Now our work is complete, and the object is
ready to join the ranks of your most
treasured items. Enjoy!
Home Christmas Page Easter Page
Perfume Bottles About Me Cairo
Valentines Day Membership Program
How the heart ornament is made
