Images of Girraween National Park
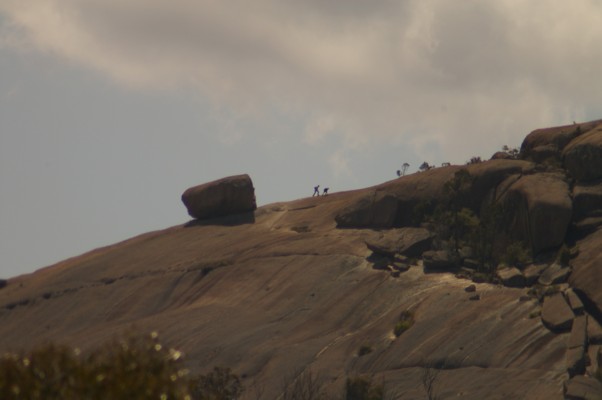
Magnificent views and Balancing Rock
Gentle to moderate gradients to the foot of the dome
Steep exposed rock face
An easy stroll
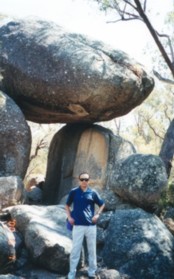
A natural stone archway

| Granite Arch and the Pyramid Images of Girraween National Park |
|||||||||||||||||||||
|
|||||||||||||||||||||
|
|||||||||||||||||||||
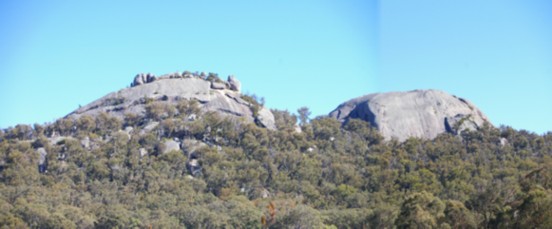
| The Pyramid (left) and Second Pyramid (right) | |||||||||||||||||||||
| 3.4 km 2 hours return Magnificent views and Balancing Rock Gentle to moderate gradients to the foot of the dome Steep exposed rock face |
|||||||||||||||||||||
|
|||||||||||||||||||||
| Granite Arch |
|||||||||||||||||||||
| 1.4 km circuit 35 minutes retrun An easy stroll A natural stone archway |
|||||||||||||||||||||
| Climbers near the summit | |||||||||||||||||||||
|
|||||||||||||||||||||
| HOME | |||||||||||||||||||||