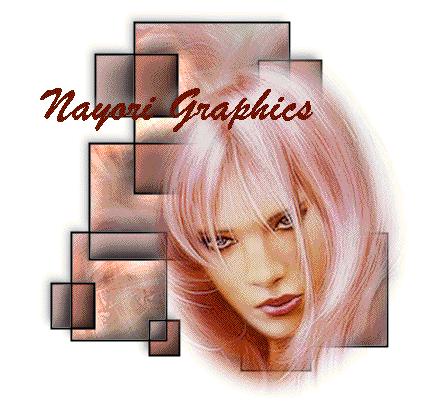
Nayori Graphic ~ 2005
PSP 7, it will work in newer versions. Mehdi's Kaleidescope 2.1 Download it HERE
A tube of your choice, or you can use mine, also the grid template.
Okay, lets get started. Make sure you have put your mehdi plugin into your plugins folder, you will have to restart PSP to make it active.
Open your tube, duplicate it once. Minimize one and leave the other open. Open a 500X500 transparent background image.
Copy and paste your tube to the center of your transparent background.
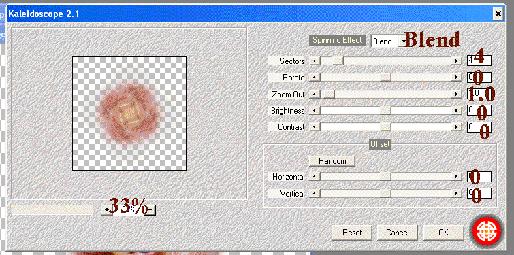
Now go to Effects ~ Plugins ~ Mehdi ~ Kaleidescope 2.1 and use the following settings.
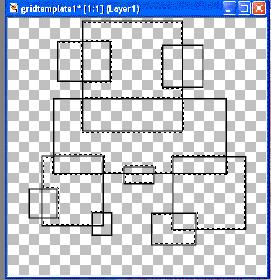
Now open another 500X500 transparent image and place your grit tube in the center.
Using your magic wand tool, hold down the shift button and select several areas of the grid tube. We will fill these with the kaleidescope image.
Selections ~ Promote To Layer, rename this layer Flood 1. go back to your Magic Wand tool and, holding down the shift key, select about half of the remaining squares. Choose a color from your tube and flood fill the areas you selected, you only have to click once and it will fill all areas selected.
Now use the same inner bevel as before.
Selections ~ Promote to Layer, Rename this layer Flood 2. Selections ~ Select None.
In your layer pallette make sure you are on Layer 1.
Using the Magic Wand again, repeat the selection process as before and select all remaining squares. Remember to hold down the shift key. Choose another color for the rest of the squares and flood fill with the 2nd color.
Now use the same inner bevel as before.
Selections ~ Promote to Lay4er, Rename this layer Flood 3.
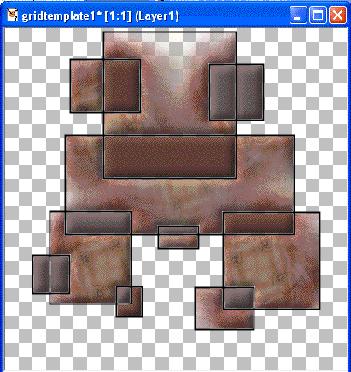
Selections ~ Select None.
You should now have something similar to this.
Effects ~ 3D Effects ~ Drop Shadow.
Vertical and Horizontal -5, Opacity 39, Blur 12, Color Black.
Now Layers ~ Merge ~ Merge Visible. Apply the drop shadow one more time. Reposition your image to the center of your canvas if neccessary.
ALMOST DONE!!
Now, open the tube that we minimized at the biginning and copy it onto the grid as a new layer. I had to resize mine, I resized by 90% . Now you can move your tube to wherever you think it looks best. Appy the same drop shadow as before.
Layers ~ Merge ~ Merge Visible. Now you can add your name and you are done!
Hope enjoyed this Tutorial and if you have any questions feel free to drop me an email and I will do the best I can to answer it.