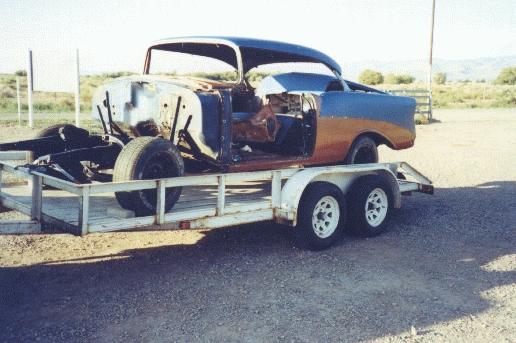
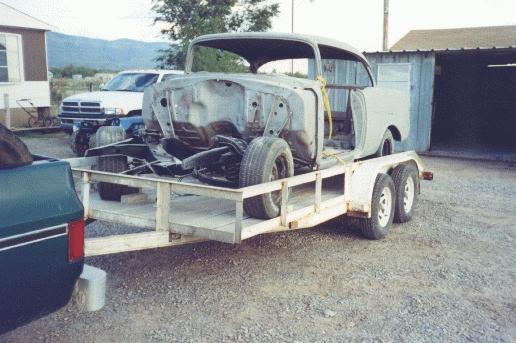
After I put the frame back together, we needed to put the body back on it to take it to the sandblaster.
|
|
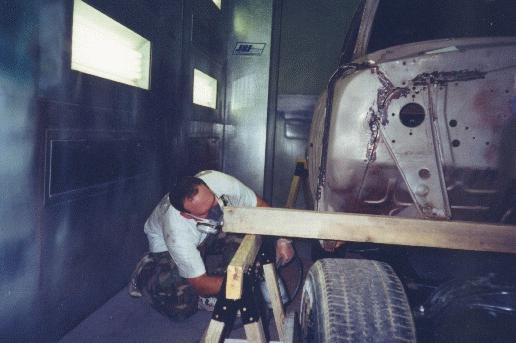
You have many options to remove old paint during a restoration project. Each has its advantages and disadvantages. I decided to go with sandblasting because of low cost, easy cleanup, and excellent paint and rust removal. |
|
|
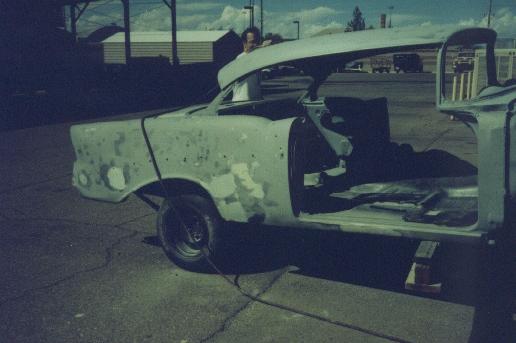
The sandblaster did an excellent job of removing all the paint and surface rust. You must realize in this picture the body is not primed. That is bare metal. I need to get a coat of primer on the body quickly. |
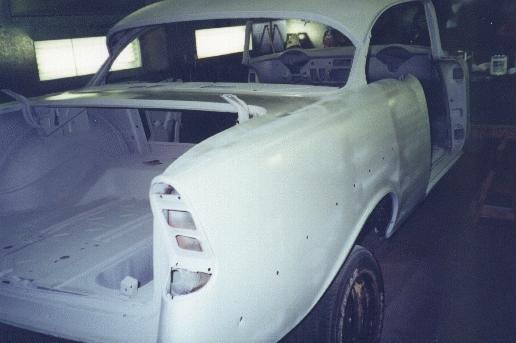
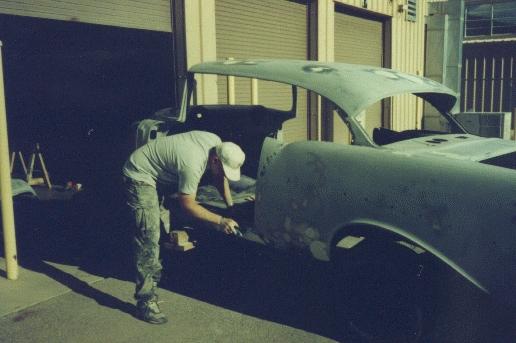
I painted the underbody and floor boards with POR-15 semi-gloss black rust preventative sealer. The rest of the car was primed with a two-part PPG primer.
|
|
|
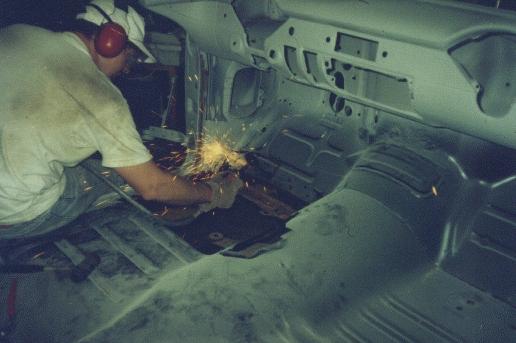
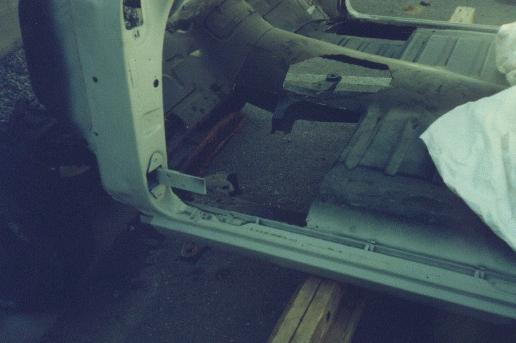
The next order of business is to start roughing in all the rusted out sheet metal. |
|
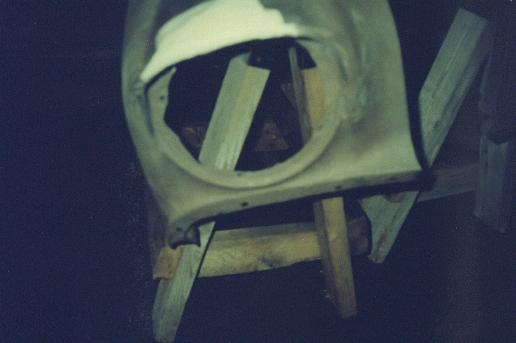
The front floorboards have to go. |
|
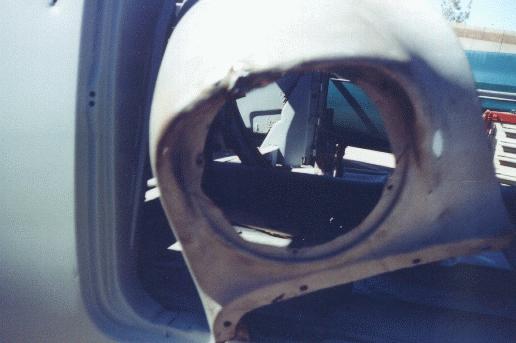
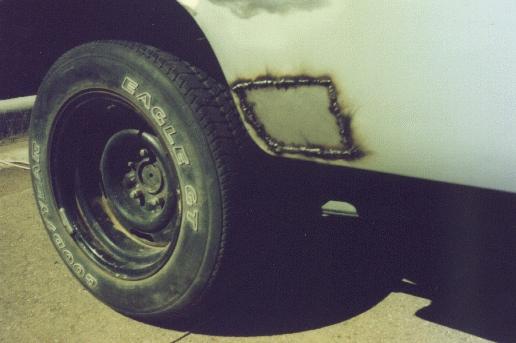
The passenger side fender eyebrow was pretty bashed in. You can sort of see the damage in the original pictures. I was able to hammer the dent out and weld the broken metal back together. |
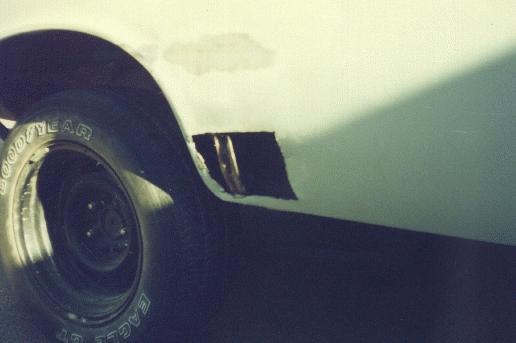
I ended up welding in metal patches on the front side of both rear wheel wells, and just below the rear taillight housings.
|
|
|
Now, I began the endless cycle of filling, sanding, and painting... Then disaster... I have to move this project 1400 miles to Georgia!!! |
|
|