(A)
 (B)
(B)
 (C)
(C)
 (D)
(D)
(E)
 (F)
(F)
 (G)
(G)
 (H)
(H)
(I)
Description:
Exhaust system swap for:
a 1st Generation Lightning truck.
(1993-95 Ford SVT F-150 Lightning).
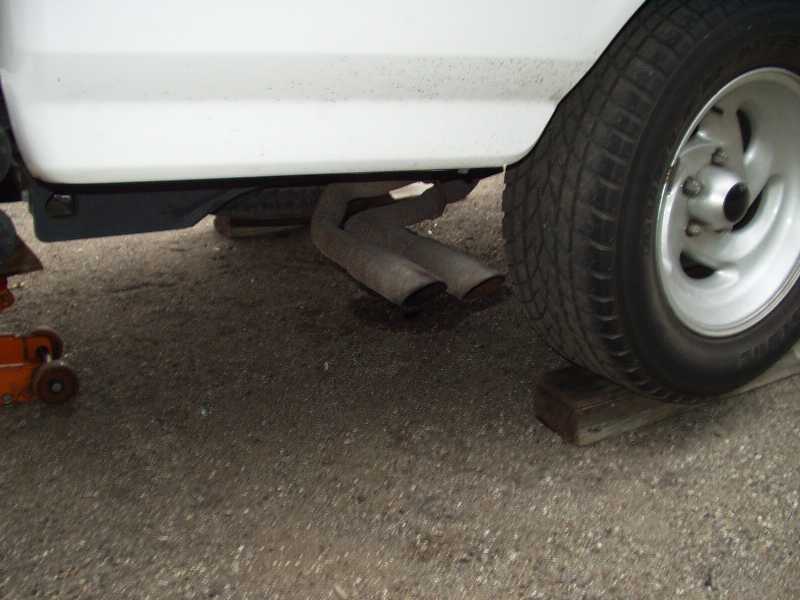
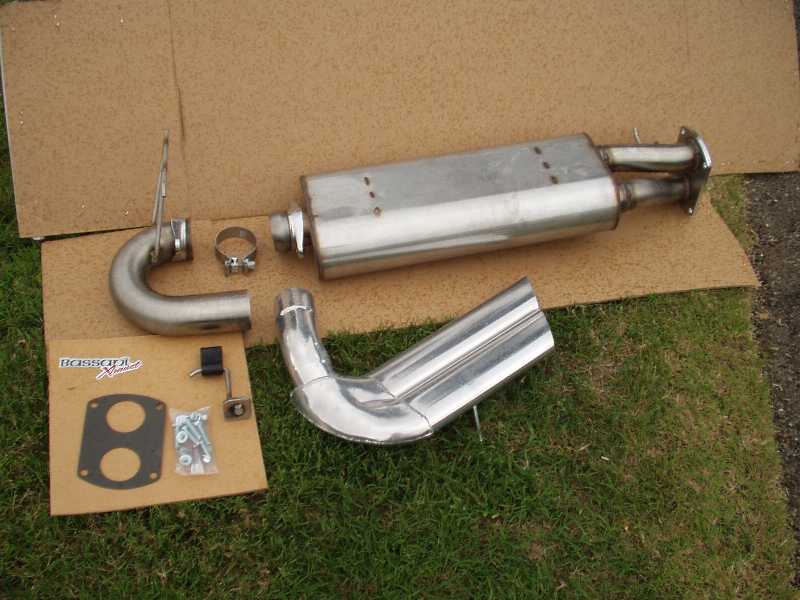
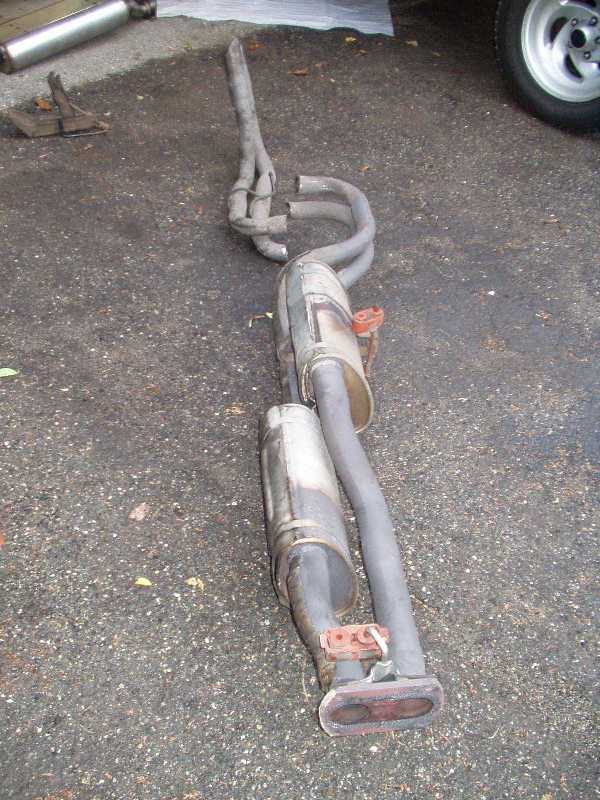
We are removing the factory system and replacing the portion
after the catalytic converters with a Bassani "Street Thunder"
after-cat stainless-steel side-exit exhaust system. Our kit has
the optional forward-exit, NASTRUCK dual-exit with HPC-coated tips.
The part number is # 58150L-462.
*** Before beginning, see the disclaimer at the bottom this page.
Instructions:
Refer to photos below for assistance. To begin this project grab all the tools you'll need.
Park the truck and jack it up, safely.
(Make sure to use jack-stands and wheel-chalks.)
Tools Required:
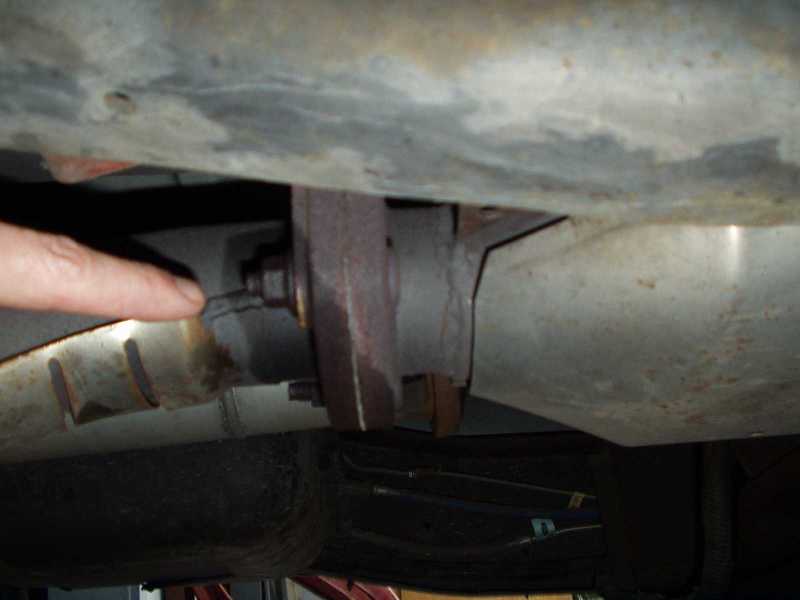
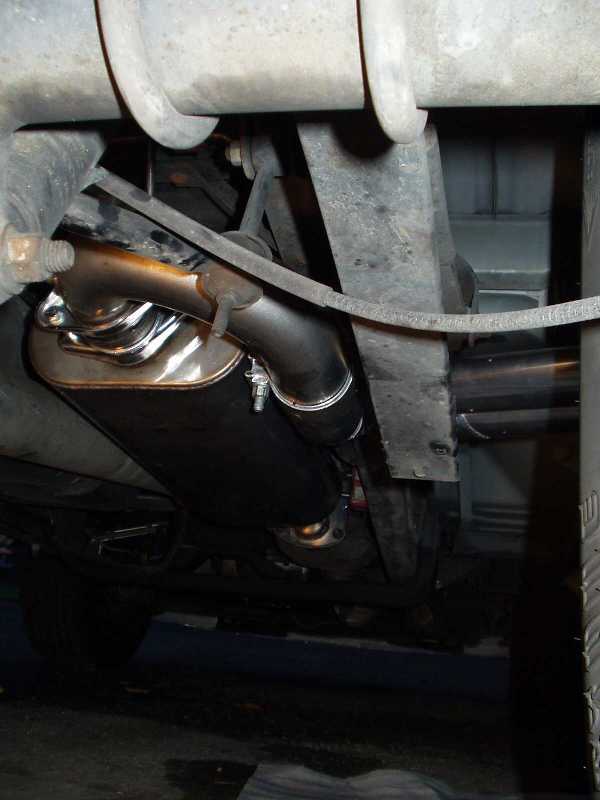
After the exhaust is suffiently cool to permit working on it,
spray some break-free lubricant (like WD-40) on the 4 bolts at the
cat-pipe to muffler flange. (See photo (D) on this page).
Remove the four nuts (15-mm) at the flange, just in front of the muffler.
After removing the four nuts, slide the rear part of the exhaust system off.
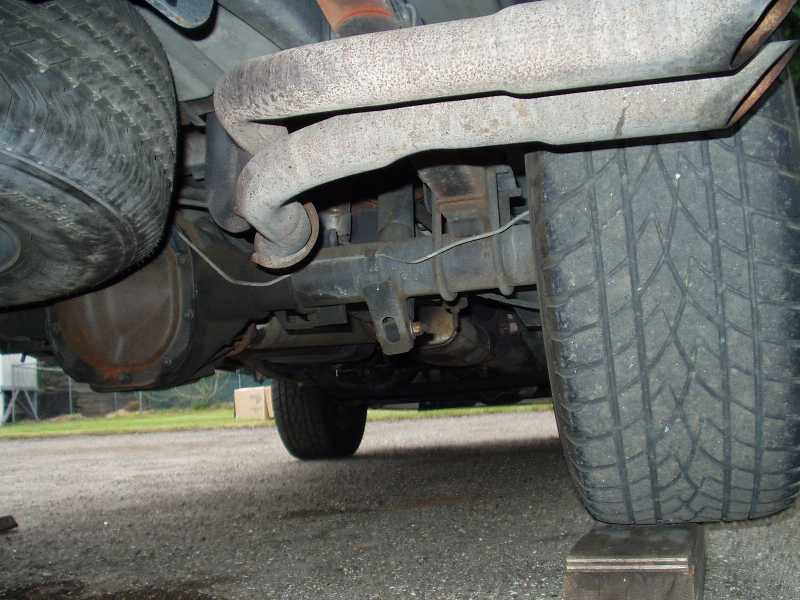
You may need to cut the tailpipes off the factory cat-back system as we had
to do. However, the whole assembly may be able to be removed as a unit, if
you are using a hydraulic overhead lift and you have sufficient space below
the truck to permit the lowering of the front portion. Otherwise, you'll
need to cut the tailpipes off after the axle to enable removal. (We tried
lifting the truck further, removing the spare tire, and removing the
passenger-side shock...but it still would not clear with the pipe assembly
intact. The parking-brake cable and shock-mount bracket are in the way.)
Next remove the rubber four isolator hangers from the hangers rear-ward of
the flange. Save these rubber isolators for install again with the new system.
Scrape any excess gasket material off of the cat-pipe flange with a
gasket-scraping tool.
Install the new gasket included in the kit. Then, install the new aft-cat
exhaust system in the reverse order.
Install the muffler first, by securing it to the flange (with the original
four 15-mm
nuts). Make sure if you are using the original hardware and that it is clean
and properly lubricated before insalling it. Snug the nuts finger tight -- DO NOT
tighten them. This will allow for adjustment later.
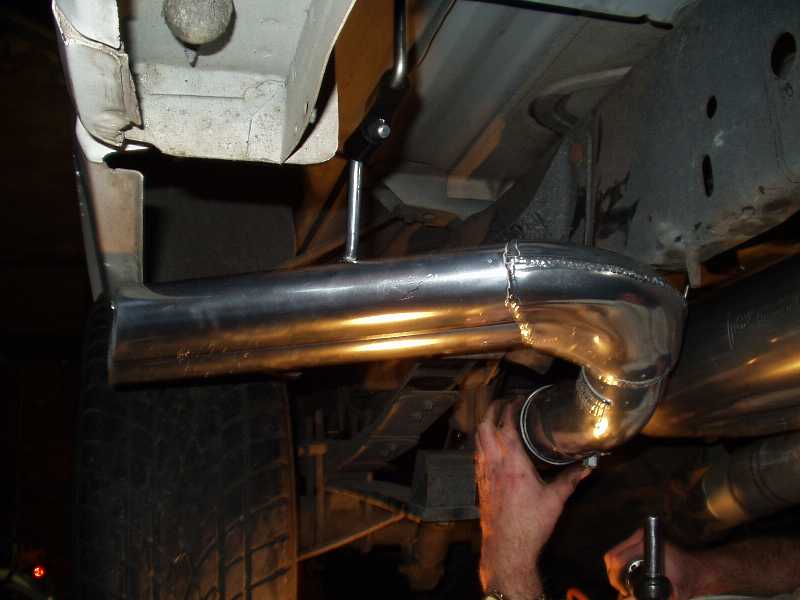
Next, install the short "U" pipe with the hanger facing upwards. Insert the two
supplied bolts into the 2-bolt clamp and install the nuts. Tighten the two
corresponding nuts finger-tight.
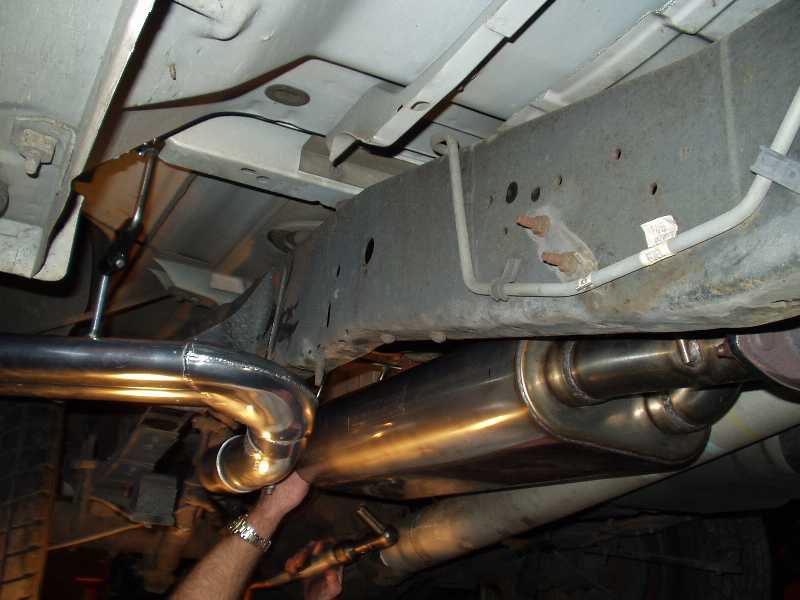
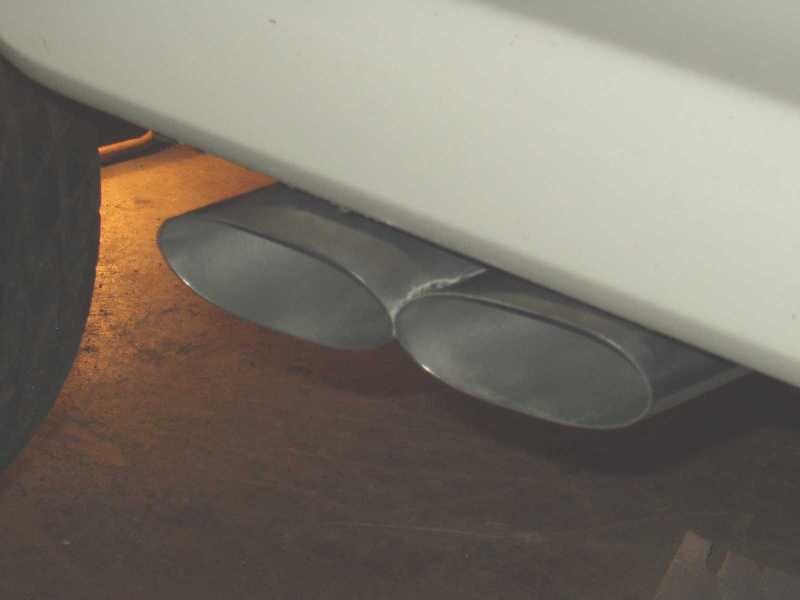
Now, it's time to move to the final section of the kit -- the side-pipes.
Slip the supplied muffler-clamp over the single large section of tubing
and slip it over the corresponding tube on the already mounted "U" pipe.
Snug the clamp, but do not tighten it.
Attach the exhaust tip-hanger supplied with the kit to the frame rail and slip
the rubber hanger/isolator onto it and the twin-exit exhaust tip.
Snug up the two nuts, but do not tighten them all the way.
Now, go back through the entire assembly and check for clearance. You
should have at least 1/4" (1-2 finger widths) or more room between
the exhaust and any other part of the vehicle.
If everyting looks OK, then go ahead and tighten the attachments, starting at
the forward-most section and working your way
towards the back (and the exhaust exit). As you are tightening the nuts, make
sure that you keep the exhaust assembly where you want it to be located.
Once everything is tight, carefully lower the truck, and start it up.
Check for leaks or rattles. If everything sounds good, you're done!
(A)
(B)
(C)
(D)
(E)
(F)
(G)
(H)
(I)
Exhaust system supplied by: Lightning Force Performance
Technical assistance can be obtained from: Bassani Exhaust
*** Disclaimer:
This page is designed only as a reference and the instructions listed here for informational purposes only.
Any vehicle modifications made by viewers of this site are purely the responsibility of those individuals.
We do not claim complete accuracy and we excuse ourselves from any liablity.
With that said...
use common sense, use jack-stands, use tire chalks, and most of all, use your head!
Updated: December 7, 2002
Created: December 7, 2002

Freak Racing � 2002-2003