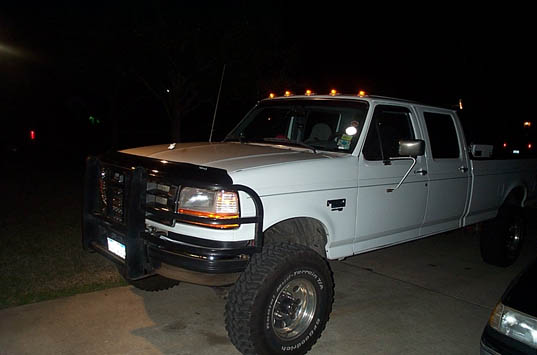
So you want to add cab lights to your 94-97 Ford truck. With the help of a couple guys on www.ford-diesel.com I installed a set onto my 97 crew cab F-350. I figured I�d write up a set of step-by-step instructions since none of the �kits� really come with any.
1. Muster up the courage to drill holes into your roof!
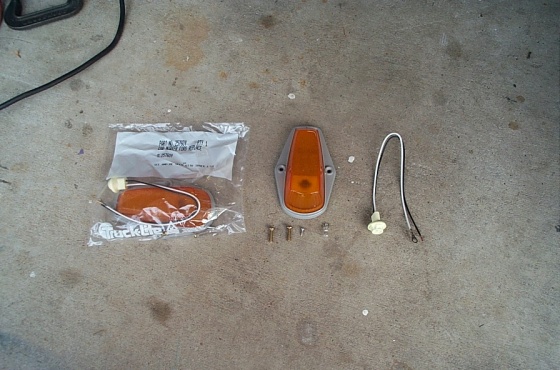
2. Gather up the lights, about 10� or white wire, about 10� of black wire, wire splices, a drill, assorted drill bits, clear silicone or RTV, hammer, an awl or center punch, masking tape, tape measure, blanket or fender guards, and a Philips screwdriver.
3. Check the bulbs and light lenses for any broken parts.
PICTURE
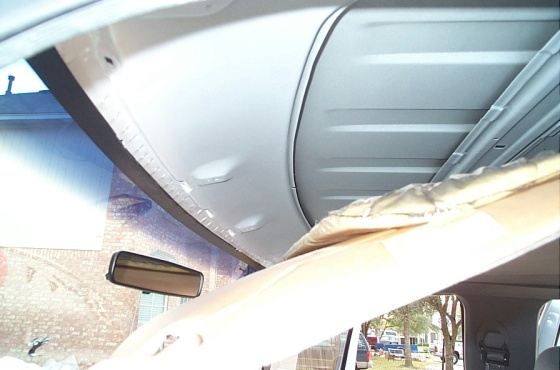
4. Remove all the trim from around the headliner, cloths hook(s), dome light(s) and the sun visors so as to drop the headliner. The liner of an extended cab or crew cab wont be able to be removed from the interior of the truck without destroying it so let it rest on the headrest of the seats. A regular cab truck should be able to remove the liner from the truck.
PICTURE
5. Cover your hood and cowl with a blanket or fender guards and climb on up.
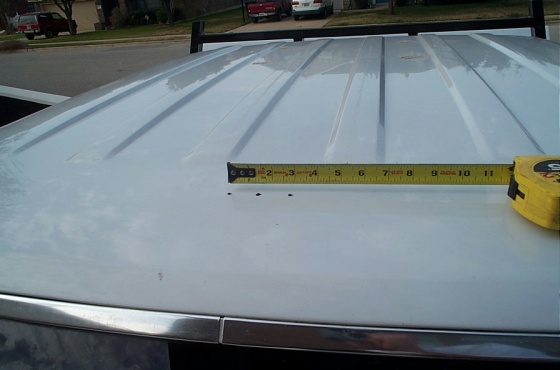
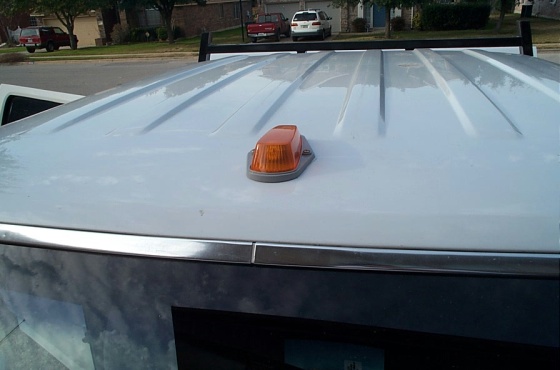
6. Notice the joint in the chrome windshield trim at the top center of the trim. Center the first light with this joint, 3 �� back from the edge of the chrome trim.
7. Make sure the light is straight. I used masking tape to keep it in place as I got off the truck to look at it from the ground.
8. Mark mounting holes.
9. With the awl or center punch indent the mounting holes and drill the appropriate size hole for the screws being used.
10. Drill a slightly larger hole between the two mounting holes for the wires to pass through.
PICTURE
11. Cut the loop off of the white ground wire and pass the two wires through the center hole. Apply some clear silicone or RTV to the bottom of the light and screw holes. Place the light in it�s new home and synch the screws down.
PICTURE
12. Place the second light either on the left or right side of the first one (which ever way you want to work). Measure the light 3 �� from the chrome trim and 1� center to center with the first light.
13. Repeat steps 6-10.
14. Continue in this fashion until all 5 lights are mounted and sealed.
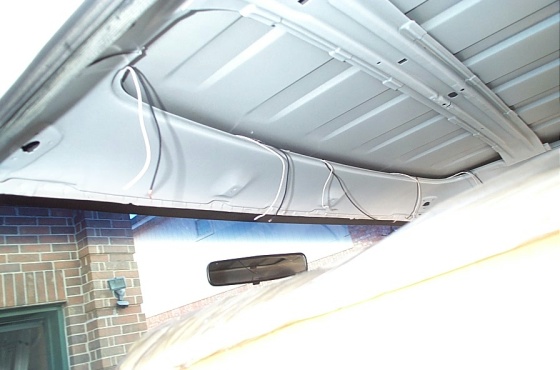
15. On the inside, note the �shelf� where the sun visors were. The wires you fed through the holes will be up on top of it. It�s tight so you�ll probably need to hook a cloths hanger, bailing wire, or use a screwdriver to fish them out.
PICTURE
16. I �daisy chained� the wires by connecting one single wire to all the black (power) wires and one single wire to all the white (ground) wires.
17. Run the two wires down the passenger side a-pillar and into the passenger side kick panel.
18. Behind the passenger side kick panel is a two wire connecter that is left empty. This is where the factory lights would have plugged into. I decided not to cut the plug off, instead I just spliced the black wire from the lights to the power wire from the harness. I cant remember what color the wire was so you�ll have to test it with a test light.
19. Connect the white wire to the ground from the harness.
20. Test the lights to make sure everything works. If there are any problems check the bulbs again, and all connections.
21. Replace all the panels, trim, and sunvisors.