

| Plumbing: Installing Shut-Off Valves | |
 A basic, but most important installation is including shut-off
valves on hot and/or cold water lines and plumbing fixtures. A basic, but most important installation is including shut-off
valves on hot and/or cold water lines and plumbing fixtures. Strategically
placed shut-offs are nice features to have when working on plumbing
fixtures, a washer or hot water heater. For example,
anytime a fixture needs repair (or installation in new construction
situations) its individual shut-off allows the rest of the house to
remain "live." In-Line Shut-Offs
Install an
in-line shut-off -- copper to copper -- by marking the center of its
location on the existing water line. Shut off
the water supply and cut the line. Sometimes, the pipe will spread enough
to accomodate the shut-off. If not, cut back the pipe so the valve sets
in-line. Clean both
ends of the fitting and both pieces of pipe. Open the valve before heating
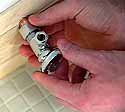
it to protect the rubber seal from being damaged. Flux all four ends and fit the shut-off onto the pipe. Position the valve straight and heat and solder each joint. Wipe away any excess solder with a rag. Compression Fittings
Turn off
the main water supply and cut off the end cap of the copper water line,
leaving enough pipe exposed so the shut-off will fit properly. Screw on
the compression nut by hand. Then tighten it down firmly with an adjustable
wrench while holding the valve in place with another wrench.
|
|
|
|
|
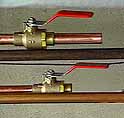 In-line lever or "wheel" shut-offs are popular types of primary
shut-off fittings. They're usually made of brass with copper fittings
for soldering.
In-line lever or "wheel" shut-offs are popular types of primary
shut-off fittings. They're usually made of brass with copper fittings
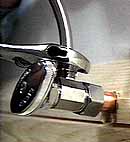
for soldering. 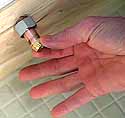 Shut-offs to toilets and sinks are generally chrome-plated, oval
handled compression fittings.
Shut-offs to toilets and sinks are generally chrome-plated, oval
handled compression fittings.