Simple Stem for the Kawasaki Rose
By Ron Yu
blue line = valley fold
red line = mountain fold
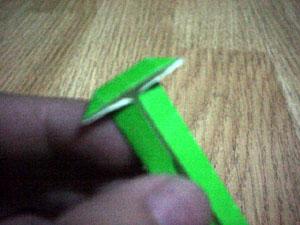
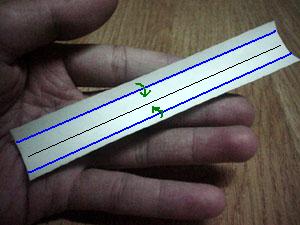 Start with a rectangle whose width is 1/6 the
side of the square used for the rose (1/3 of the side of the square used for
the calyx). It need not be strictly exact. You could have it as long as
possible (it could be easily trimmed when finished). Valley fold the long edges
to the center.
Start with a rectangle whose width is 1/6 the
side of the square used for the rose (1/3 of the side of the square used for
the calyx). It need not be strictly exact. You could have it as long as
possible (it could be easily trimmed when finished). Valley fold the long edges
to the center.
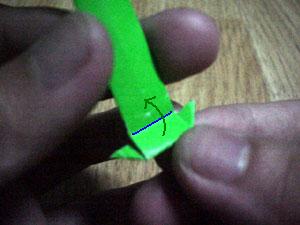
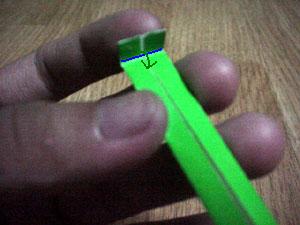 Crease with a valley fold 1/4 of the paper
width from the edge of the paper.
Crease with a valley fold 1/4 of the paper
width from the edge of the paper.
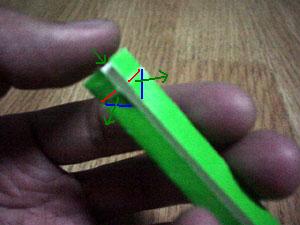 Squash-open, following the previous crease
and the lines as shown.
Squash-open, following the previous crease
and the lines as shown.
 Turn over.
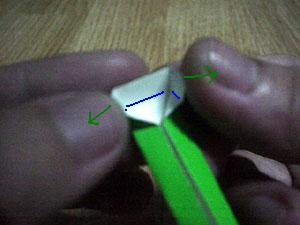
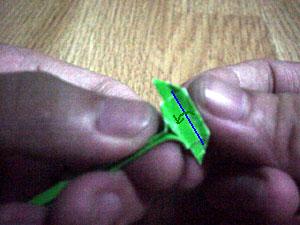
 First fold: along the edge of the trapezoid.
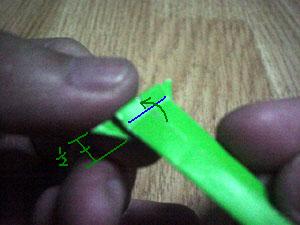 Second fold: halfway from the edge of the
trapezoid.
Second fold: halfway from the edge of the
trapezoid.
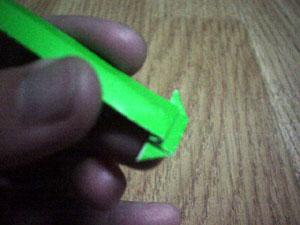 A pleat is formed. Turn over.
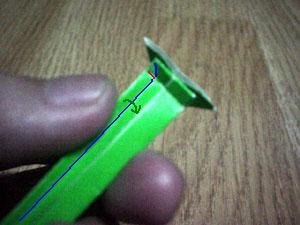 Valley fold to the center, starting at the
bottom. Follow the small triangular fold when you get near the top.
Valley fold to the center, starting at the
bottom. Follow the small triangular fold when you get near the top.
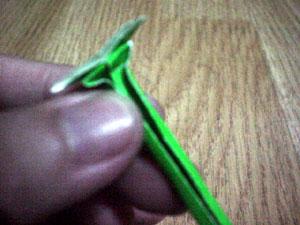 It doesn’t flatten well at this point. Turn
over.
It doesn’t flatten well at this point. Turn
over.
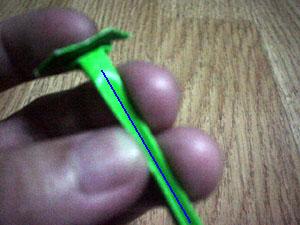 Valley fold along the center, starting from
the bottom upwards.
Valley fold along the center, starting from
the bottom upwards.
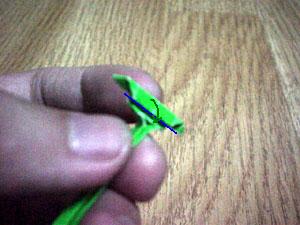
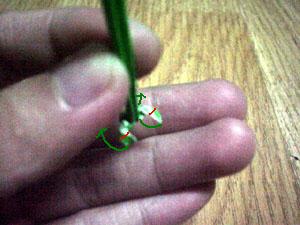
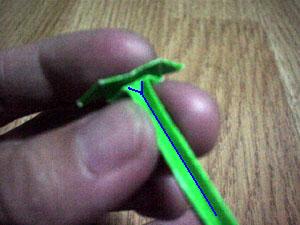 When you get near the top, do the indicated
Y-shaped fold.
When you get near the top, do the indicated
Y-shaped fold.
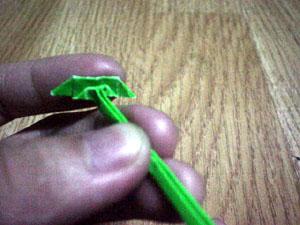 The top would flatten out nicely now. Open
the trapezoidal flap at the top.
The top would flatten out nicely now. Open
the trapezoidal flap at the top.
 Valley fold halfway inwards.
 Close the flap.
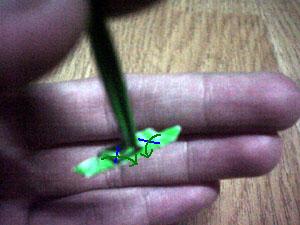 Here we are simply making the top part
compact. Fold as shown.
Here we are simply making the top part
compact. Fold as shown.
 Fold under.
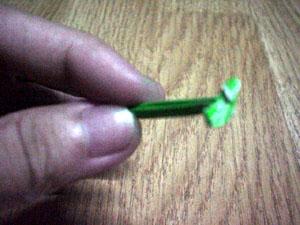 Finished stem. Go back to the home page for
instructions on how to attach the stem to the calyx.
Finished stem. Go back to the home page for
instructions on how to attach the stem to the calyx.
r o n y u 0 2 a t y a h o o d o t c o m