 |
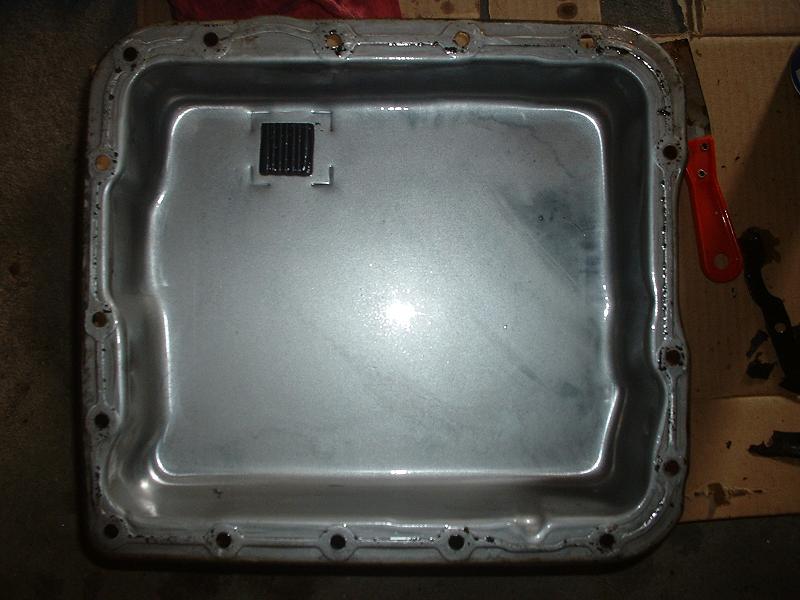
| FYI in another install DIY someone did they had their magnet on the valve body plate...mine was on the tranny pan in what looked to be a marked spot. Just leave it alone in there as it is your friend :) Keeps all those metal shavings away from your transmission. |
 |
 |
 |
 |
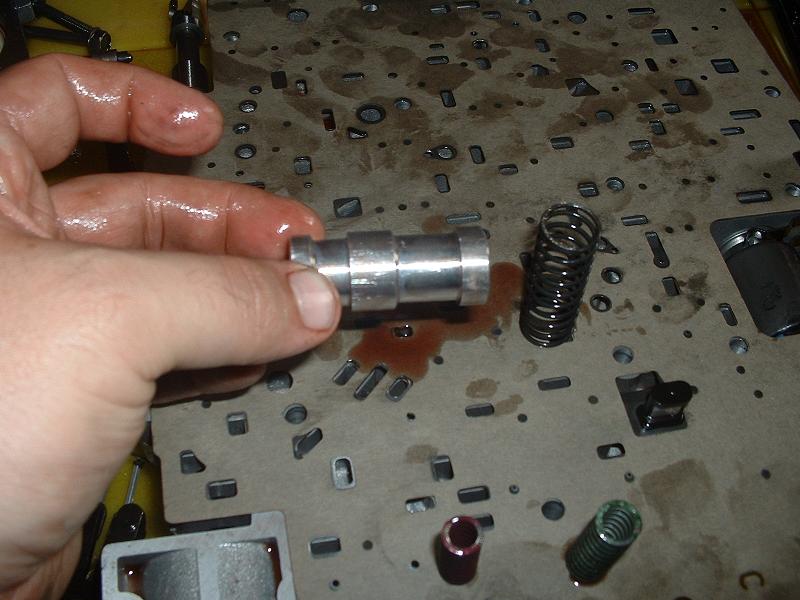
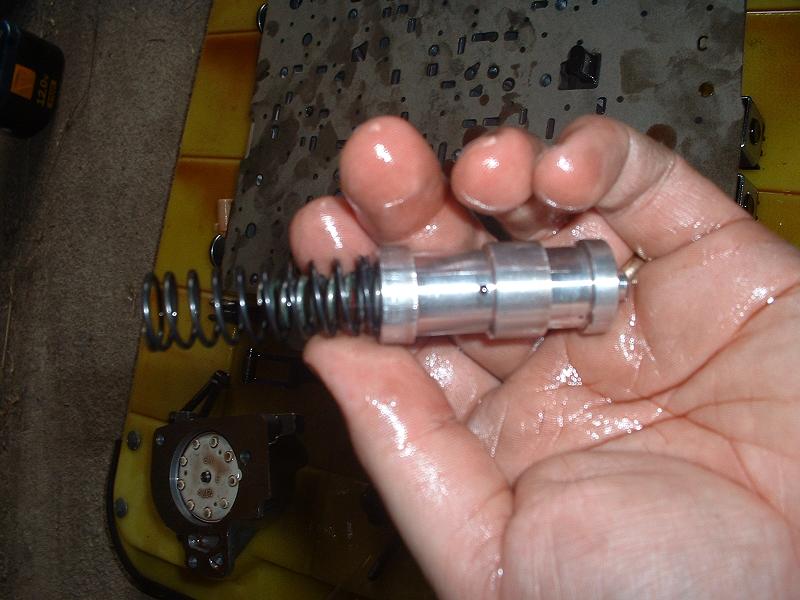
| Next was to remove the pressure regulator assembly from the tranny pump. I used the snap ring pliers show which just barely fit up in the cubby hole in which this part is located so be careful in choosing this tool...slowly clamp down on the ring trying not to break it and remove but remember there is a lot of pressure above this so have another hand up there to carefully removed teh assembly thats coming down. Then just install the black boost spring supplied and put that back up in that bitch make sure its in the second groove and you only have maybe 1/8th in of play above it in the hole and make sure the spring is seated properly. |
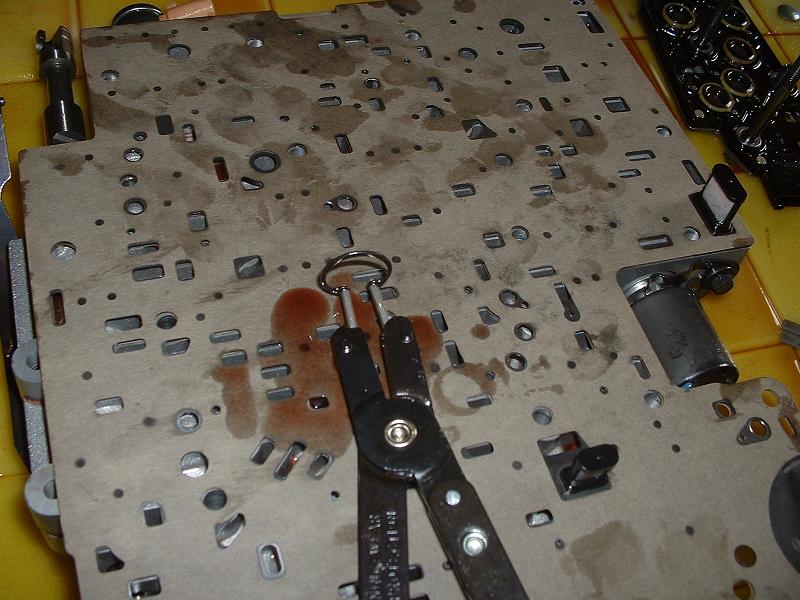
| Ok now that all the springs in our box have been used up get out the trusty drill bits and your drill or drill press as in my case. Remove the Spacer plate by removing the retaining bracket which is held in by 3 bolts...hold the plate strait on the way down so you dont loose that final check ball...then put that one to the side once its down...when your done drilling you can put a dab of vasaline on it to stay in place. For now take off the old gaskets and drill those 3 holes...clean off plate and replace with new gaskets. |
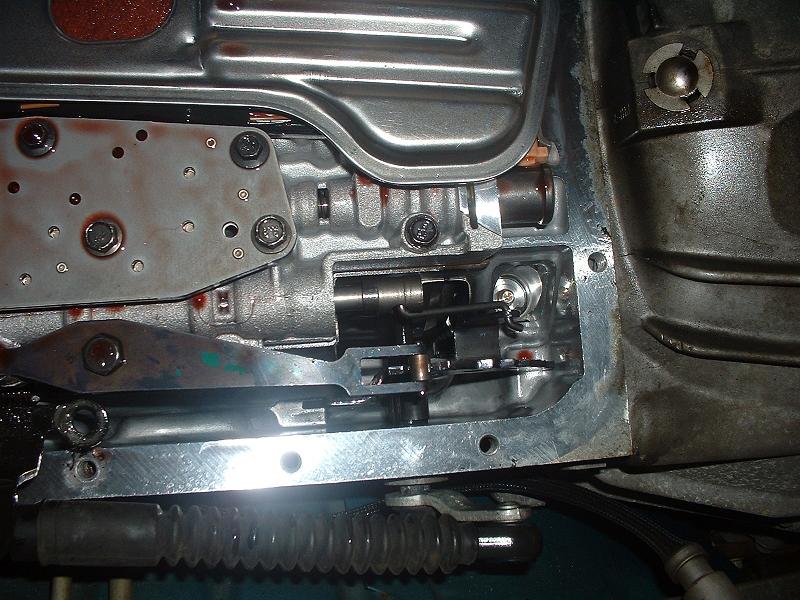
| The rest of this project is just reassembly so go ahead and just get all your bolts and stuff organized...put that spacer plate back in with that plate and 3 bolts... then i put the 1-2 accumulator assembly back...followed by the valvebody..but make sure before that valvebody is even completely in place get that latch in to "cup" for the gear selector...this was one of my pitfalls since i didnt have a hand the first time around I didnt get it in all the way and had to do it all over again later with a helping hand...so make sure you have one extra person at this point hold up the valve body while you put the latch in. BTW the pic is of how NOT to do it :) as you can see it didnt get it seated completely in there on my own youll understand how it goes once you see the cup with the hole in it...thats where the end of the latch goes. Once you have all the connectors hooked back up and your bolts tightened down i just used a 1/4in rachet and did it hand tight so as to not break any bolts...and since the body is aluminum make sure you dont crossthread anything. Now you can install your filter I put in a new one cuz who knows when the stocker was changed. Put the pan on and tighten down those bolts same way i did hand tight with the 1/4 rachet. Fill with 5-6 qts of fluid and yer done hopefully :) I have a thud going into D & OD but its nothing to worry about. As long as you have 4 foward gears and reverse your fine. |
 |