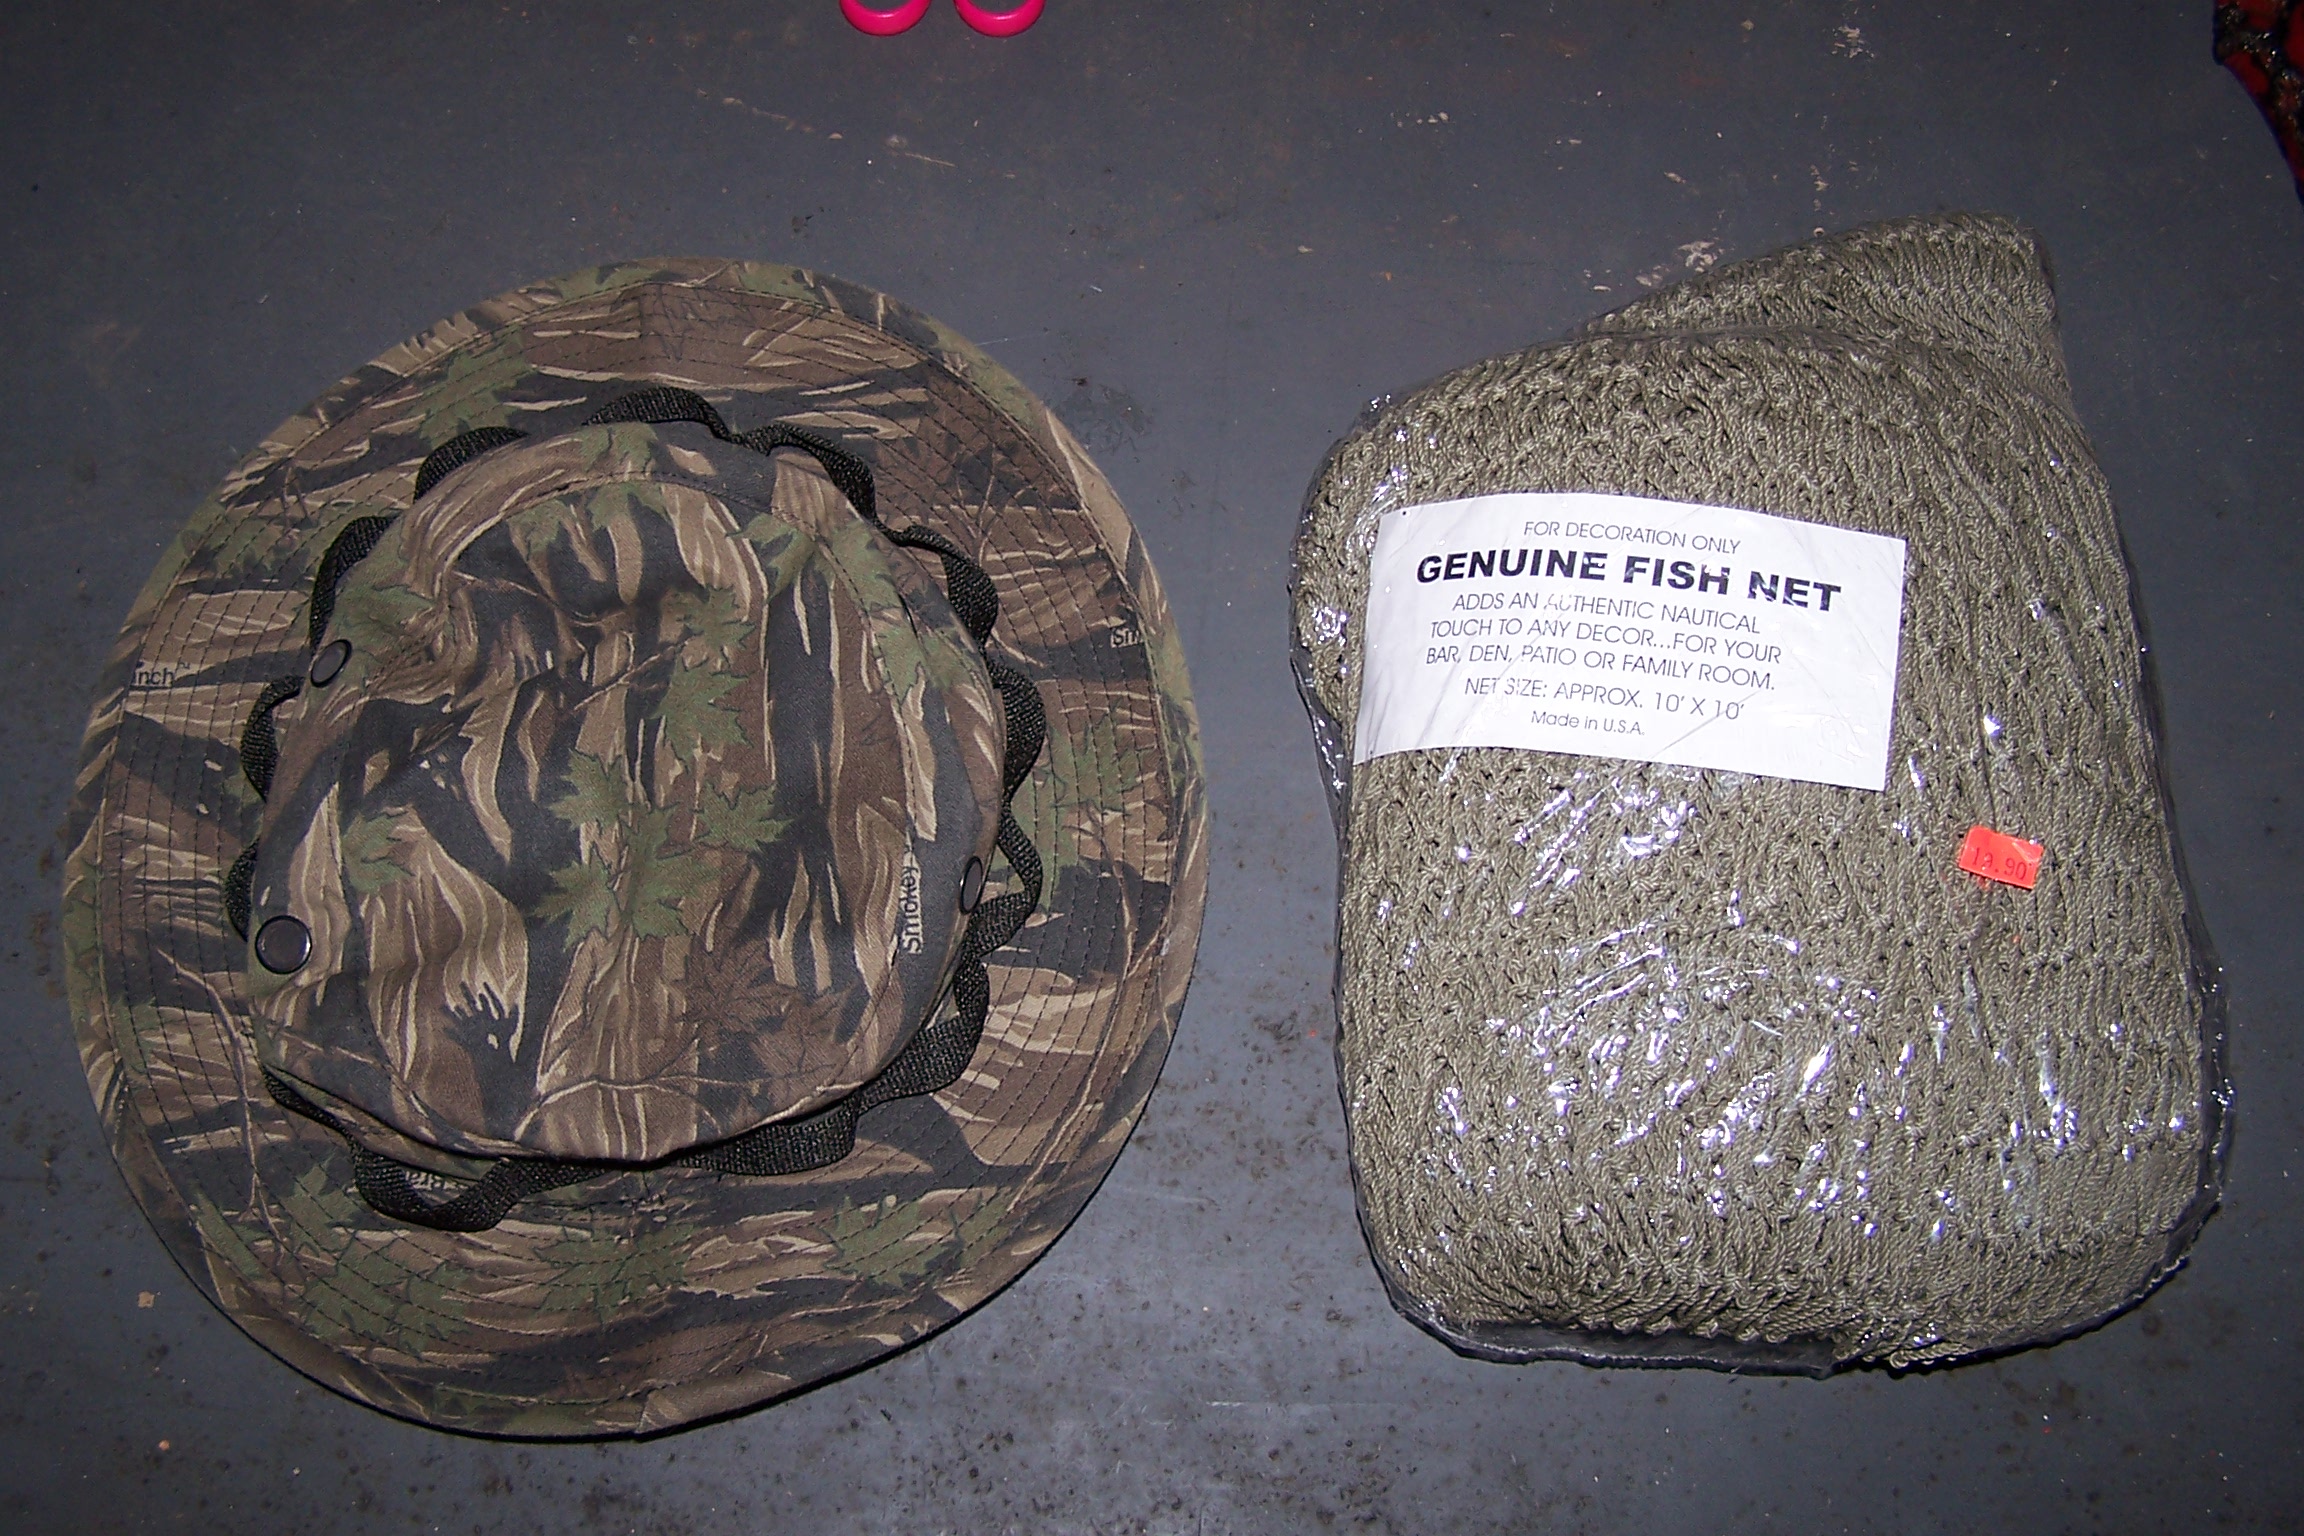
Now it is time to start the headpiece. I like starting with the headpiece, primarily because it is the most important part (my opinion). Plus, it goes faster, so you can see quicker progress to assist you in staying motivated. Make sure you have everything (headgear, netting, fishing line, scissors, pliers, 550 cord, and matches)
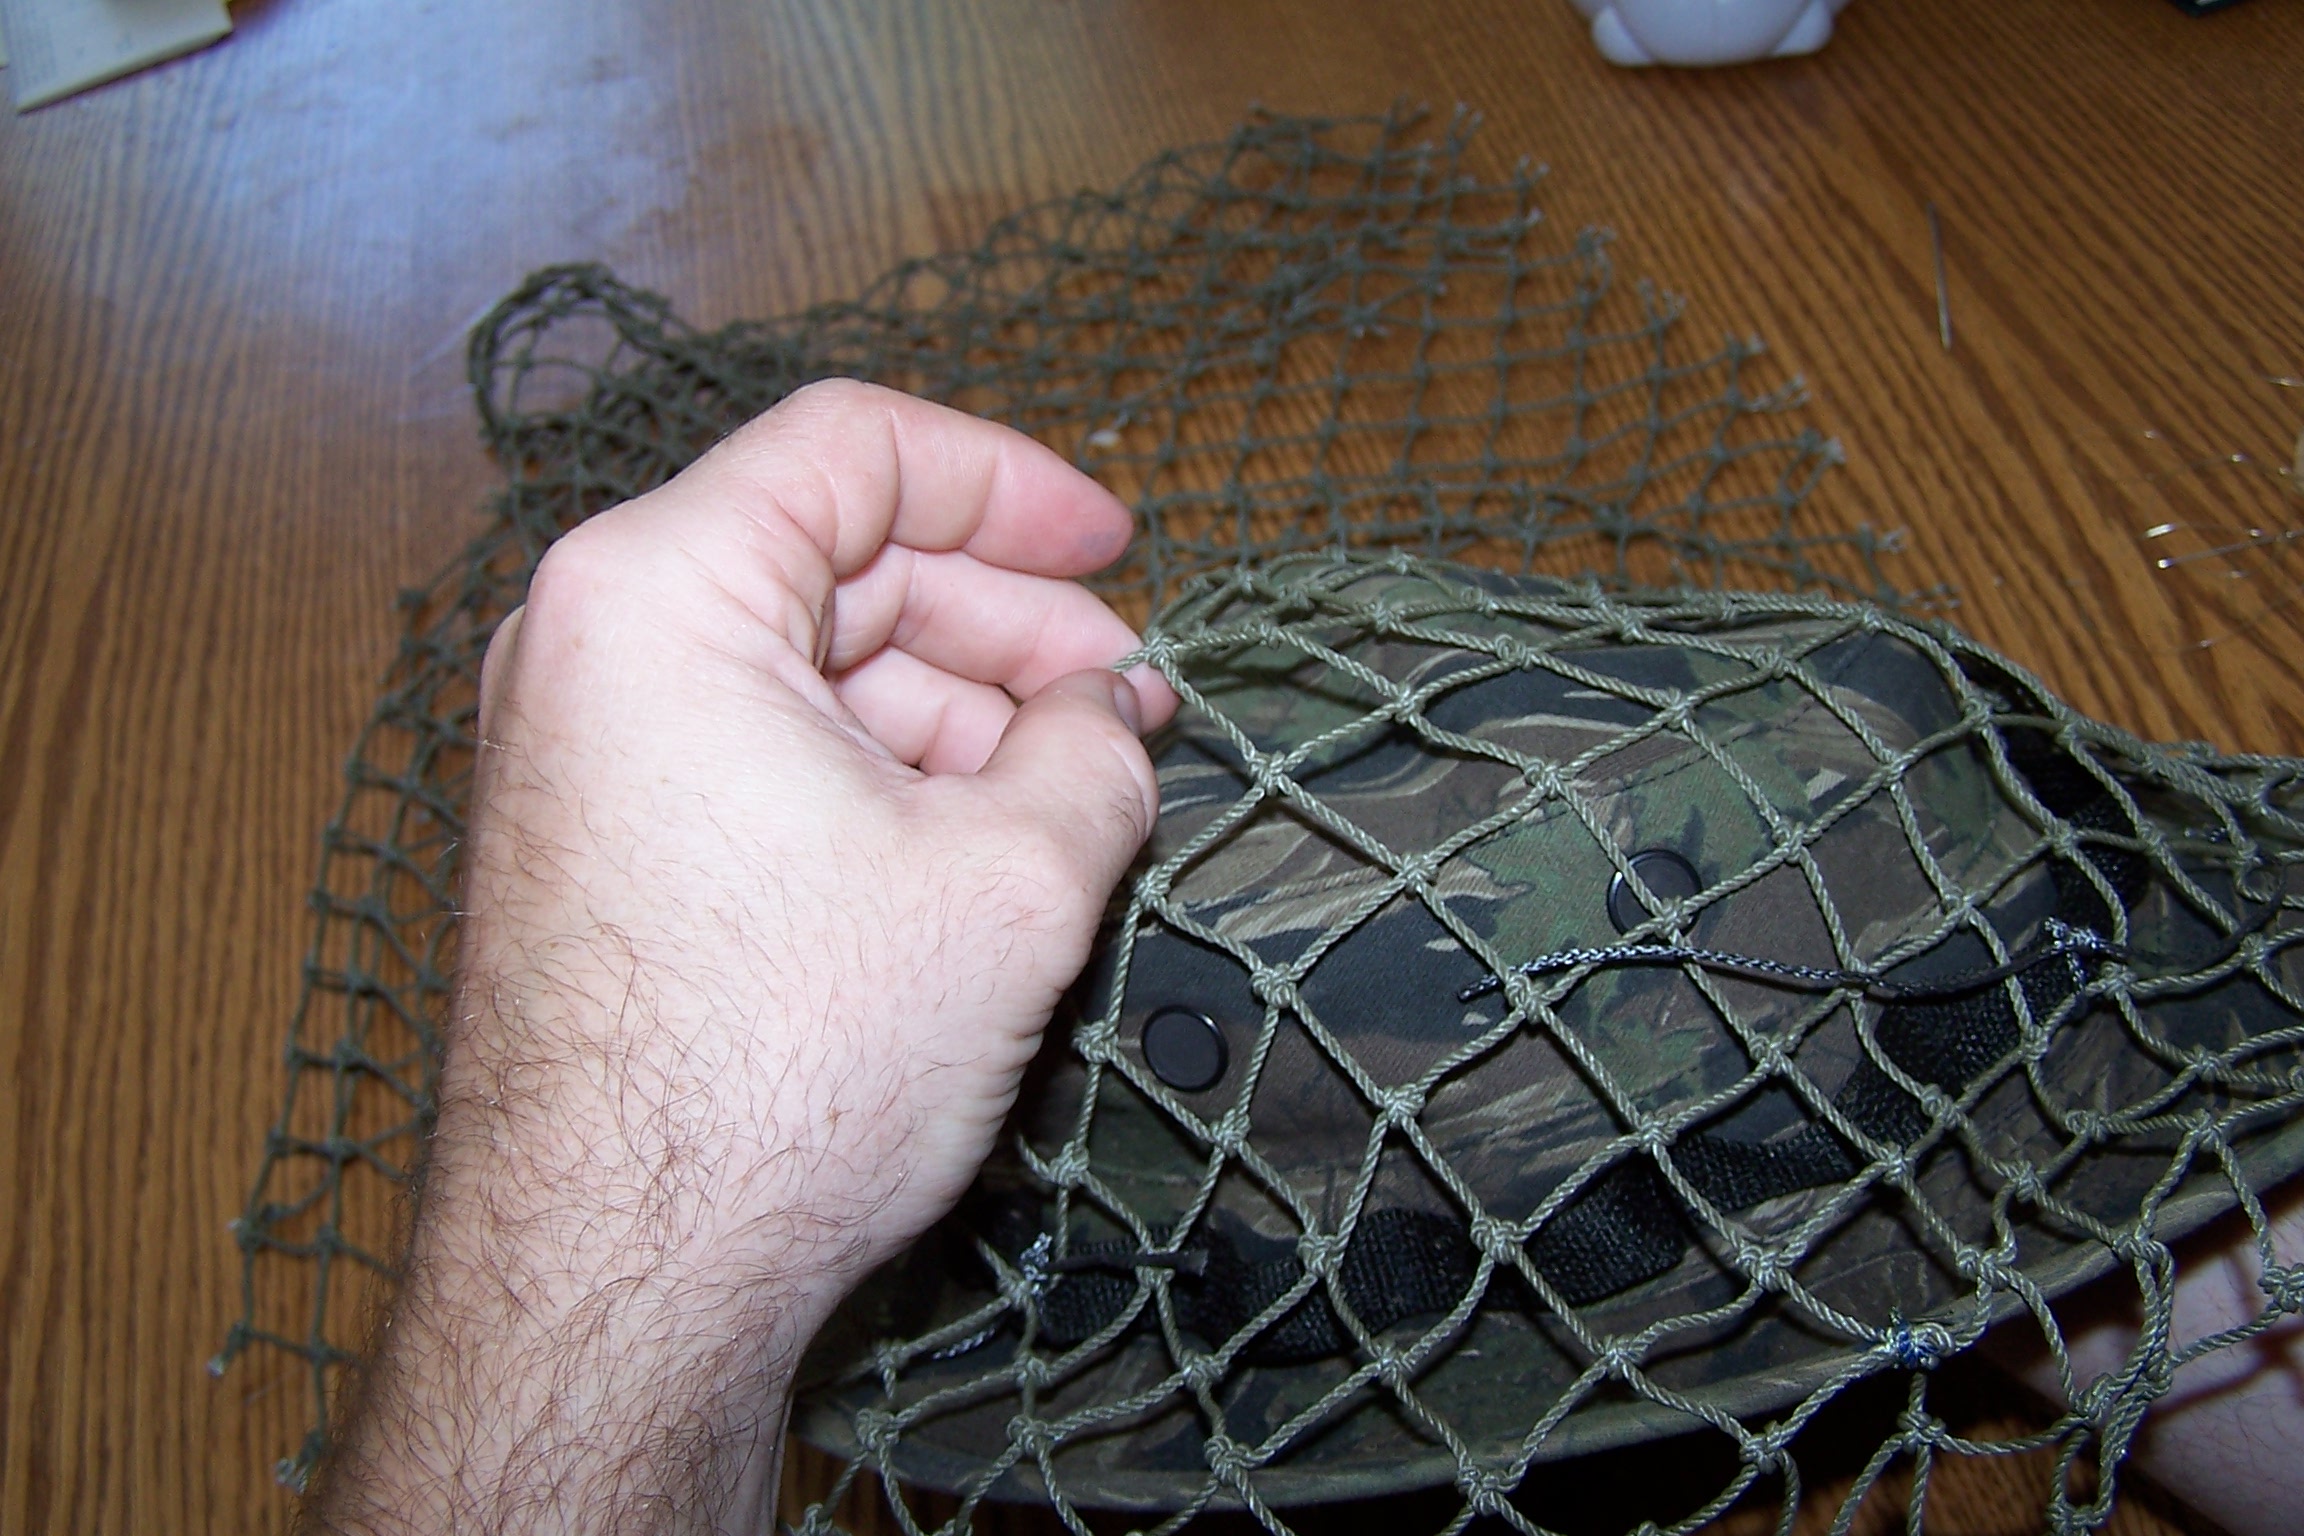
Take your boonie & toss it on the floor. Take your netting and place it directly on top of the boonie hat. (picture 1). Cut the netting so you have 2" of netting extending past the front of the boonie (I usually mark the outline with a marker). Have the netting taper to the back side (the sides will have 3-4" over the edge of the hat). The netting should extend to the rear of the boonie approximately 18"-24". This way when stalking, the you will be able to see. When you get to your final firing point, you can turn the boonie around and cover your rifle and scope area with the 'tail' portion of your headpiece.
You really need to break up the outline of the human head. You need to have the garnish taper from the top of the head to the shoulders. This is extremely important, however don't make it so 'bushy' that it doesn't look natural.
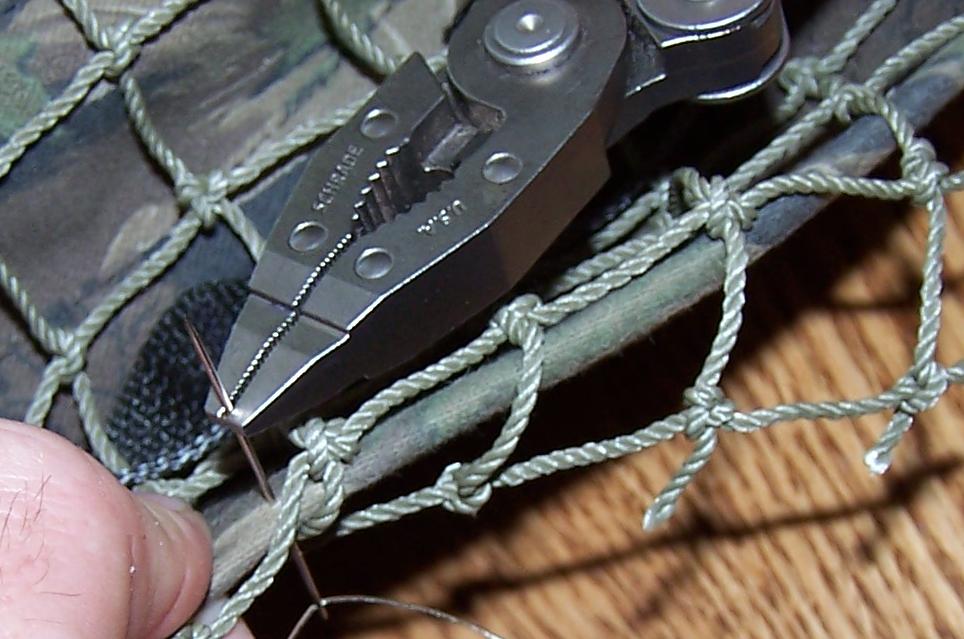
Now, take your fishing line and start attaching the netting to your boonie hat. Make sure you make several 'laps' around the net, make several knots, and then seal the knots with a touch of a match (I usually let the match burn for a second, then blow it out before touching it to the fishing line). I use pliers to help me through the thick brim. I will aslo lash down the netting around the loops of the band, with 550 cord.. (pic 3) |