 |
STAGES of a Dragon |
|
|
STAGES of a Dragon |
|
FLYING HEART
PRODUCTIONS |
 |
Stage one - Didn't come up with this idea until after I had already primed this guy and had two coats of color on him, so we will start here. He was primed in gray, then a darker gray was painted over the body, followed by Neutral gray. I then "slapped" some red in and around his mouth. As you can see, at this stage I am not concerned with "fine" detail. that comes at the end |
 |
Stage two - Now I have added the black along the dragons ridge and on his head. Still no fine detail being done |
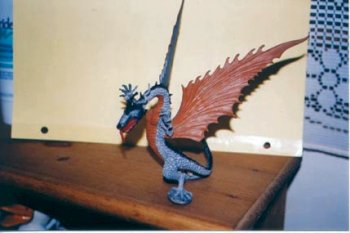 |
Stage three - Now a reddish brown is added to the belly and under the wings, Now I am working more to keep all the lines neat to avoid covering my gray scales |
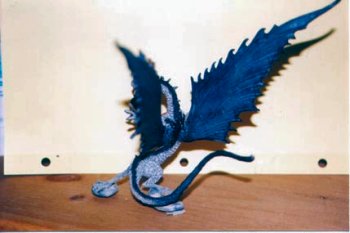 |
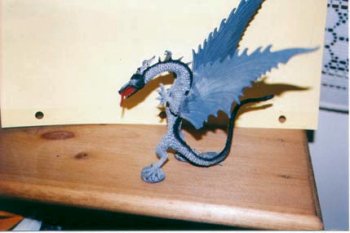
Stage four - here I have done the back of the wings in a dark charcoal gray and shaded then down to black at the wing bases some gray shading has been added along the black on the back of the dragon and at the tail, blending to black at the tip |
 |
Stage five - Nothing major here, just some Yellowed added around the eyes |
 |
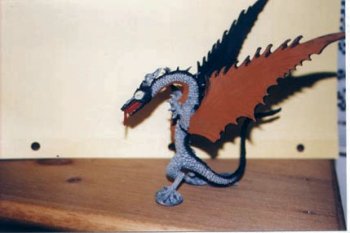
Stage six - Now my tiger striping is added in along with some red along the dragons side separating the brown and gray |
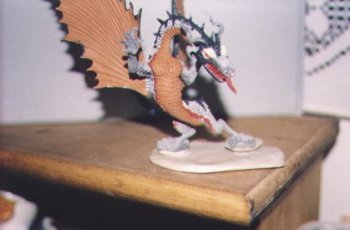 |
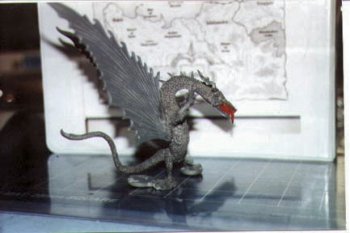
Stage seven - a new base was made as he still wasn't standing right. Now with a new broader base the dragon is standing better. plus I can now make a more elaborate base for the final piece! |
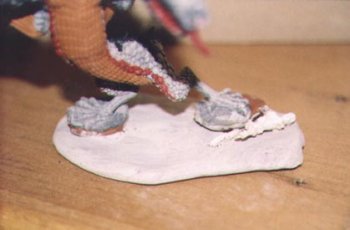 |
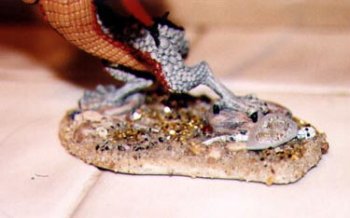
Stage 8 - the new base is dry and now I have added a "skeleton" at the dragons feet. He is a resin piece sent to me by my friend Lansing out in New York. I took him off of the base he was on and then broke one leg even further and glued it separate from the body |
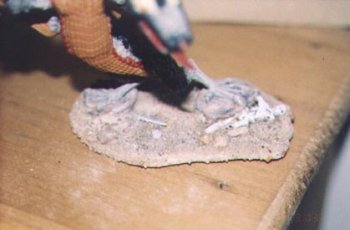 |
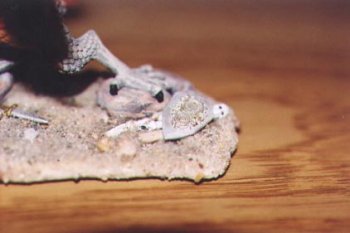
Stage 9 - I painted the skeleton black and then went back over with a cream and then white dry brush. Then "real" sand was glued to the base. there is part of a sword sticking out of the sand, but it came out blurry and you can't really see it well |
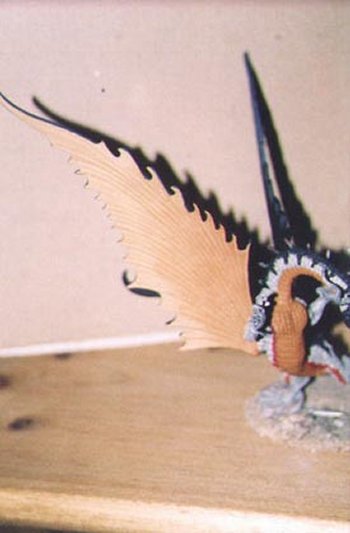 |
Stage 10 - With the base mostly done for the moment I went in and finished out the under side of the wings. Working from a dark to light I found a color combination that I liked. Then the edges were touched up with a matching color from the back of the wings. Now it is time to start the detailing! |
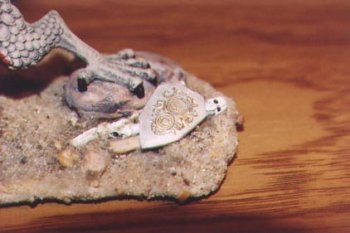  |
Stage 11 - after looking at what I had done I went back to the base an added a shield to the skeleton. It was painted silver and then a gold "rub on" rub over the top to pick up the high parts on the heraldry on the shield. then back in with silver to clean up around the edges. then glued on. I also took time to paint the sword sitting by the dragons other foot. |
 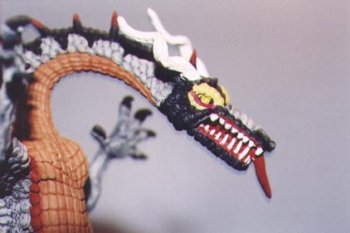 |
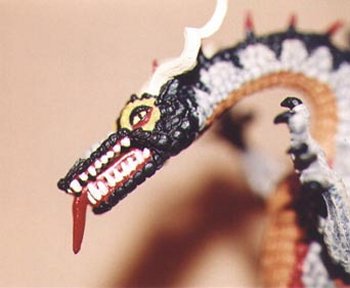
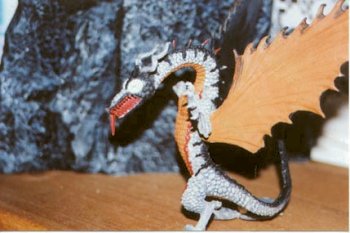
Stage twelve - the :tiger" stripes have been "cleaned up" around the edges and made more crisp. His red strip has been fixed and horns painted ivory. The teeth were done in ivory also. I still need to finish detailing them and the mouth at this point I also added the Yellow eye and the red to the spines on his back. His eyes will also need to be 'touched up and detailed out, and I may still do some more to the horns. Slowly the "little" things are getting done. Just some more details to finish before I put on a finishing spray coat. After that I finish the base! |
|
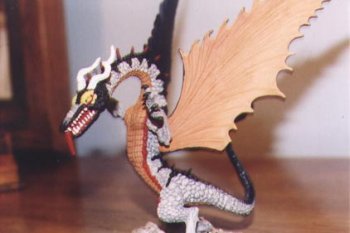
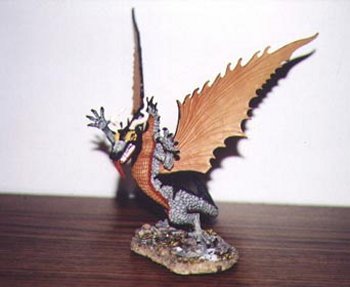
Stage 13 - and the last stage! I have now gone back in and "cleaned" up all the lines, mis-placed paint etc. The head has been detail, eyes done and teeth. The whole piece was sealed with a matte sealer, then the eyes and mouth were gone back over with a high gloss sealer. Then I liberally "sprinkled gold and silver confetti on the base to represent the dragon's "horde". A few "gems" were added in for color. I will try and get better pictures of the base taken and replace them when I do. But I think you can get the idea from what I have here. Hope you enjoyed watching what I did as much as I enjoyed doing this! |
Click Below to email me

This site maintained by

Last Updated 03/23/03 10:15:49 PM
![]()