
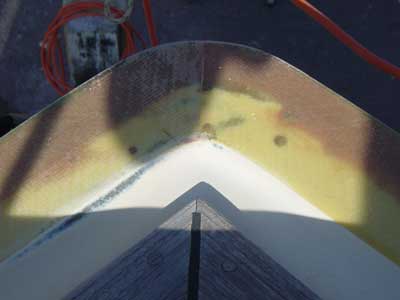
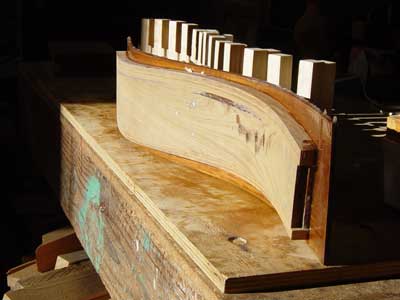
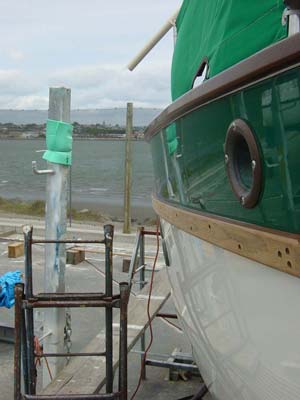
Plagued by leaks throughout the boat, we stripped off the caprails
and rubrails. We found a poorly executed hull-to-deck joint with
deep voids and areas of standing water. Mastic bedding compound
had been slathered on the underside of the caprails and we literally
pulled out chunks of this stuff 1" thick (see picture). The
"V"-shaped void in the joint didn't provide equal support
for the caprail as it had to span from the deck flange across
the "V" to the hull edge. The hull flange was built
up below the level of this deck edge at the bottom of the "V".
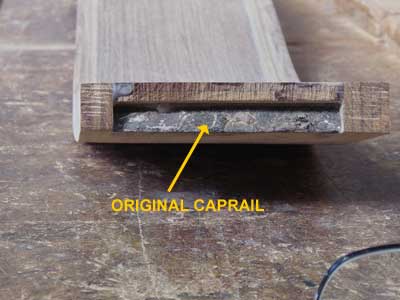
To repair, we meticulously cleaned the area and filled the bottom
of the "V" with a high density epoxy filler. We then
applied bi-axial cloth in laminations of graduated widths as we
worked our way up and out of the "V". |
|
The finished hull-to-deck joint - 4 laminations of a double bias/chopped
strand "E" glass hybrid w/ epoxy resin. The result is
a strong, watertight joint providing equal support and a nice bedding
surface for the new caprails. |
Another view of the repaired hull-to-deck joint |
|
With the fiberglass repair and painting segments of the refit complete,
it's time to change hats and set up for our woodworking projects.
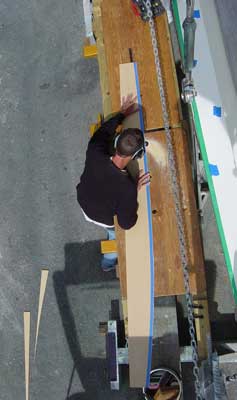
The first order of business was to build a portable workbench. Using
cheap fence rails and post material planed fair, we constructed
a sturdy bench using lap joints and epoxy, yep...just like lincoln
logs :) The bench clamps to the boat cradle uprights and the legs
are removable thus facilitating portability. Total outlay including
tops: $50.00 USD |
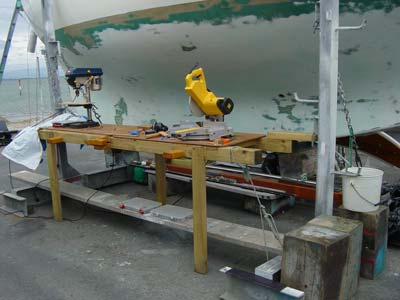
The completed workbench features integral planking vice and supports
along forward rail for holding work. This is "purpose-built"
to facilitate shaping the long caprail boards. The bench tops provide
a rudimentary table saw (using a circular saw clamped underneath,
useful for ripping) as well as a shaper utilizing a router. Tools
picked up locally include compound mitre slide saw, drill press
and random orbital sander. Tools carried aboard include grinders,
polisher, sanders, drills, router, planer, circular saw, etc. A
set of the most commonly used hand tools are also carried. The bench
is dual voltage being supplied stepped down 240-110v from FM and
240v from the yard. Note: the "rapid deployment rollout cover"
(white plastic on left) is a necessary accessory since showery weather
is the norm and one must have the ability to close up shop at a
moment's notice. |
|

Another day at the office... |
We are fortunate to have met our good friend Alastair who has generously
offered us the use of his fully-equipped woodworking shop. Thickness
planer, table saw, band saws, drill press, dimension saw...everything
needed to accomplish any woodworking project. A wonderful retreat
during the harsh winter months when the weather prohibits working
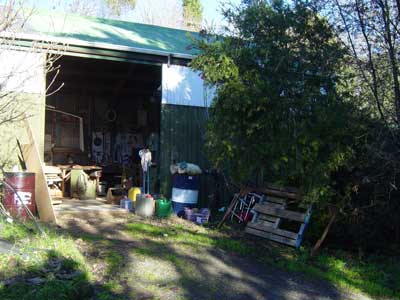
outside. Pictured above is the entrance to Alastair's unpretentious
countryside shop. |
|
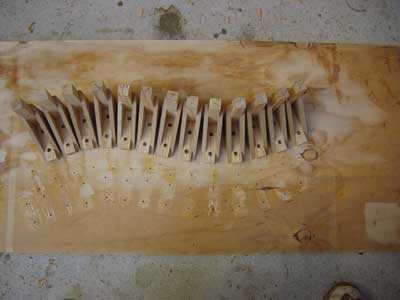
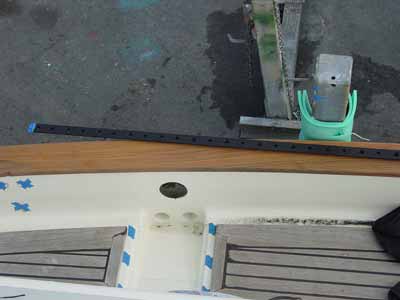
Pictured here caprail corner piece jigs are fastened to a baseboard
to model the original shape.
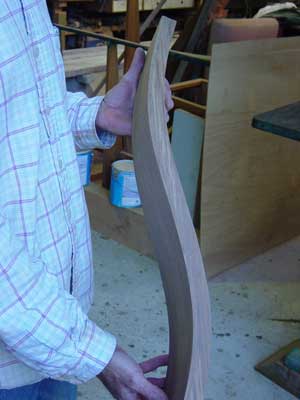
One of our "indoor" winter projects were the caprail corner
pieces. The caprails on the Westsail 32 curve down to deck level
at the bow and stern. During the removal process, to facilitate
repair to the hull to deck joint, these pieces were all but destroyed.
The corner pieces were originally fabricated from solid teak blocks.
Large pieces of teak are difficult to source these days and even
if we had been successful at doing so, the acquisition would have
been cost prohibitive. After prototyping several alternative solutions,
we settled on milling down the existing pieces and using them as
jig guides and core material on which to build up teak laminations
to the desired width and thickness. |
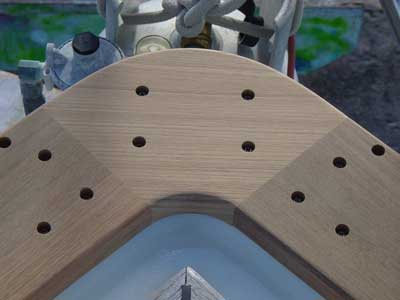
Pictured above is an original corner piece hand milled to 1/2"
thick and 3" wide. It is used as a guide to fasten 13 jigs
to a baseboard thus accurately reproducing the original shape (each
corner piece is slightly different). The finished piece will be
1 inch thick and 4 1/4 inches wide. |
|
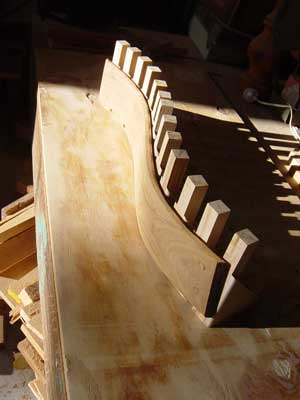
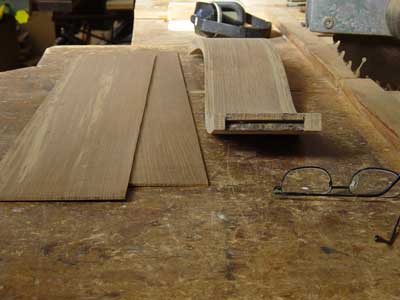
Teak planks were milled to create "skins" 1/8" thick.
These were laminated to the top and sides of the original corner
piece cores. Pictured above are the first 2 laminations epoxied
and clamped on top of the core. |
Rough sawing the skins for the side laminations |
|
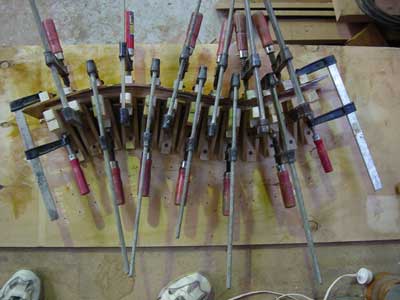
Above, wetting out the skins with epoxy for the side laminations.
Since teak is a naturally oily wood, care must be exercised in keying
up, de-oiling and the lay-up of the laminations. |
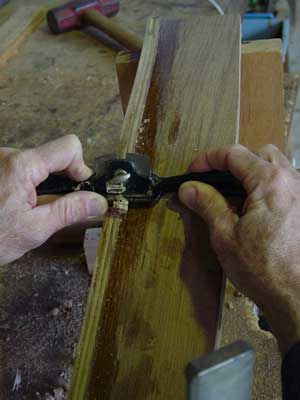
Using a spokeshave to shape the side laminations |
|
Pictured here, a corner piece is ready for the final topskin laminations.
Along with mechanical fastening, the span across the side laminations
of the final 2 top skins will help strengthen the structure. The
initial 2 topskins were applied prior to the sides to increase the
glued area of the side skins. |
Corner piece being removed from the jig after laminating the final
topskins |
|
Another view of a corner piece prior to the final topskins being
glued up |

A finished corner piece, the result of a 2-week effort...and playing
tag with the rainy weather |
|
A finished corner piece - since each piece is slightly different,
Kev was forced to construct one at a time. |
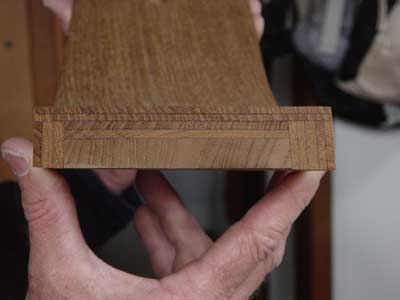
A clean sawn corner piece showing the extent of the laminations:
quarter-sawn grain orientation was carefully maintained for topskins
as well as sides for maximum durability. |
|
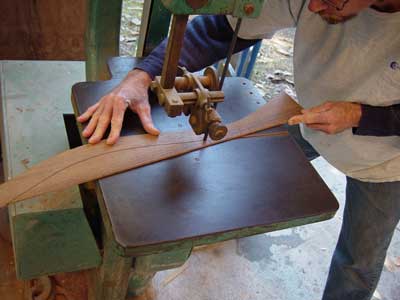
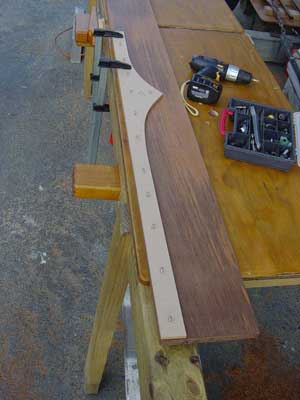
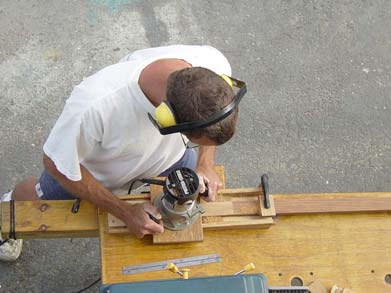
Moving on to the next phase of the cap rail replacement we use the
router to shape patterns taken from each of the 8 segments of the
cap. The finished caprail will be comprised of 20 individual pieces.
To avoid duplicating errors from the original caprail pieces, the
curvature of the shear was traced onto the patterning material and
shaped. After a quality check on the pattern the production caprail
segment was then tooled from the pattern. |
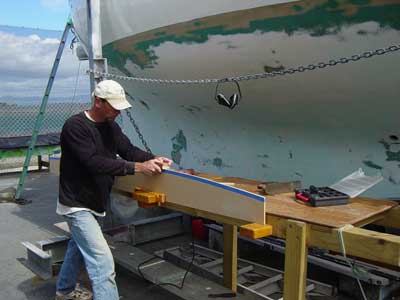
Final shaping and fairing of a caprail segment pattern |
|
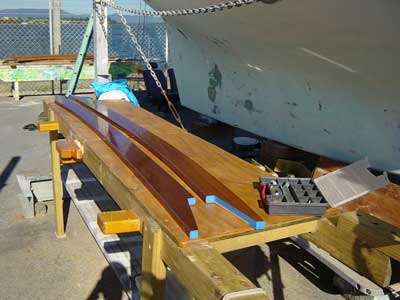
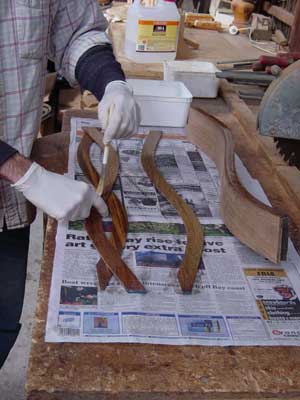
Teak caprail segments after tooling from patterns. Their undersides
are shown here primed with epoxy.
The fastening of the caprail to the shear will be accomplished using
adhesive as well as mechanical fastening. The adhesive component
of the bond will be polyurethane between epoxy fiberglass and epoxy
treated teak. SS316 self-tapping screws into the beefed up hull
to deck joint complement and finish the fastening. |
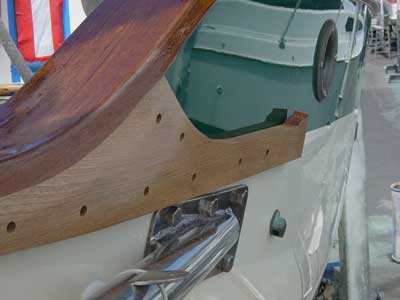
Nosecone, shoulder, corner piece and caprail segment board |
|
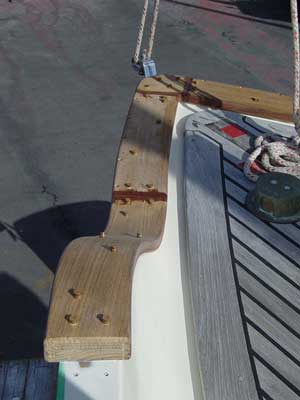
Nose cone, shoulder and corner piece... bedded, fastened and plugged |
Box scarf jointing detail of caprail segment boards |
|
Tailcone and shoulders |
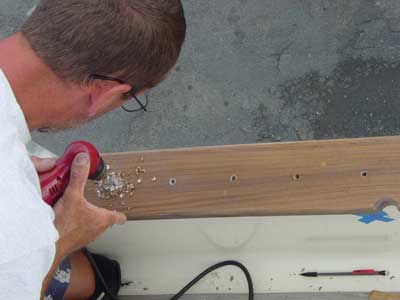
Drilling holes to mount the genoa track...this really hurts! |
|
Genoa track installation appears straightforward externally. In
actuality it requires near destruction of the interior to access
the backing nuts. |
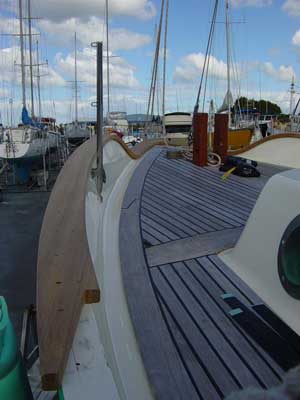
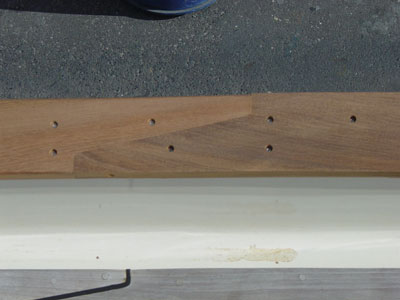
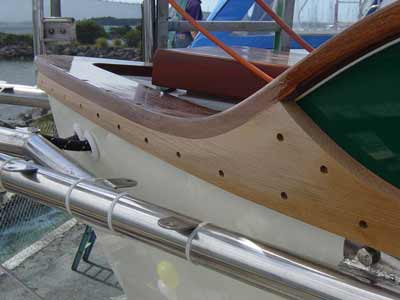
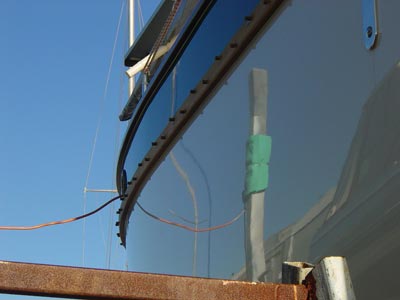
Shown here the starboard genoa track installed. The caprail is fininshed
with clear-coat epoxy and Cetol. |
|
A difficult trim piece we call a "loop" handles the shoulder
to corner piece/rubstrake transition. Here we begin tooling the
production loop for the starboard quarter using the router. One-off
being the bane of the amatuer we again use the fail-safe method
of carefully patterning the shape. |
The starboard quarter loop fitted and awaiting plugs |
|
Another view of the starboard loop showing the 3-way corner piece
to shoulder and loop join. |
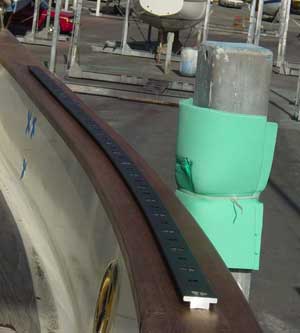
The rubrails are the last exterior trim pieces left to fabricate
and install on the hull. Pictured above is a 12 ft section, milled
and primed with 6 coats of epoxy on the bonding surface prior to
tooling and installation. |
|

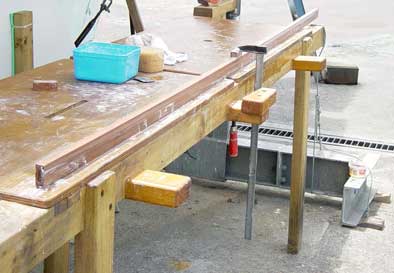
Kevin uses a custom-made jig to route the 10:1 scarf joint. |
Using the router to tool the scarf for the stbd rubrail
We are constructing the rubrails in 2 sections with breaks at the
chain plates to facilitate future chain plate inspection and rebedding.
A single 12 ft section will handle the bow section forward of the
chain plates. The area aft of the chain plates will require two
lengths of 12 ft material each to be joined together. A long, thin
tapered joint called a scarf, used to marry the two pieces, will
yeild a joint stronger than the original material. |
|
The rubrails forward of the chainplates are installed as Kev tightens
the 3/4 inch screws for a final time. We have used a polyurethane
adhesive/sealant as well as mechanical fastening for the installation
in the same manner as for the caprails. |
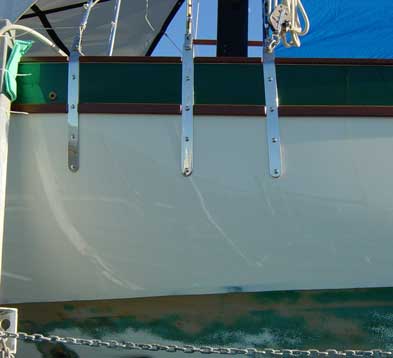
Pictured above, looking forward from the port quarter |
|
The stbd quarter rubrail installed and plugged |
...a view of our neighbors
|
|
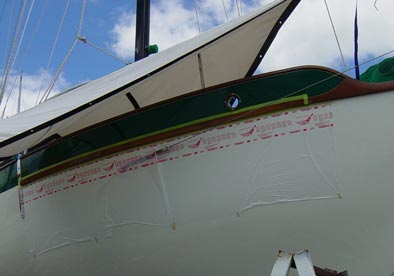
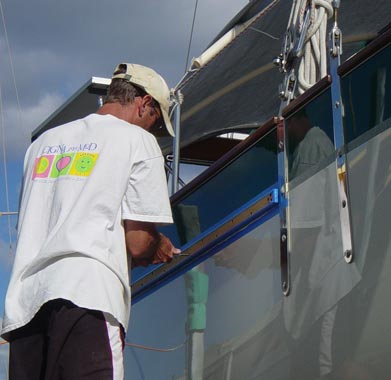
Rubrails taped off for finish coating |
Like the caprails, the rubrails will be coated with 6 coats of epoxy.
This is a long procedure as the side against the hull must be epoxied
prior to installation. Following installation, the rest of the rubrail
is epoxied after the fastener hole plugs have been trimmed and the
surface sanded smooth. Pictured above, the rubrail is installed,
plugged, and is being epoxied. When the final epoxy coat has been
applied, 4 coats of a UV inhibiting coating will be applied to protect
the epoxy from the harmful rays of the sun. Our coating of choice
is Cetol. |
|
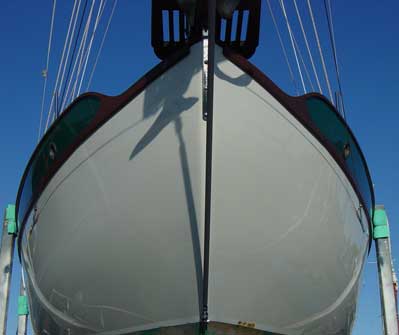
Completed rubrails looking from the bow... |
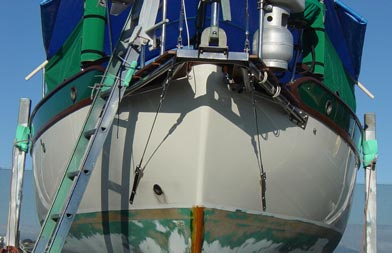
...viewing from astern |
|
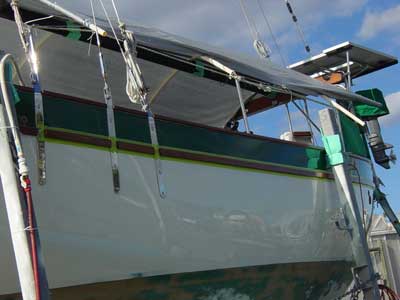
Broken rubrails around chainplates allow easy maintenance. |
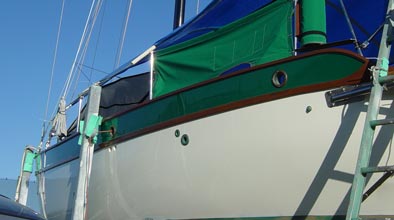
Caprails and rubrails installed, at long last exterior trim complete!! |