| Power Wheels Jeep Rebuild |
 |
 |
 |
 |
 |
 |
 |
 |
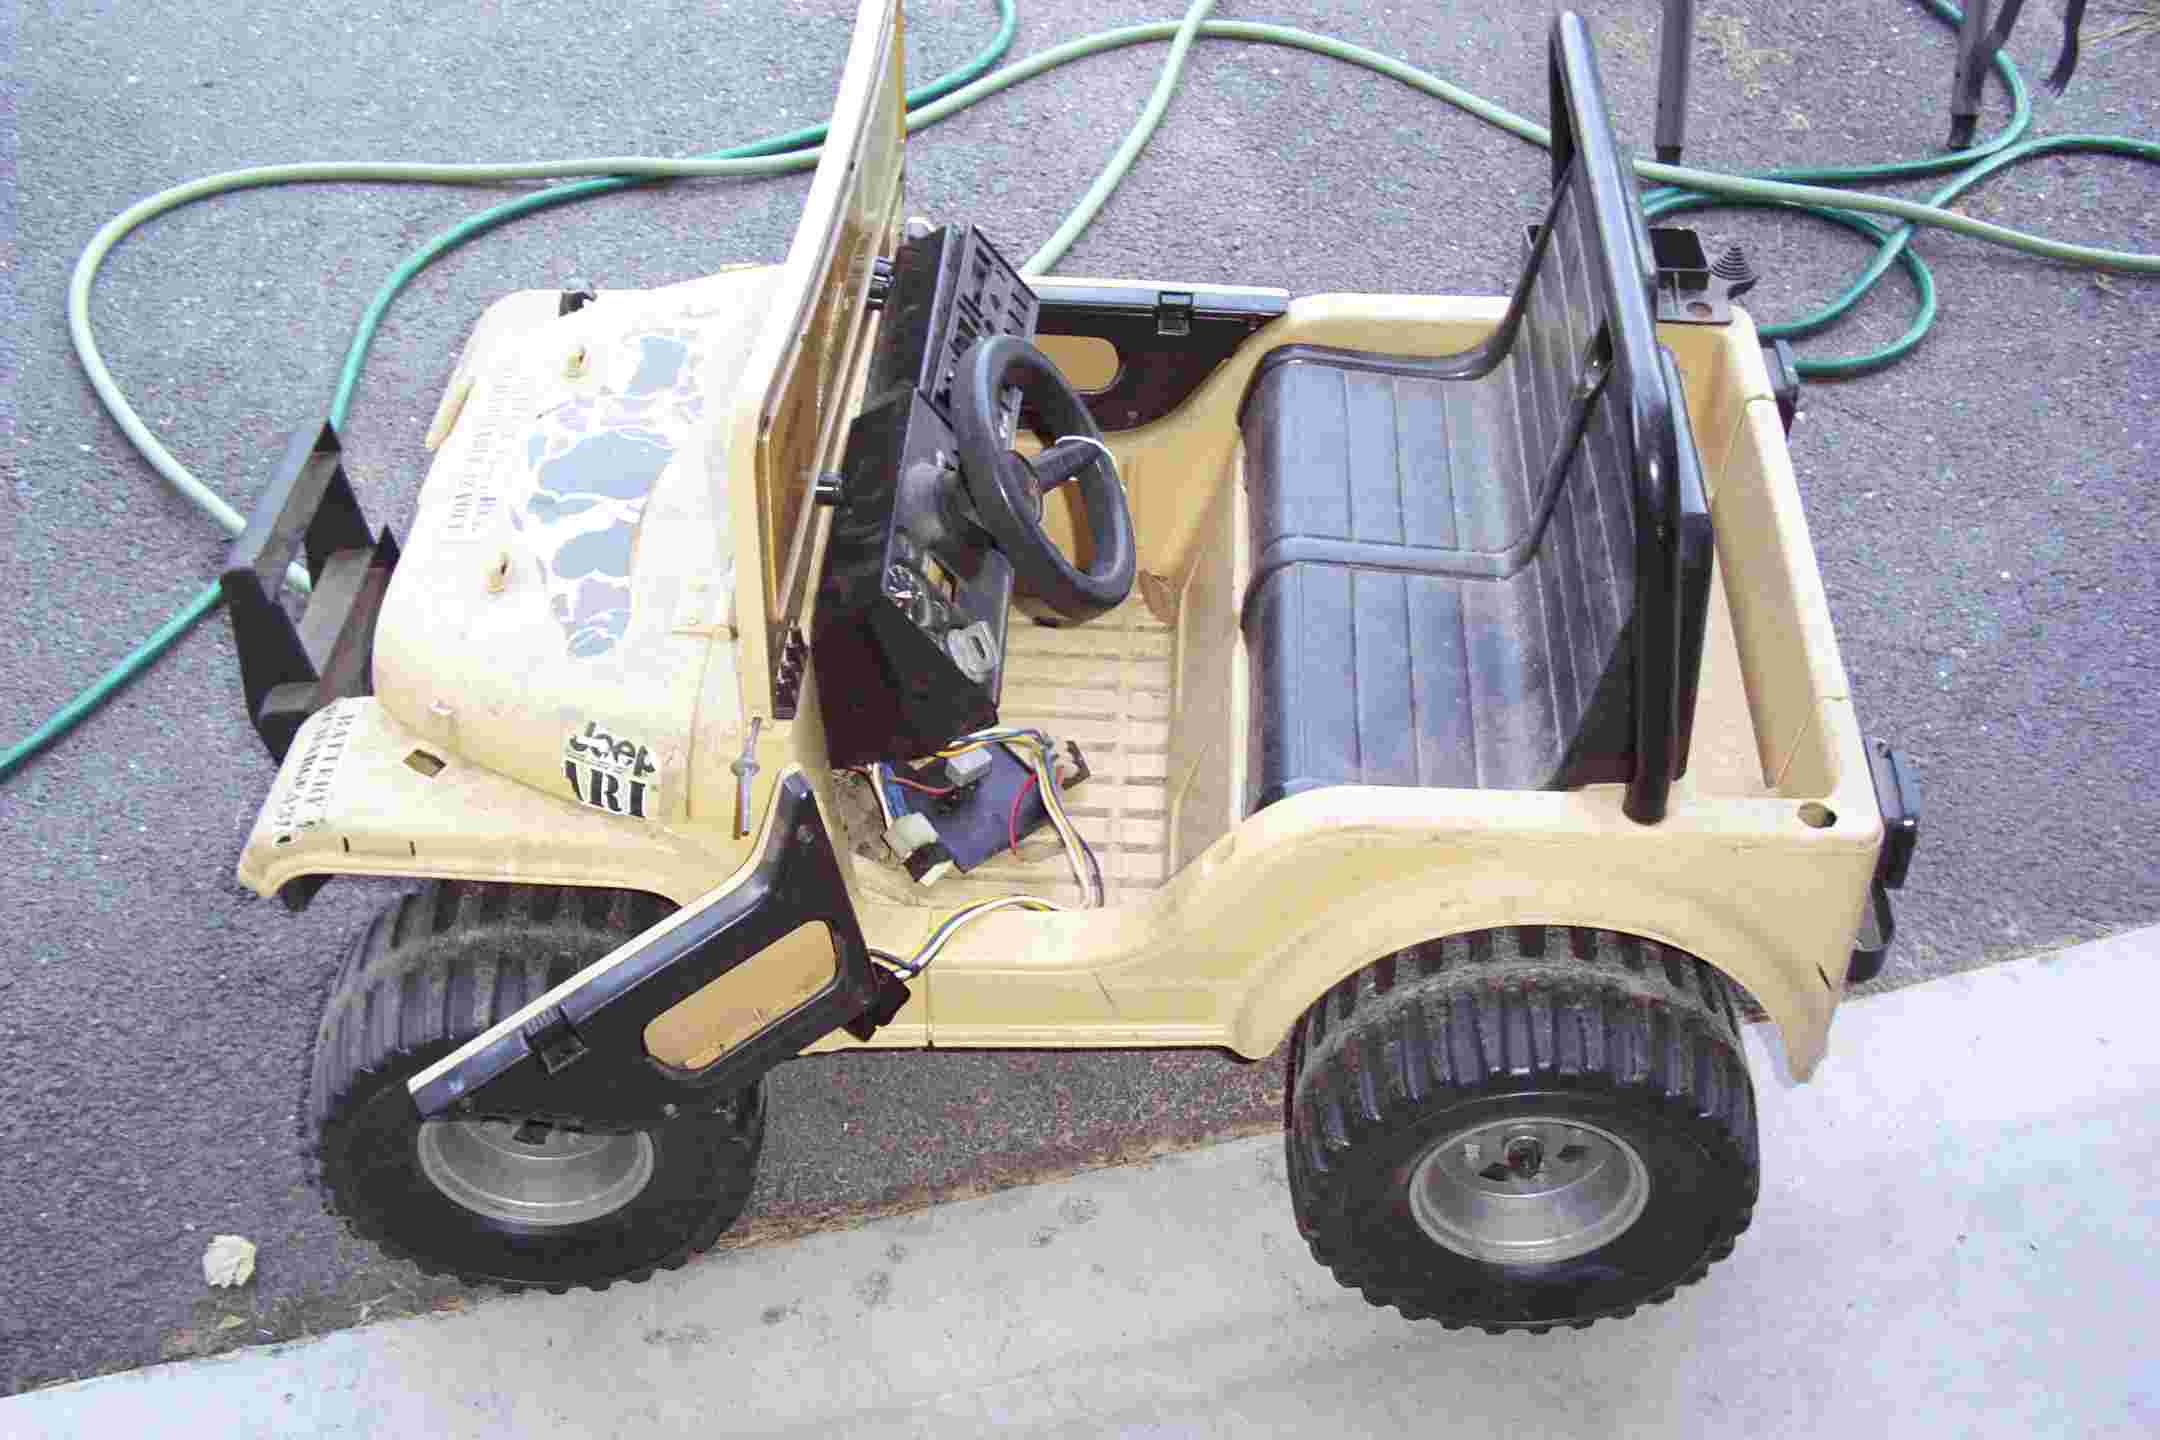
| I got this Fisher Price Power Wheels Jeep at the flea market for $5. It had two sets of batteries and a charger. The batteries turned out to be no good, but the charger works great. The Jeep must have been left outside because the sun had damaged the plastic, which is going to require some real work to fix. 8/30/04 |
| The first thing I did was to test the motors and switches to see it the Jeep still worked. After a few minutes of trouble shooting I found the pedal switch to be a little dirty. A quick cleaning and it was up and running. After I knew it worked, I stripped the Jeep down completely so I could start on the body work. |
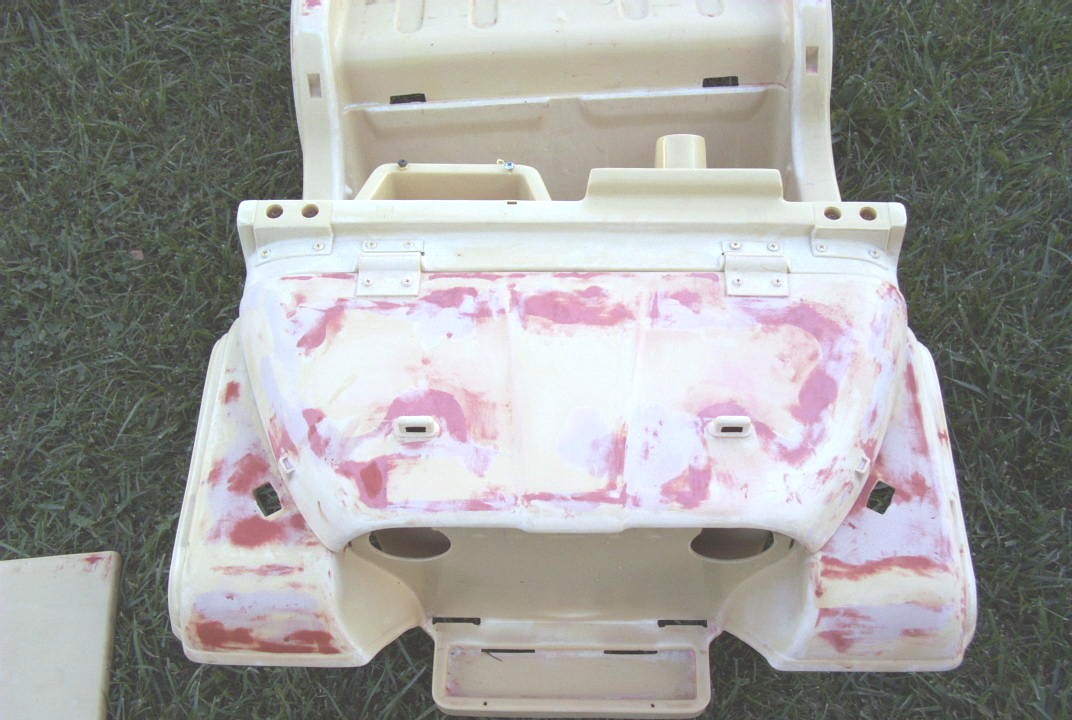
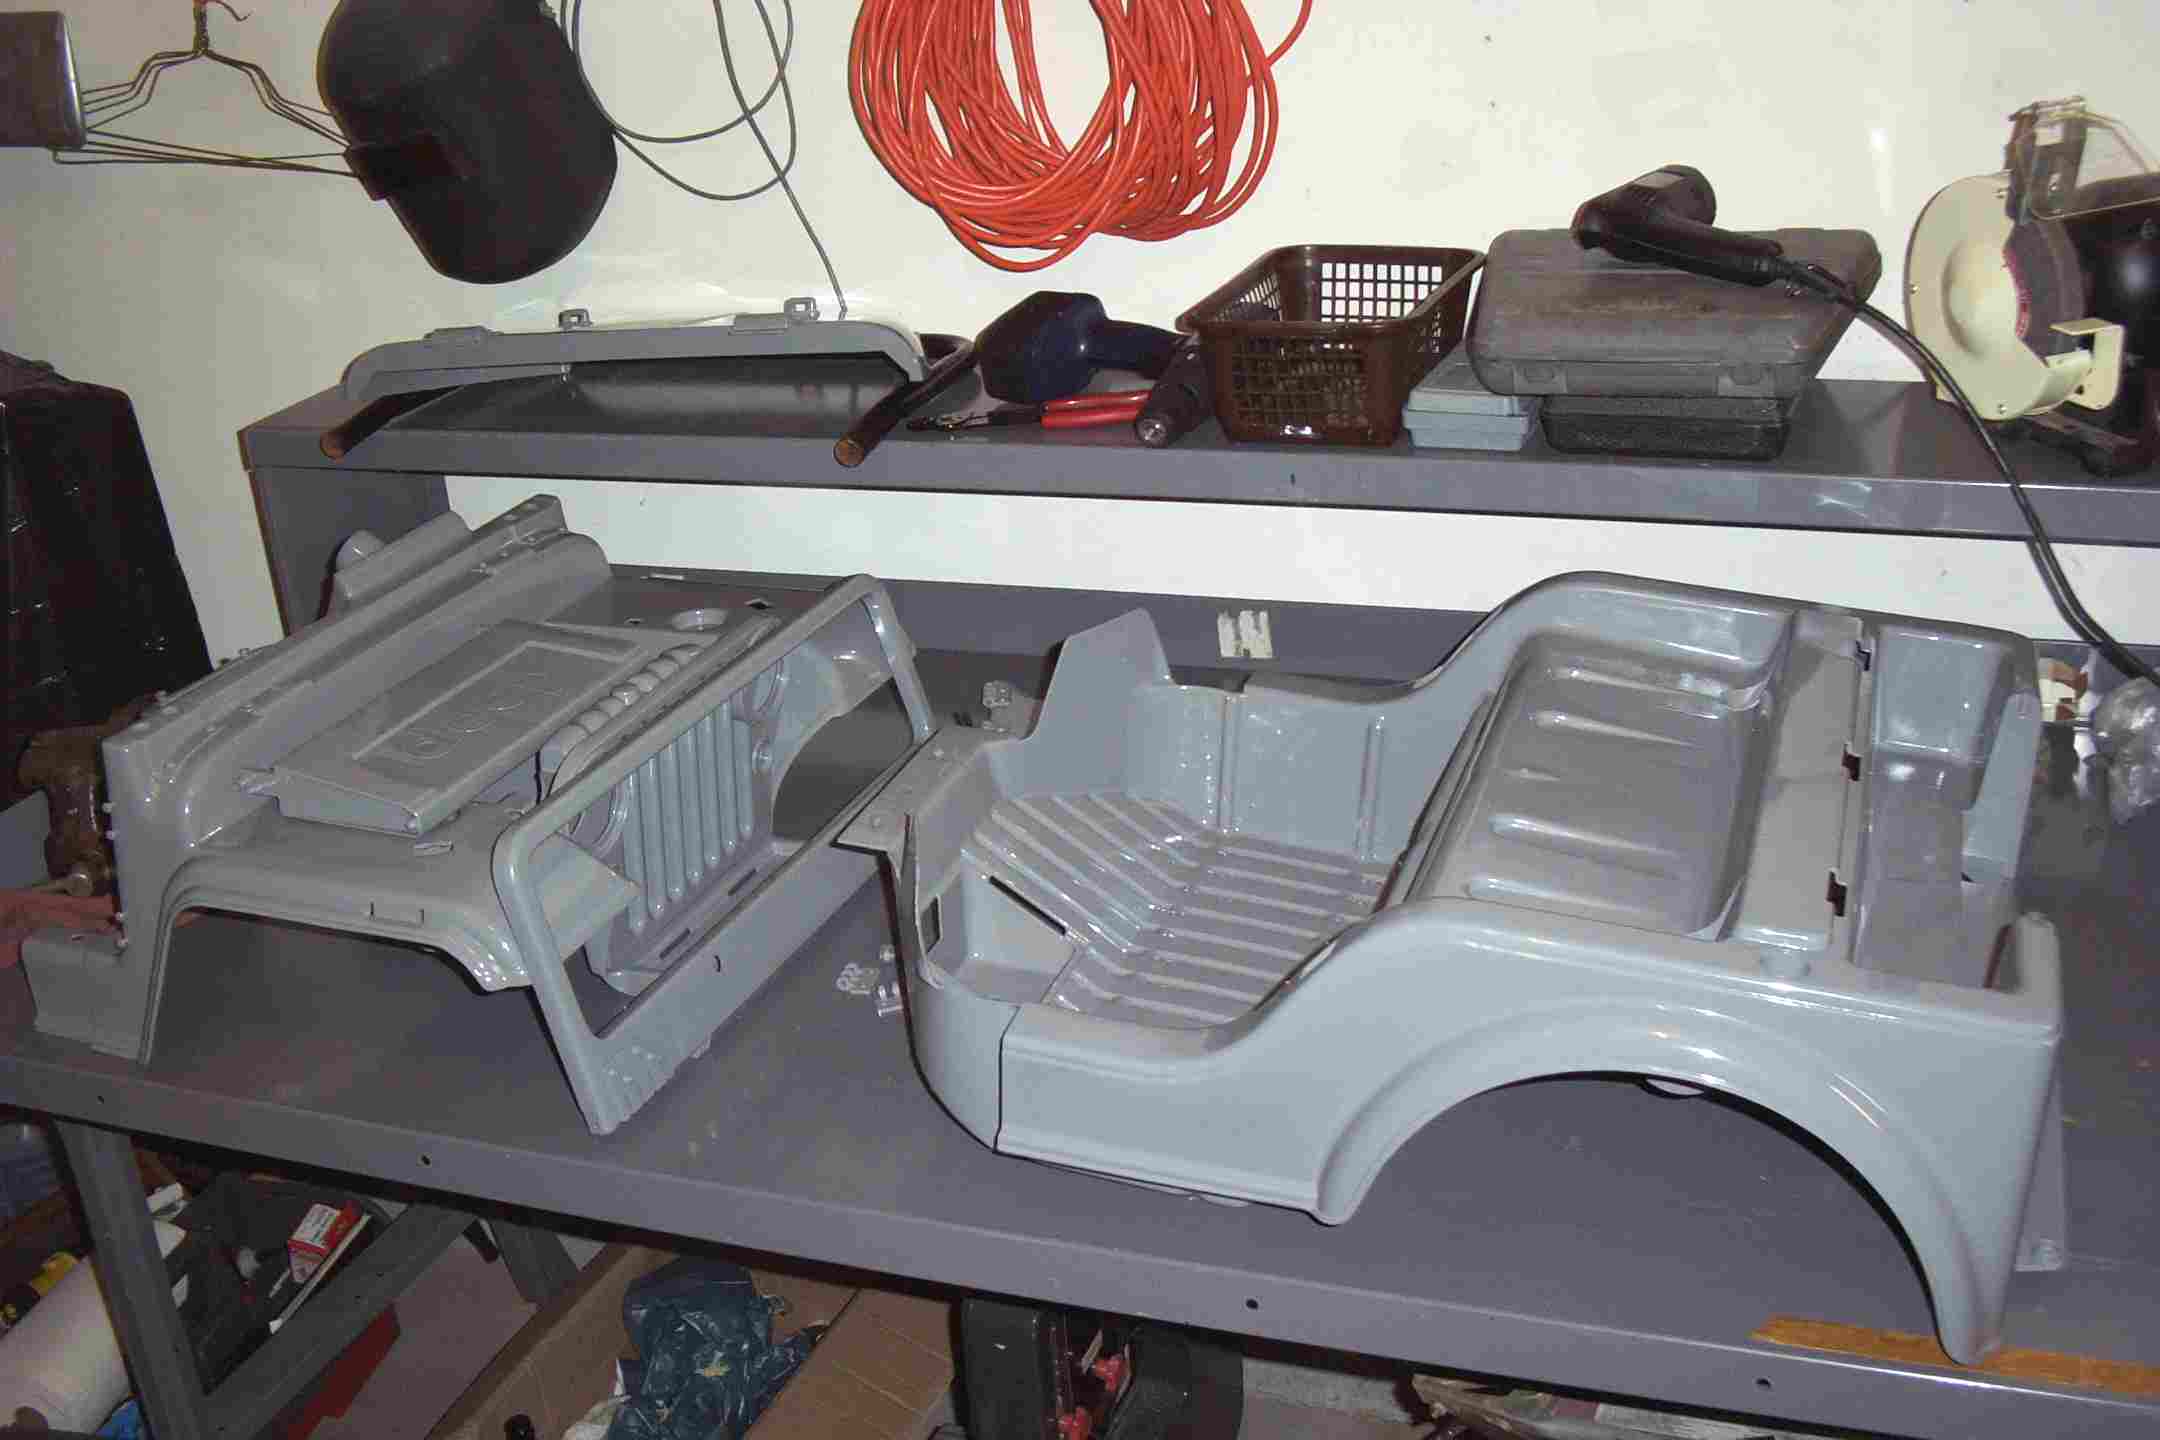
| I gave it a good heavey sanding to remove the deteriorated plastic. I then applied body pudy to smooth out the major defects in the surfaces. Then I filled in any left over defects with glazing pudy. Once it looked to be good and smooth, I shot a coat of primer on the areas that I had repaired. Then wet sanded it with 400 grit paper. Sorry I forgot to get a picture of the sanded primer parts. 9/18/04 |
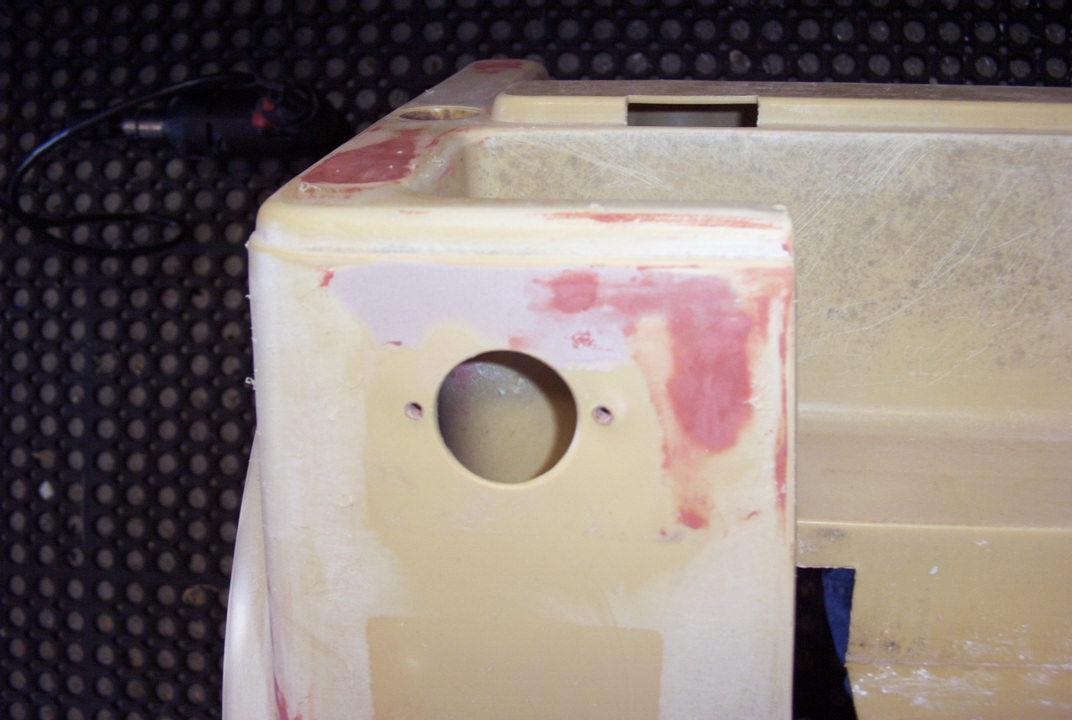
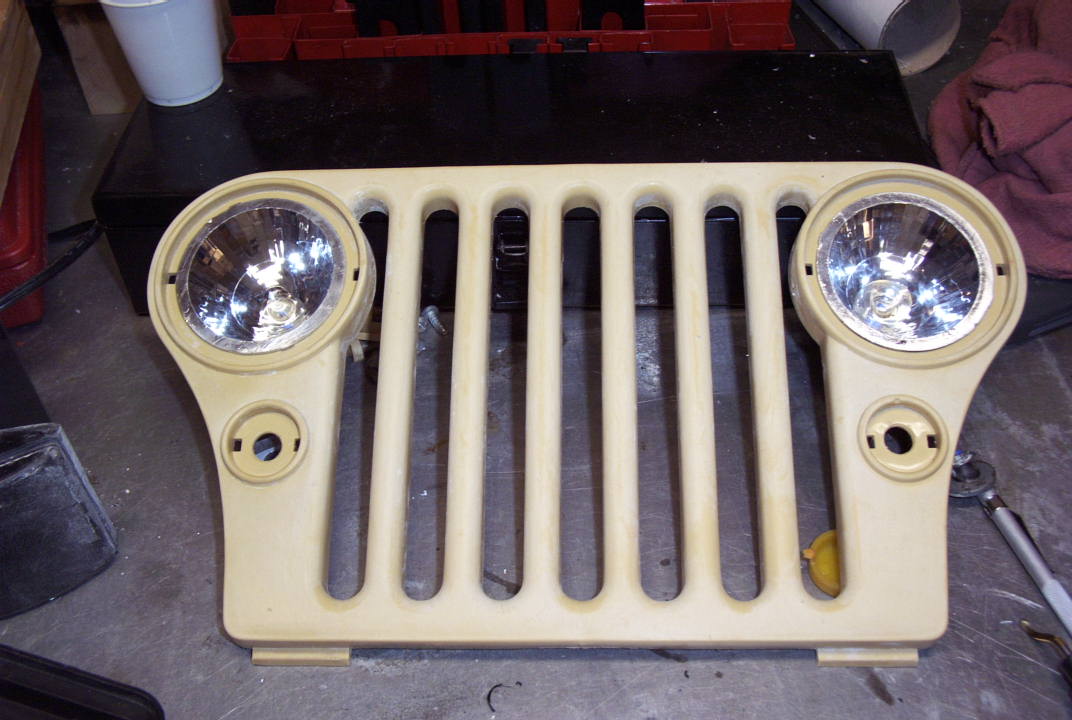
| Along the way in the rebuild, I thought it would be nice to have lights so Tyler could drive at night. He loves to play outside in the dark. This picture shows the holes I made for the head lights and the picture below shows the two flash light reflectors in place. I used a hole saw to cut the holes |
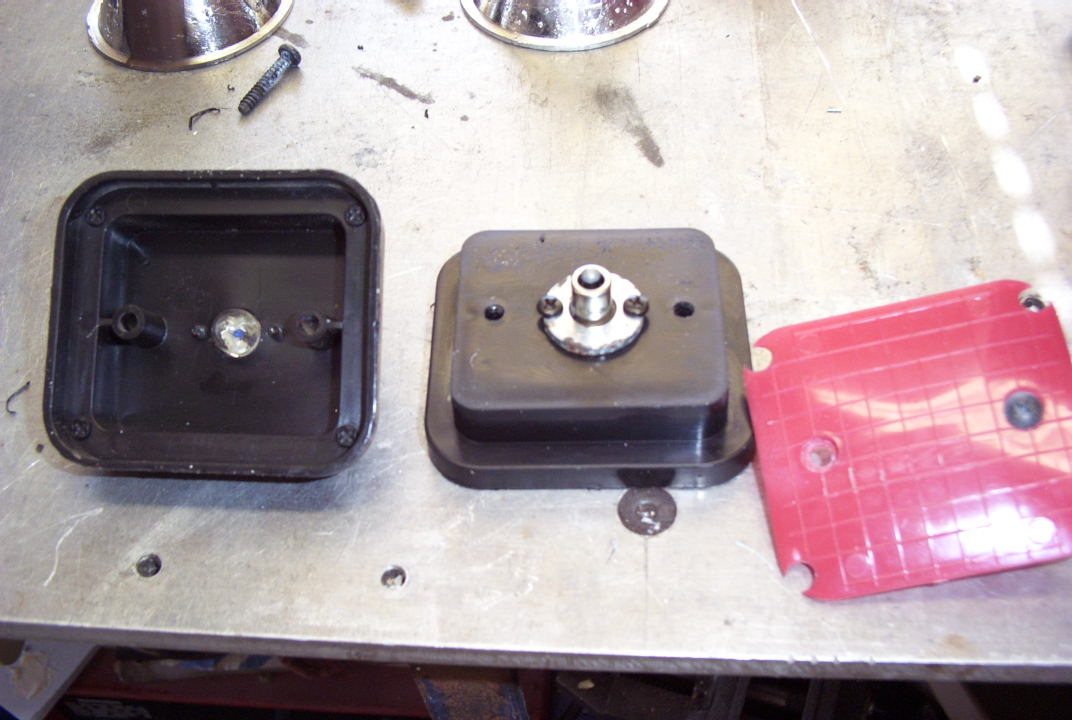
| These are the two polycarbonate head light covers. I will drill some holes and screw them in place. |
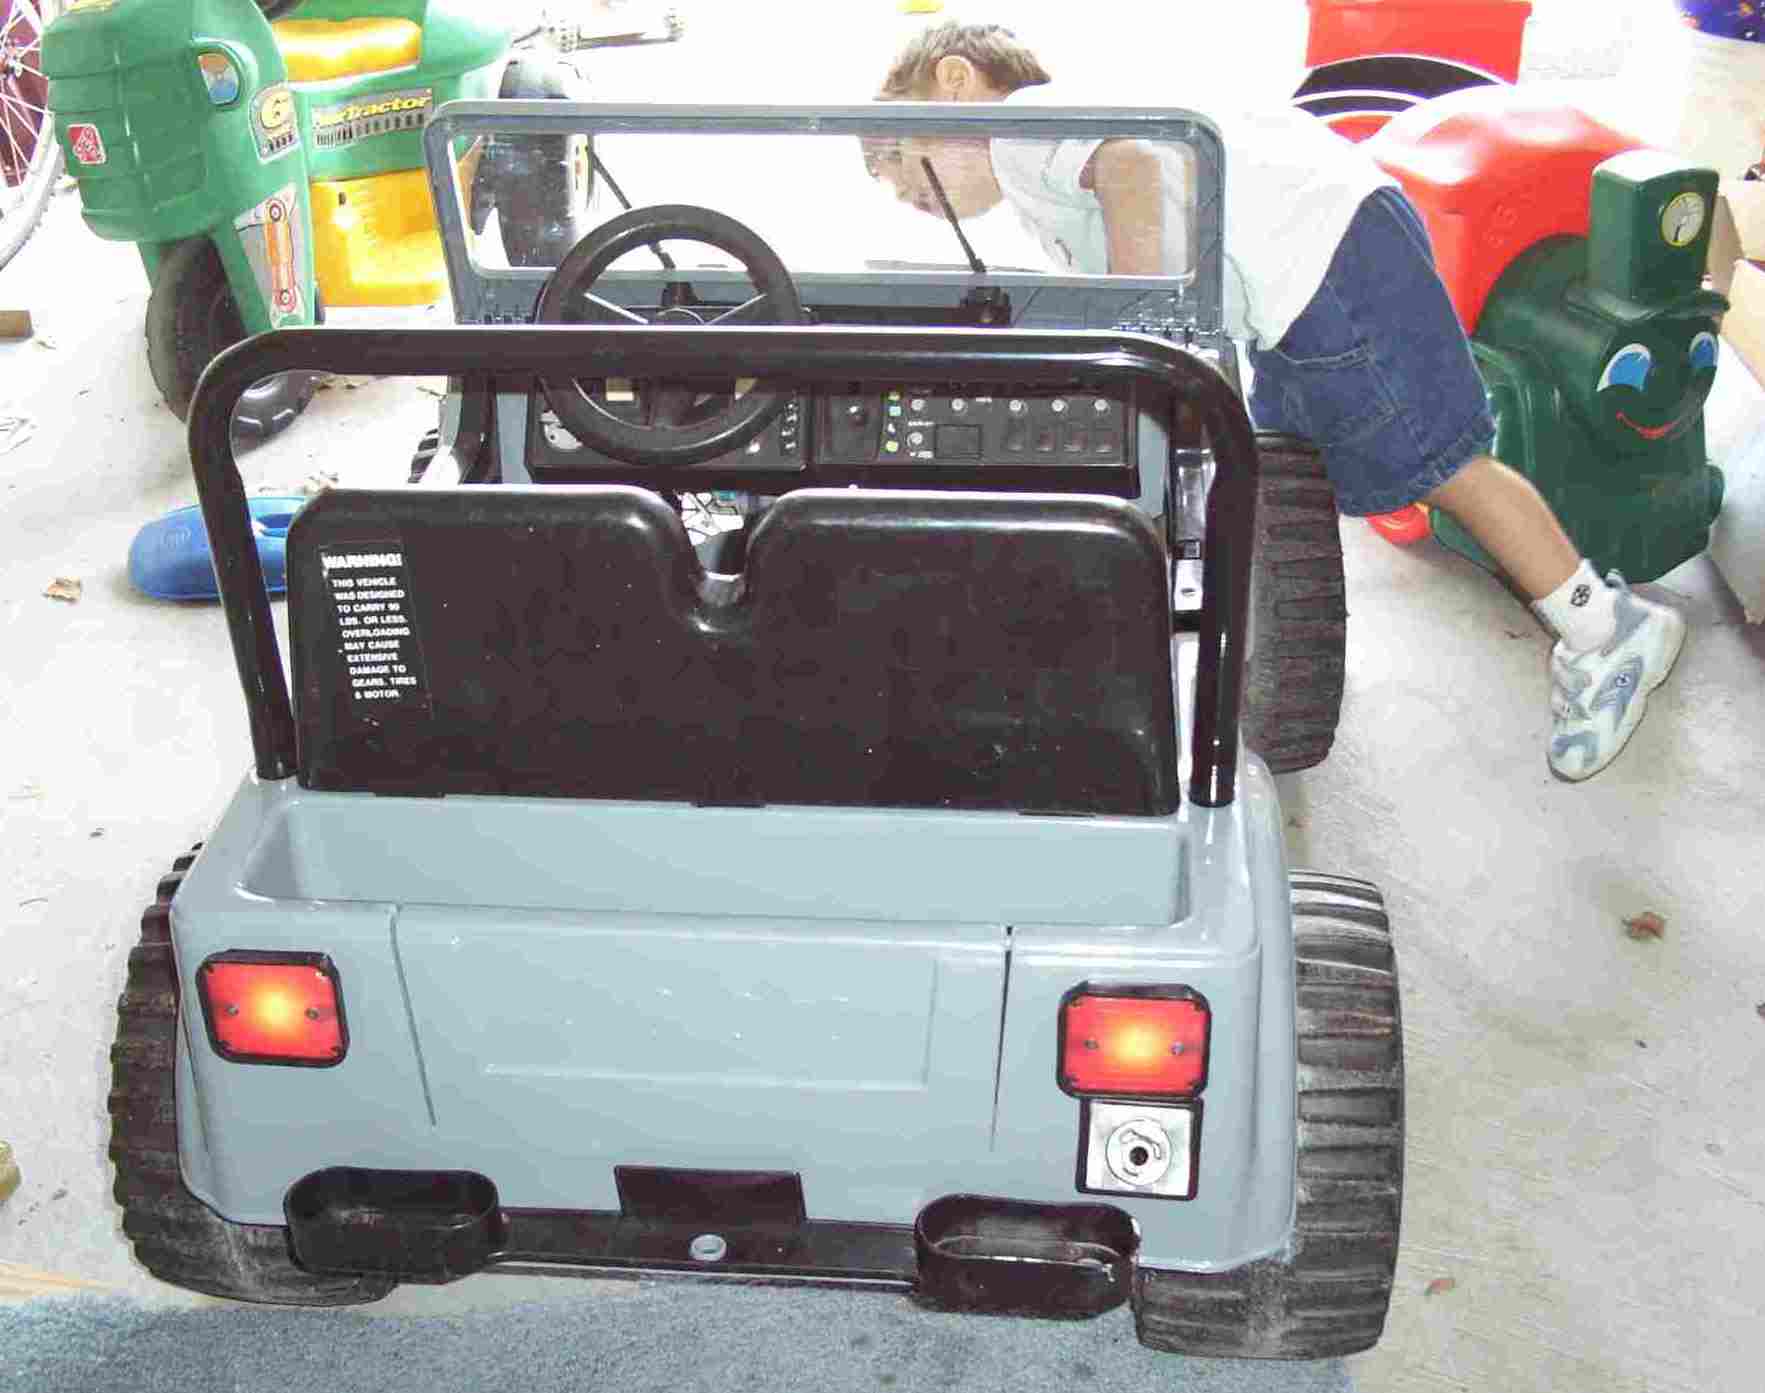
| Here is a picture of the rear of the Jeep. I cut two hole in the back to accept the tail lights that are pictured below. The tail light will be lit with a flash light bulb held in by two screws and a washer. 10/10/04 |
 |
 |
 |
 |
 |
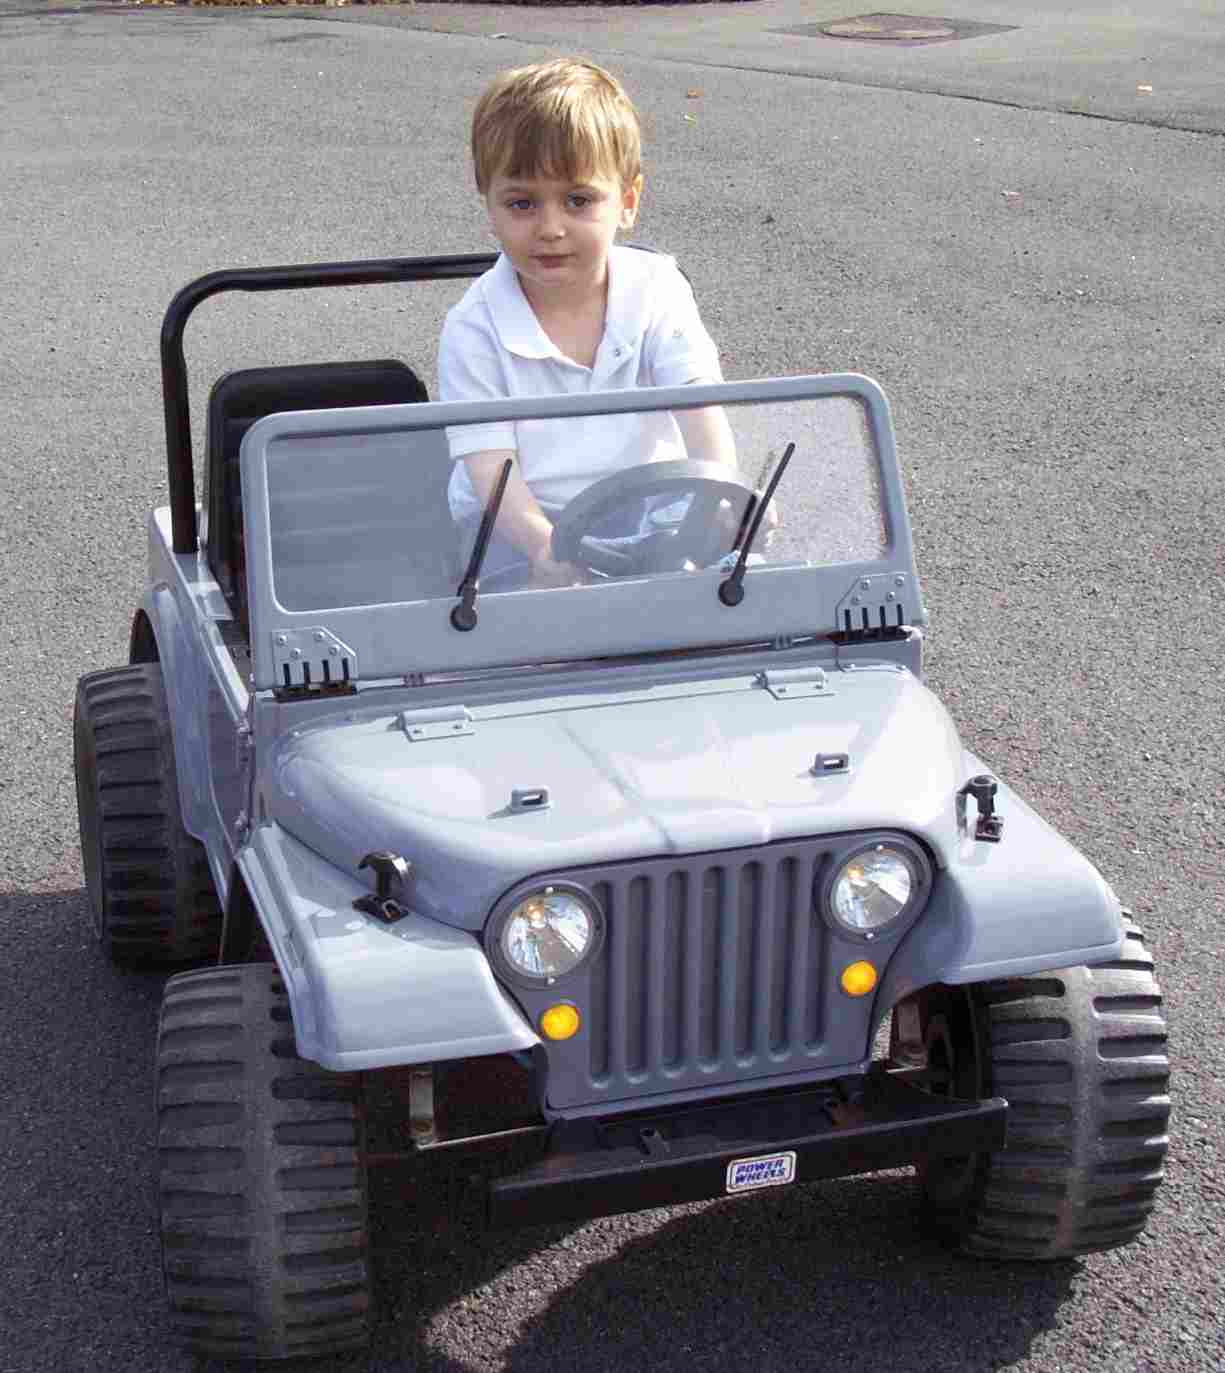
| Here's the Jeep after the paint has dried. I used Rust-olium from the can. It takes around 24 hour to dry enough to to be touched and several weeks to dry rock hard. It sticks to the plastic ok and gives a good shine for the price. 10-27-04 |
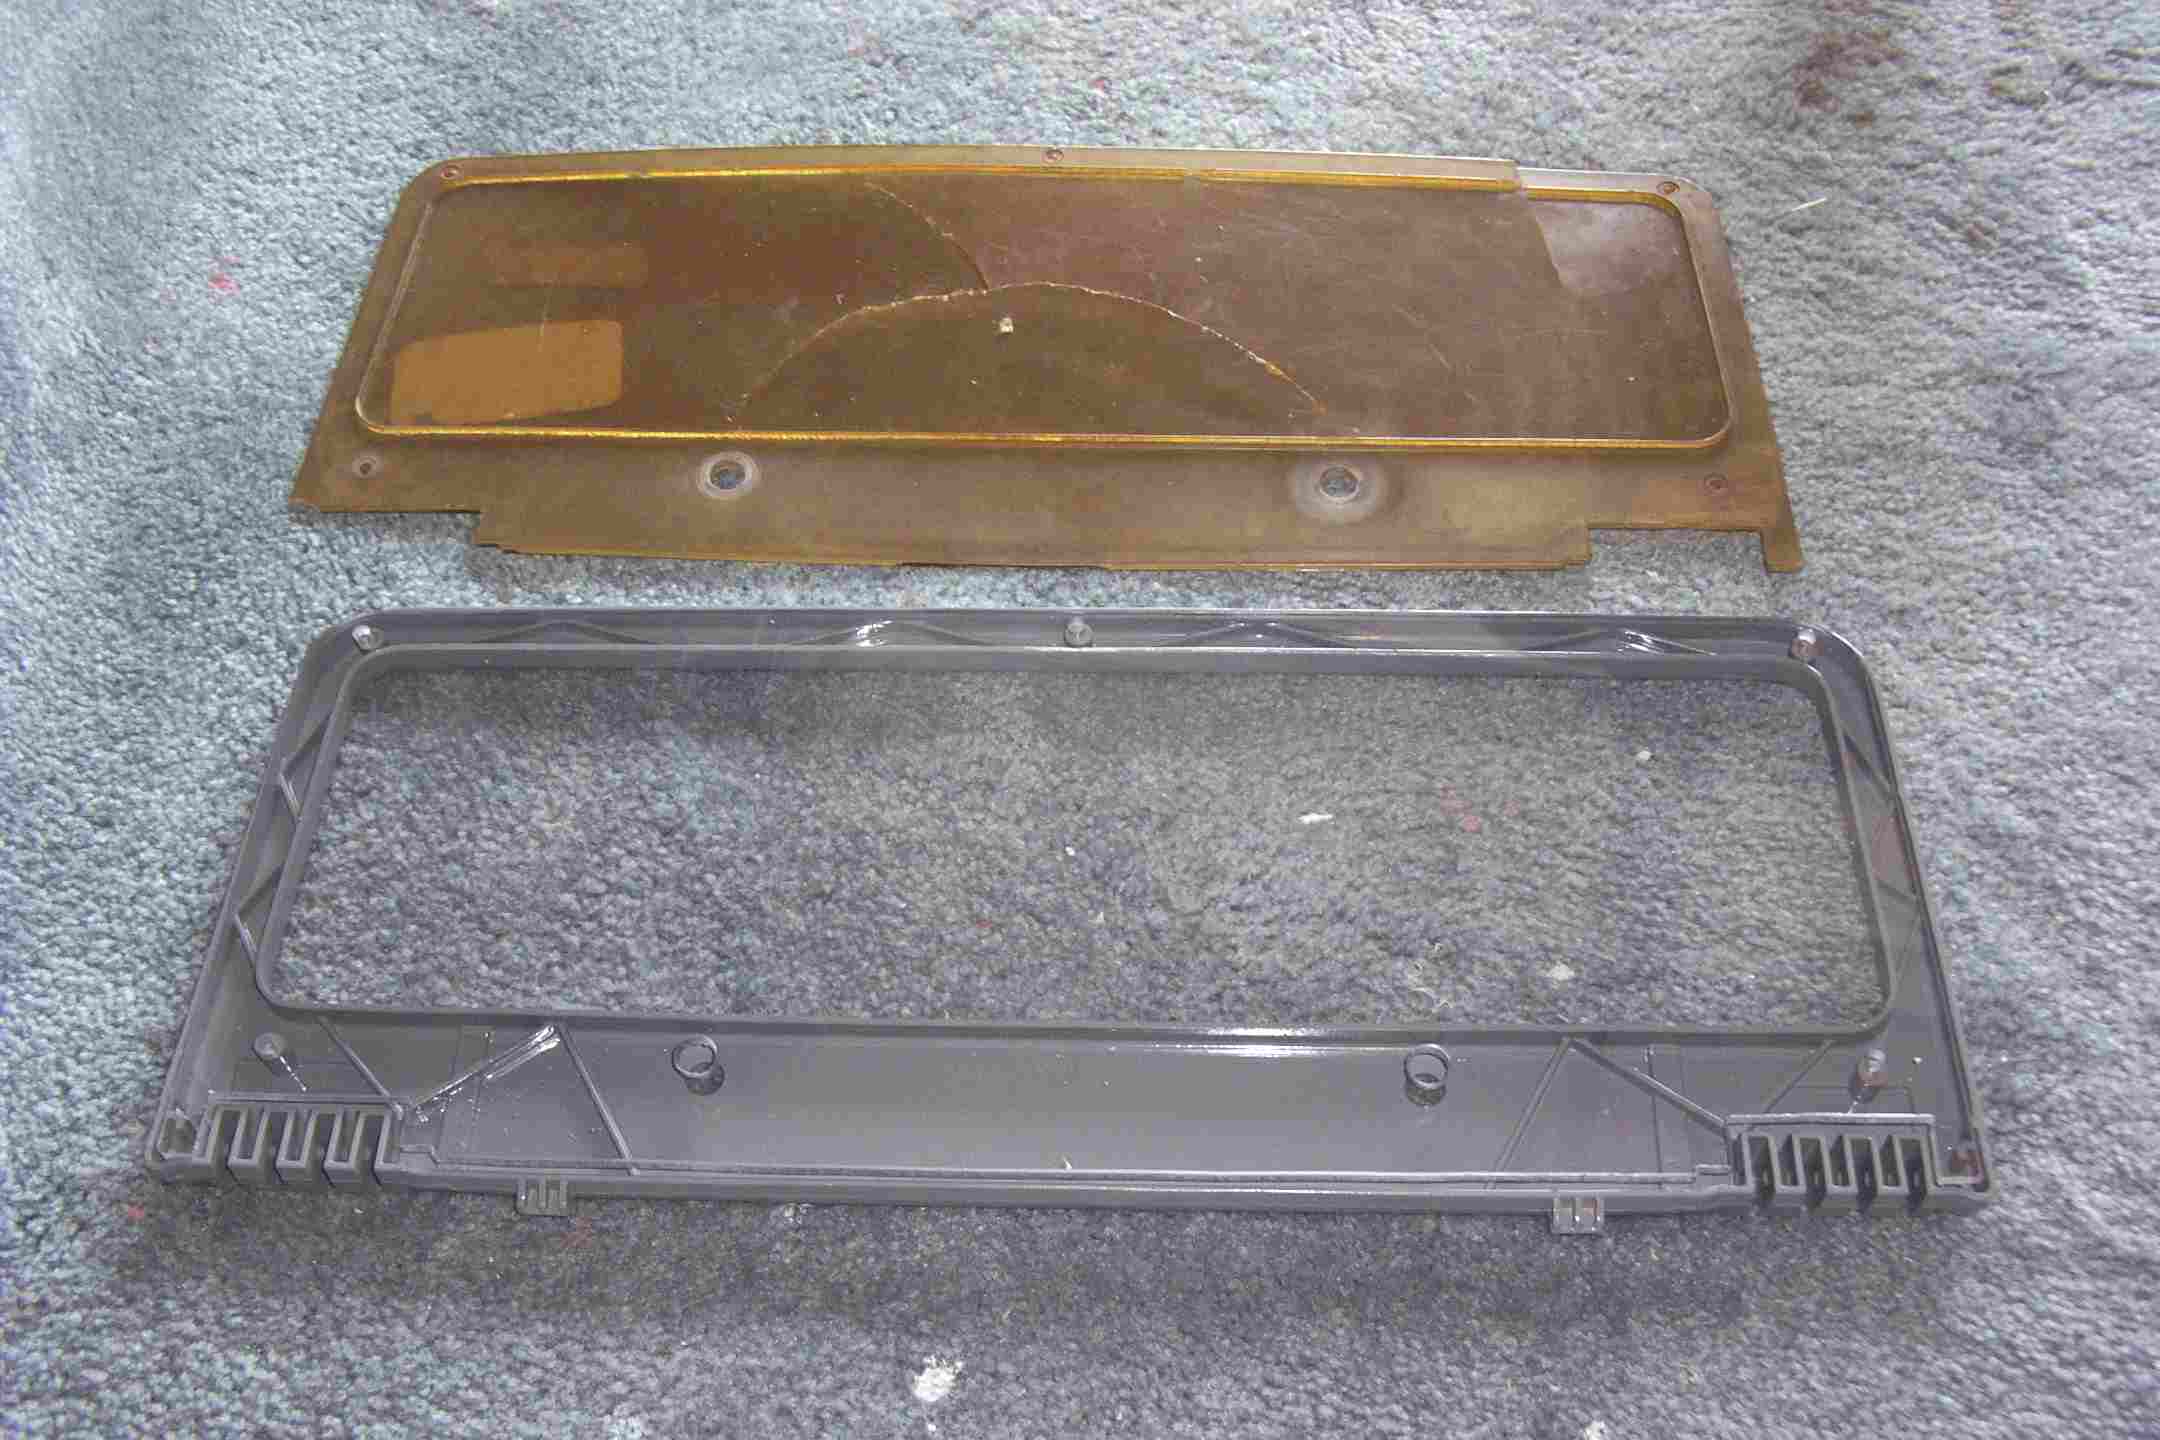
| I replaced the old cracked and yellowed windshield with a new one I cut out of a sheet of 1/4 polycarbonate. I then drill the mounting holes with my drill press. |
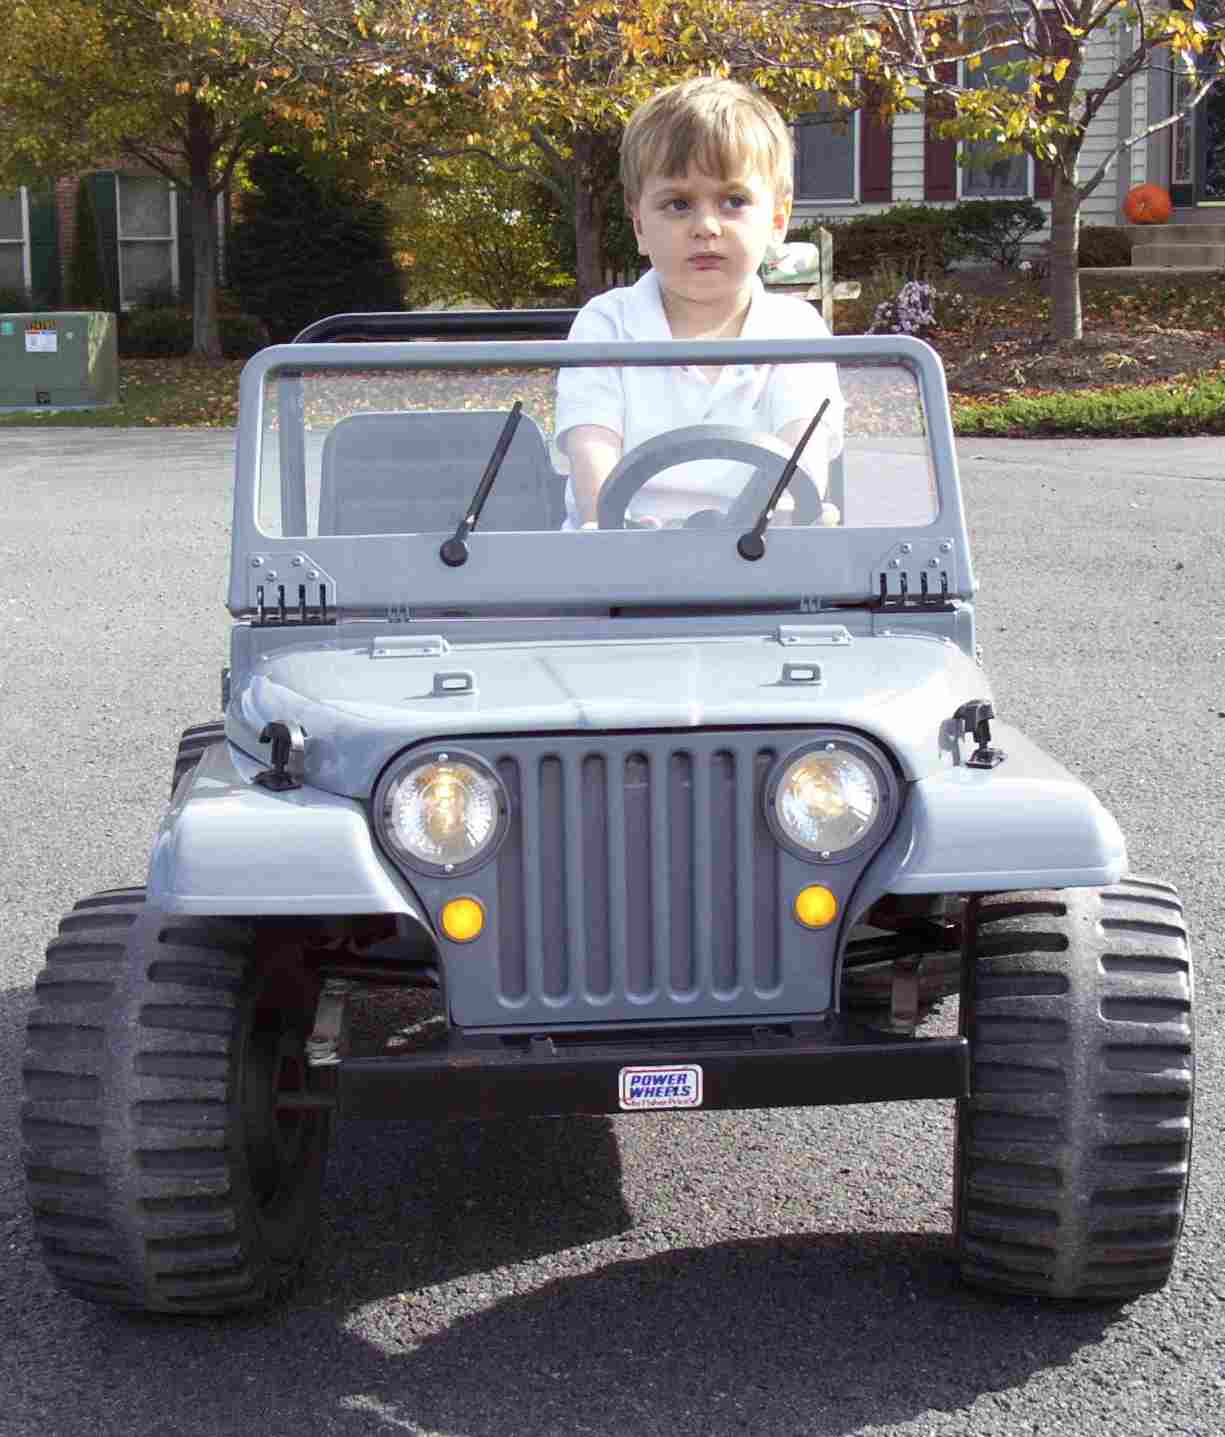
| Even in bright sun light you can see the head lights and marker lights. I the picture below you can see the tail lights. |
| Here it is all back together with one road raged little drive behind the wheel. Not bad for a $5 Jeep, some paint and a lot of elbow greass. Remenber, head lights on for safety! 10-29-04 |