| Prototype 12 experimental next step |
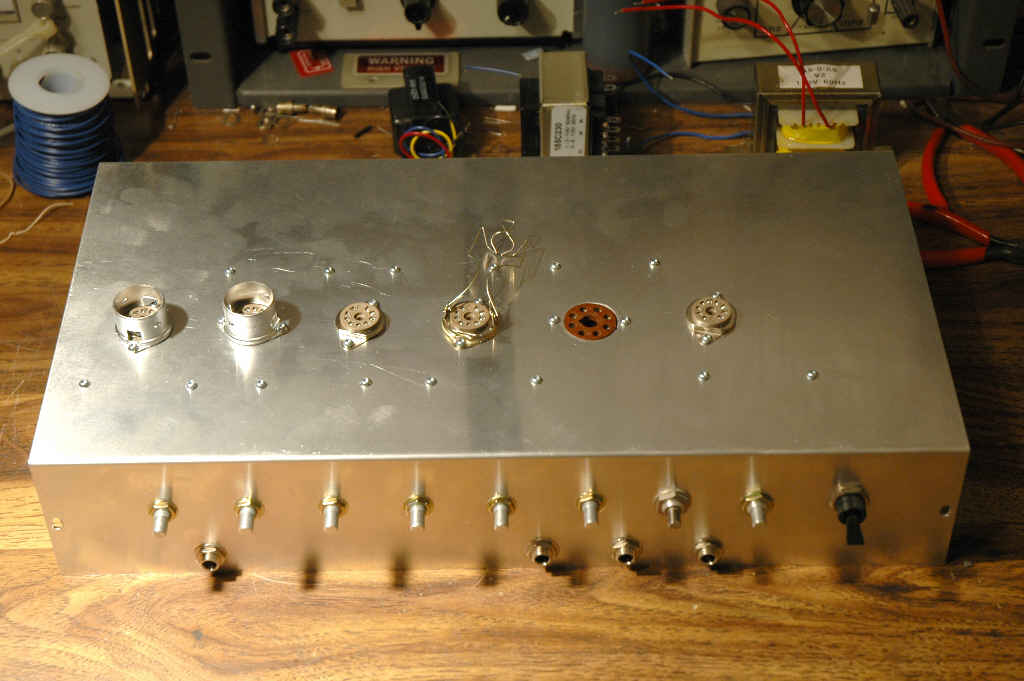
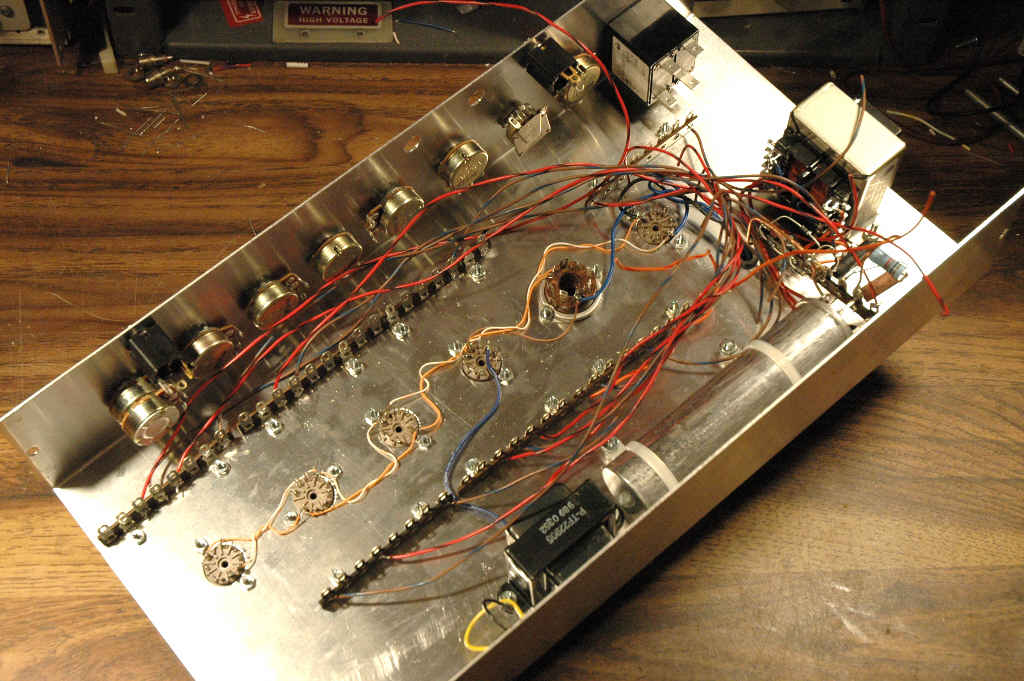
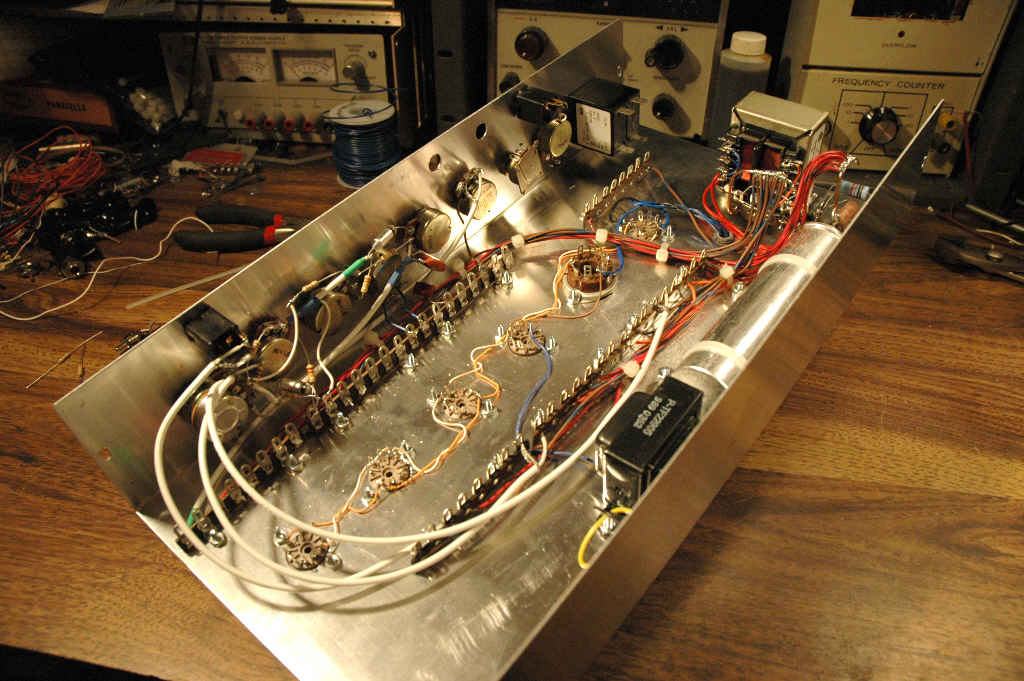
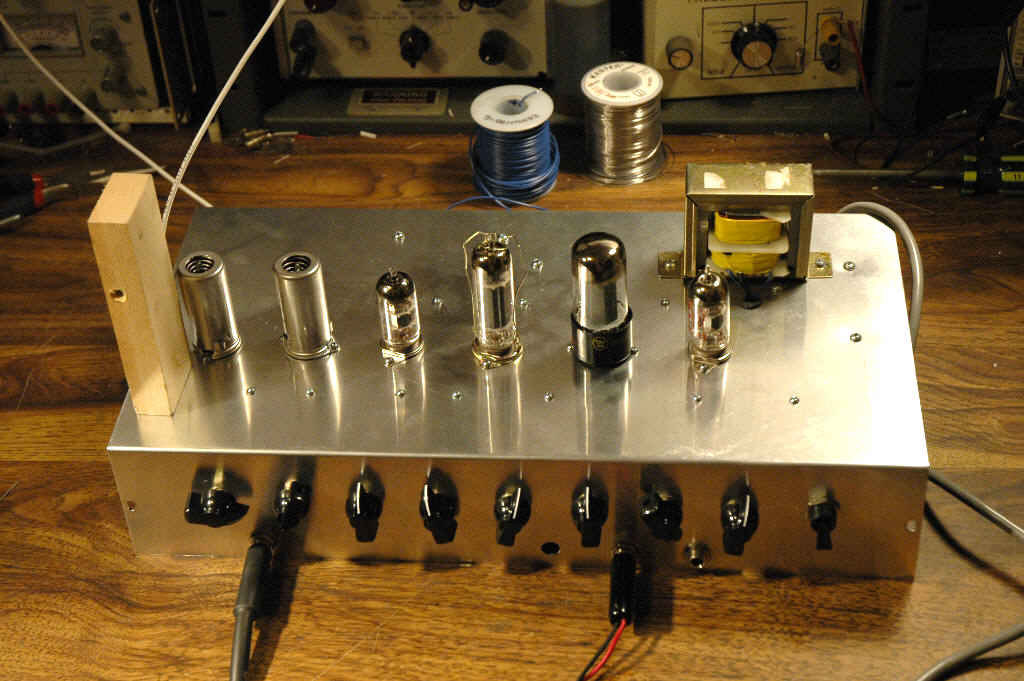
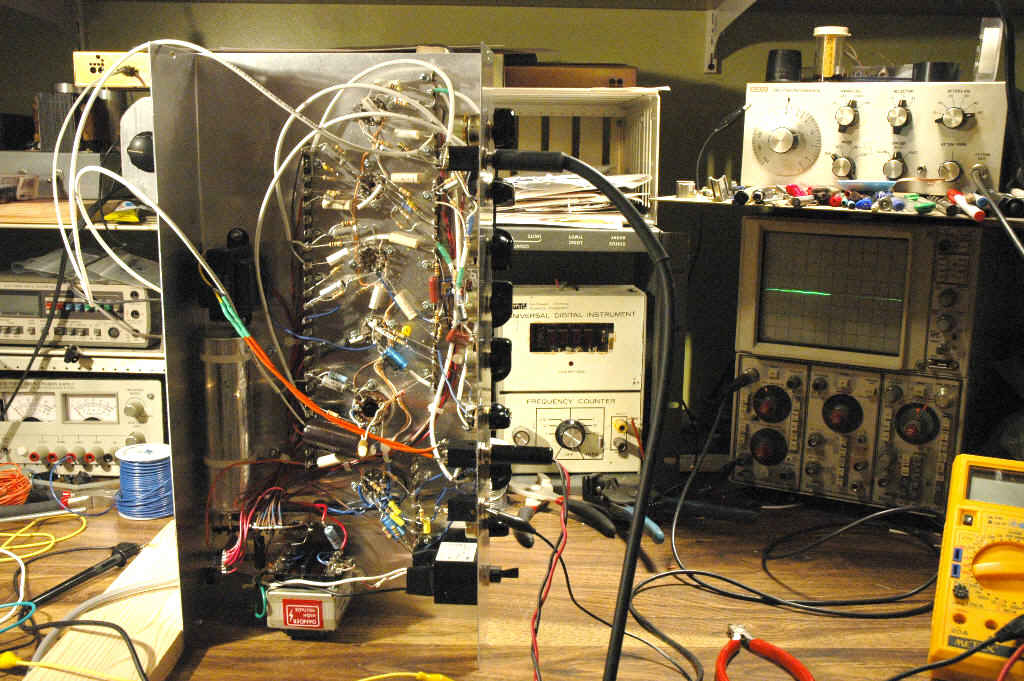
| Well. I'm almost finished with prototyping... my design is pretty much complete. I still have to complete amp # 6, which is the one with reverb and tremelo. My amp # 9 is my test bench, and I did take it out once to show people at a studio, but my prototype # 10 will be my standard. But... I have one more idea!! Supertone!! This is my last proto for a while, Proto-12... it will have a new feature, totally active tone controls! Bass, middle, and treble will all be active feedback types, with no-loss circuits. The amp will of course have high-gain, reverb, and tremelo. It is under construction at this minute, and will be undergoing operation tests very soon. (In fact it is all wired, but the layout has to be tweaked.) The only thing I don't like about this prototype is the small chassis - I used what I had - I won't build such a cramped amp again! I plan to design and build a multi-section chassis for my amps. I'm using 2 separate boxes for this design, one will be up on top of the cab with the controls and power supply, the other will hold the actual amp and be lower down in the cab, with the tubes available at the back. The first pics are here - more to follow! Plus sound bytes!! (But not for a while... no time now!) |
 |
 |
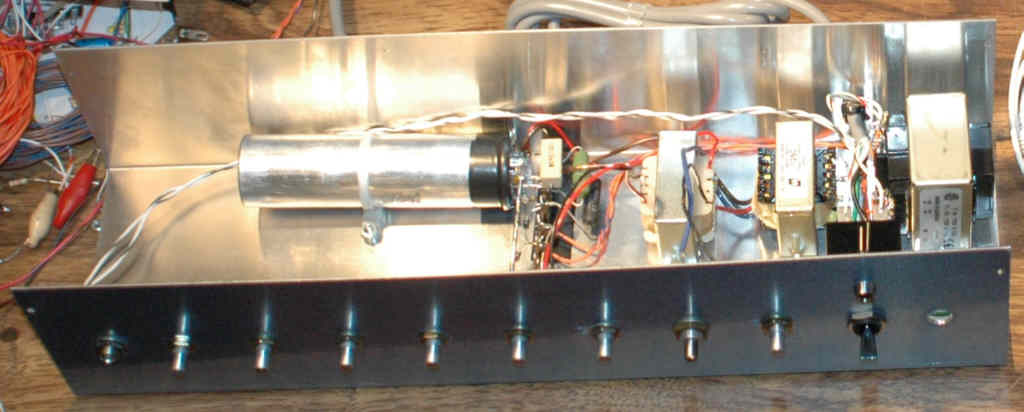
| This 2 piece chassis is a bit cramped - I have problems because of this... this is only a prototype and I won't build anything like this to sell! |
| Prototype 11 Custom Combo Amp |
 |
| Even though I use a computer to do the designs, I still like to take pencil to paper for the final layout. I use the actual parts to make sure things fit! |
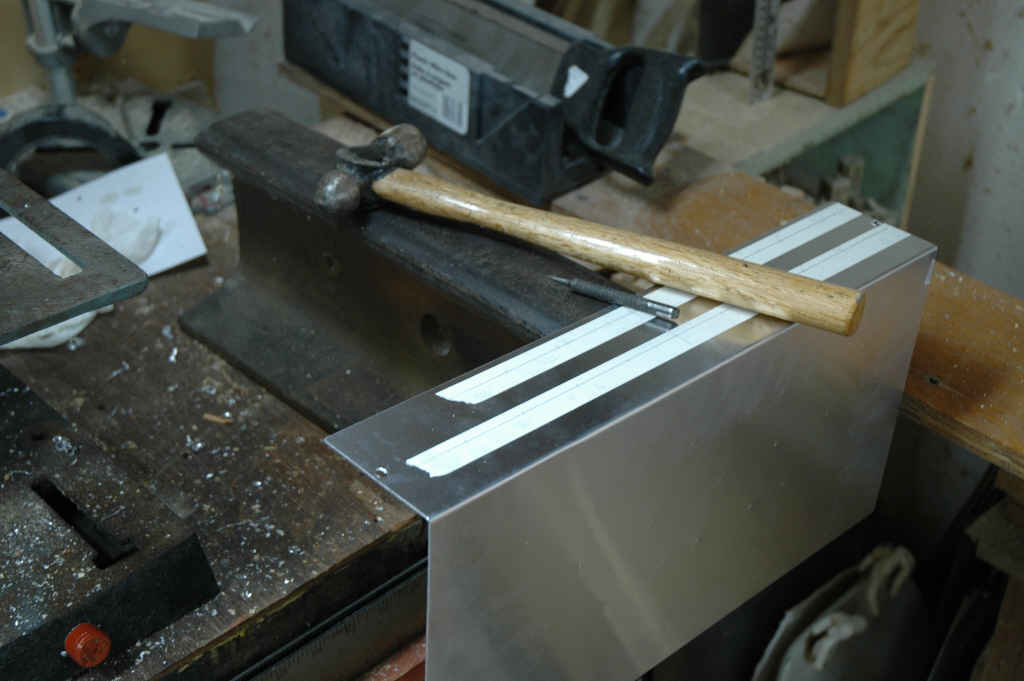 |
| I put masking tape onto the metal and draw my marks on the tape. Then I center-punch for the holes. It helps to have an old piece of railroad track around! |
 |
| Now I just drill the holes... |
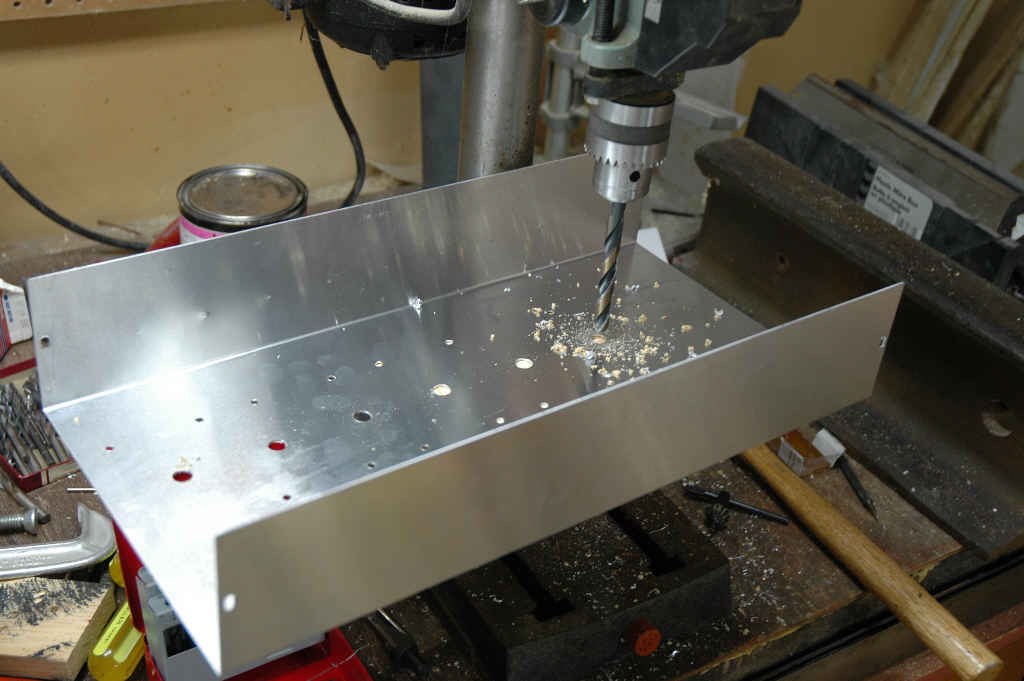
| Sept 8 / 04. I started this at 8:30 tonight... let's see how much I can get done by 11:00 bedtime... I want to get this amp going soon - DrWow needs it for studio use in Ottawa. ( also, I need something to practice my guitar on and there isn't much around - people keep taking my amps!) I know I said I won't make any more 'box amps', but this is needed right away to test reverb and tremolo circuits, and I don't yet have any chassis stock to bend! Let me show you how it's done! |
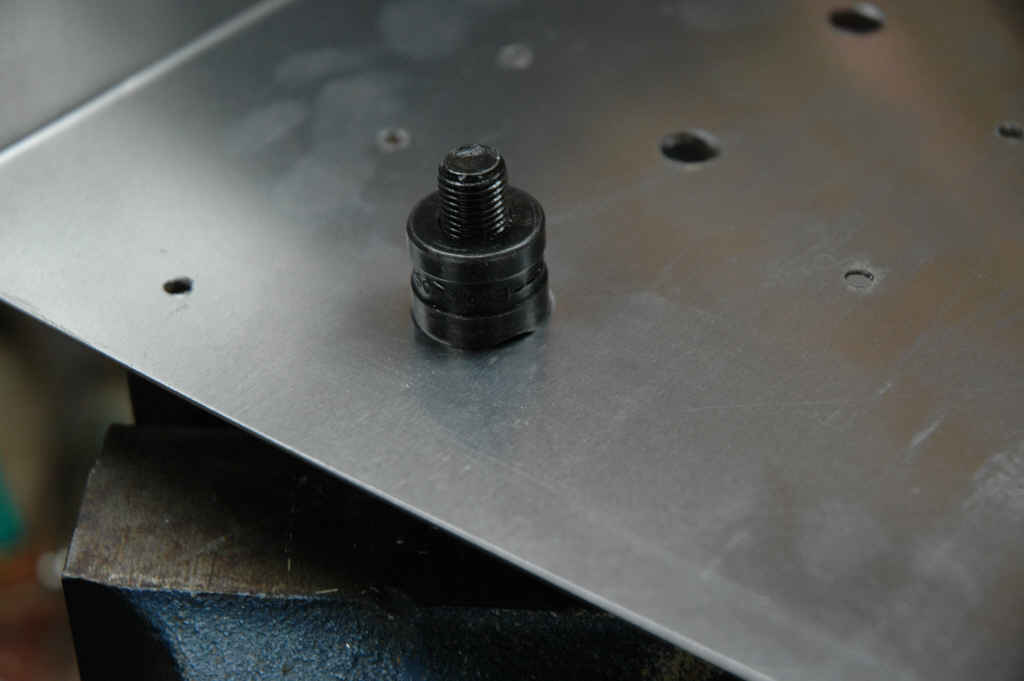 |
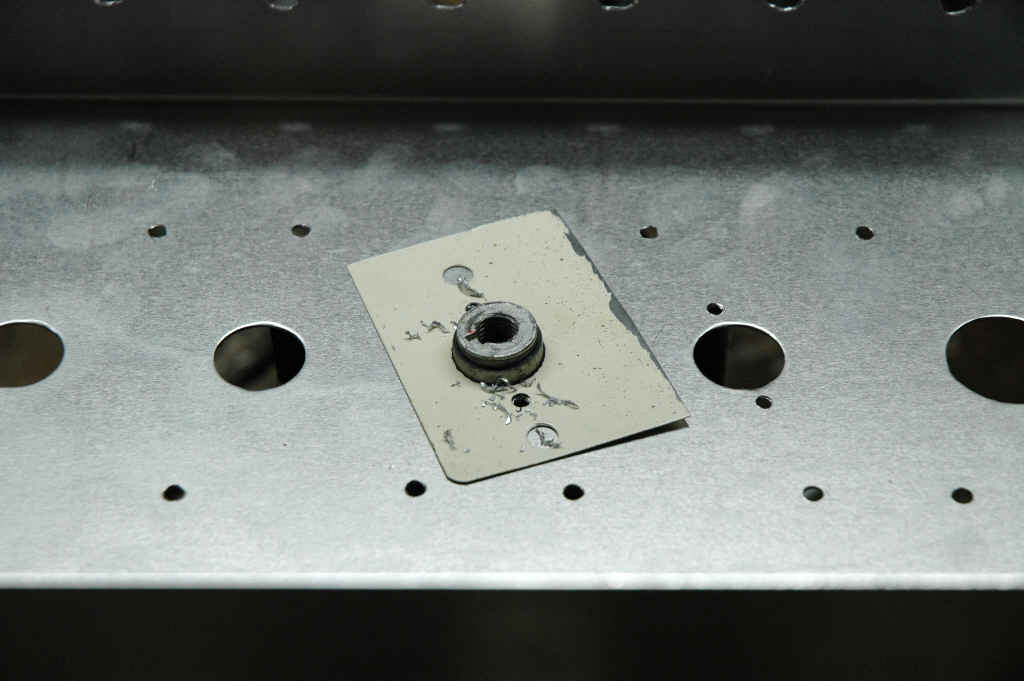
| The best way to cut big holes is with a chassis punch - if you have one... I like to put it into the vice and then spin the work rather then try to fight with getting a wrench into tight spaces! |
 |
| Here I'm using a home-made steel jig to drill the holes for the tube sockets. I want to make sure they are in the right place... |
 |
 |
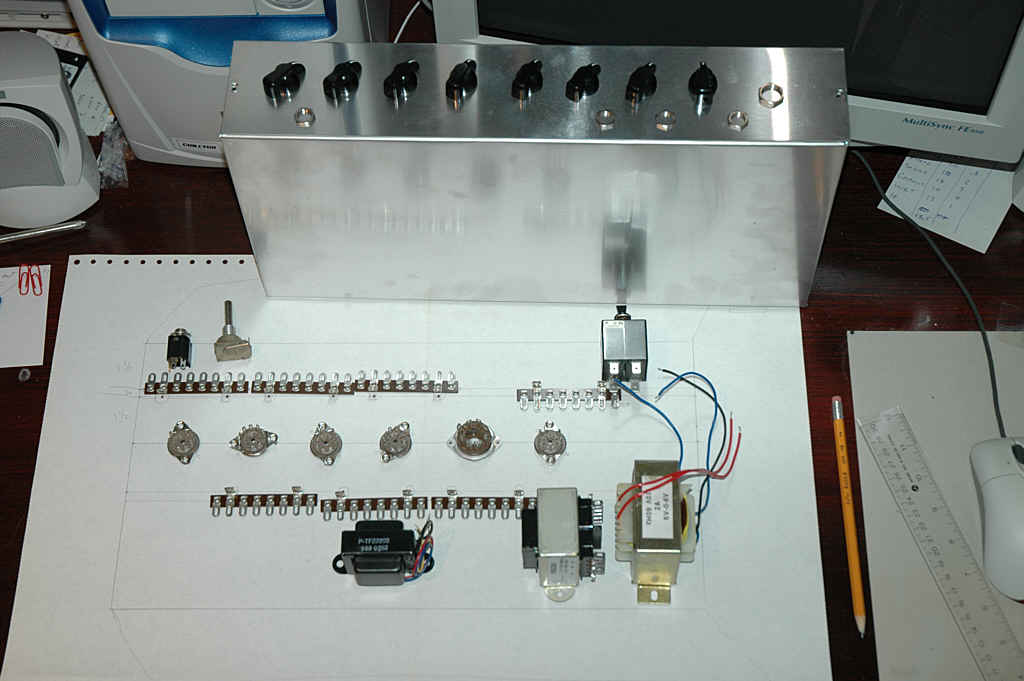
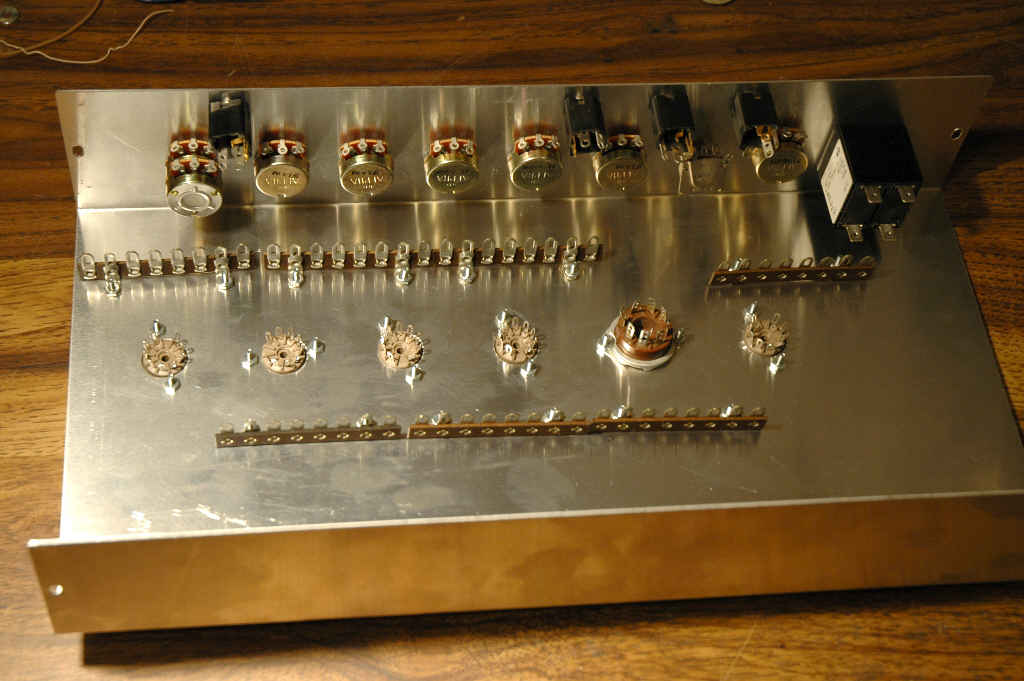
| Now to start installing the componants. I like to see nice new equipment take shape! Next I'll mount the transformers and other power supply parts, drill a few more holes for the line cord and reverb wires. Then I can wire up the power supply and start on the actual amp. With a little effort, I'll be playing this amp this weekend! Then I can show it to Drwow - he's dieing to see my "all bells and whistles" design! He wants to get it into the studio as soon as possible. I also have to build the cab - but I have the wood and a 10" Celestion speaker all ready to go! |
| High gain low noise preamp Full cut and boost bass and treble Active midrange control Accusonic Reverberation Bias Tremolo High capacity floating star power supply Double pole circuit breaker Soft start filament circuit Line out |
| Interesting fact - some people have used my amps for bass guitar in the studio! |
 |
 |
 |
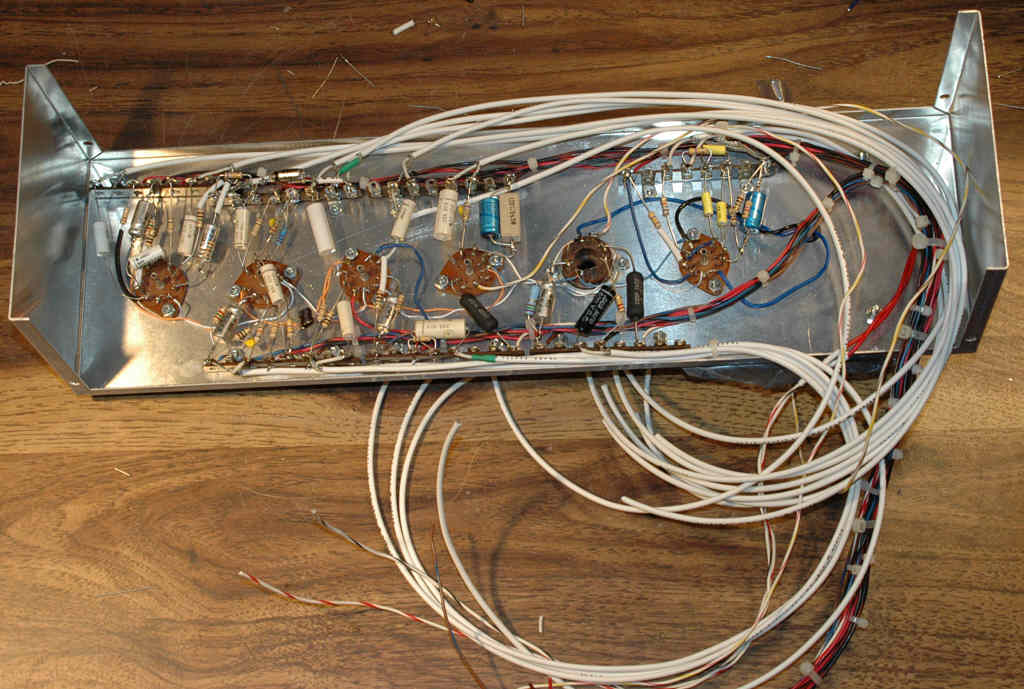
| Wiring the amp took me a few hours over a few days... no big deal... The most work was doing the shielded wire cables using very high quality braided Beldon shield wire. ( The various pieces of wood shown in the photos are temporary protectors for the tubes.) |
 |
 |
| Well it's a week later and the amp is working! When I first turned it on I didn't hear anything, so I turned up the volume to full... still nothing. Put the high-gain pot up full as well... still nothing. So I said to myself oh boy what am I missing... then I plugged in a cable - BUZZEZZPHFFT!!! Wow it's working! Grabbed my guitar and away we go!! Everything works! Quiet amp! I had a bit of a problem with weird noises during full-out power chords at first - kind of cutting and buzzing and blocking - but it was just a matter of re-routing the speaker transformer wires. They put out a HUGE signal that can get into everywhere in the amp and cause instability. OH -I managed to do away with the reverb transformer by using a trick borrowed from Ampeg - I used a plate resistor and capacitor instead and set the 6K6 to triode operation - sounds great! |
| Testing the finished amp - I found a loose resistor, but that was the only problem! |
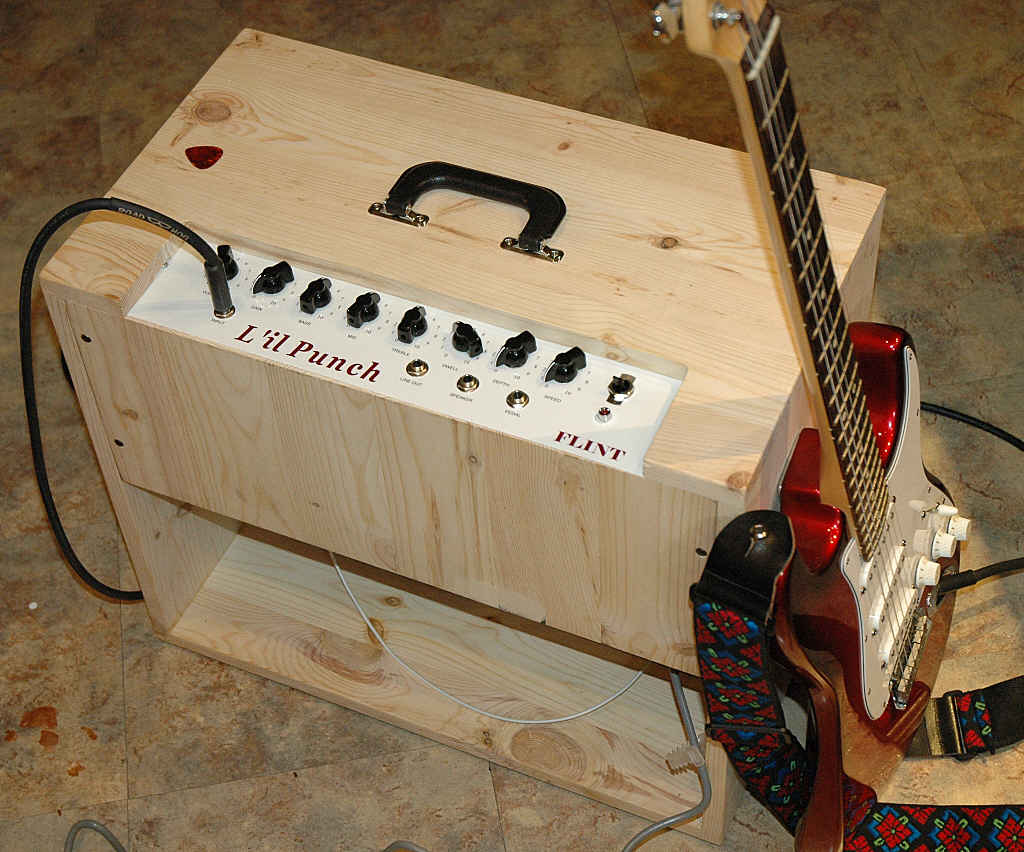
| Oct 2 / 04 The box is built, now all I have to do is figure out how I want to finish it! The speaker inside is a Celestion Tube 10. Sounds great! If I Tolex it, I'll need to round over the corners. I'll wait a bit to see if I get any ideas! Now if Drwow would come down and make some sample MP3s for me, you'll get to hear it too! |
 |
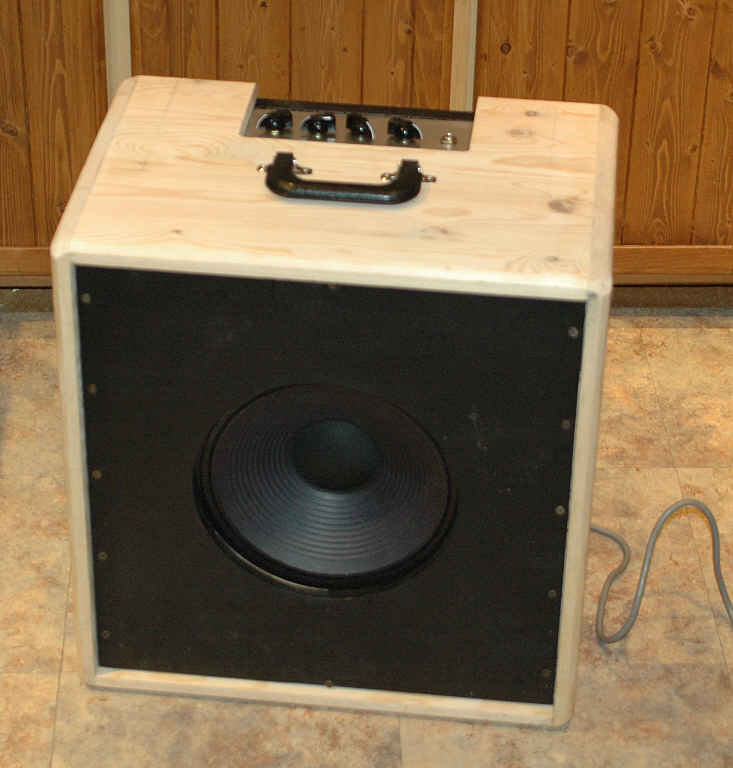
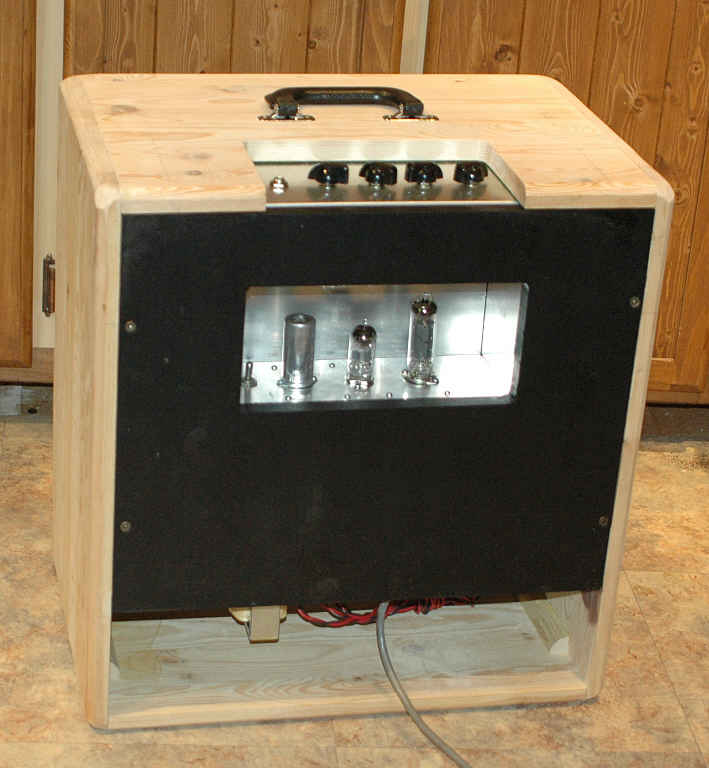
| Prototype #10 Innovative Combo 5 watts |
 |
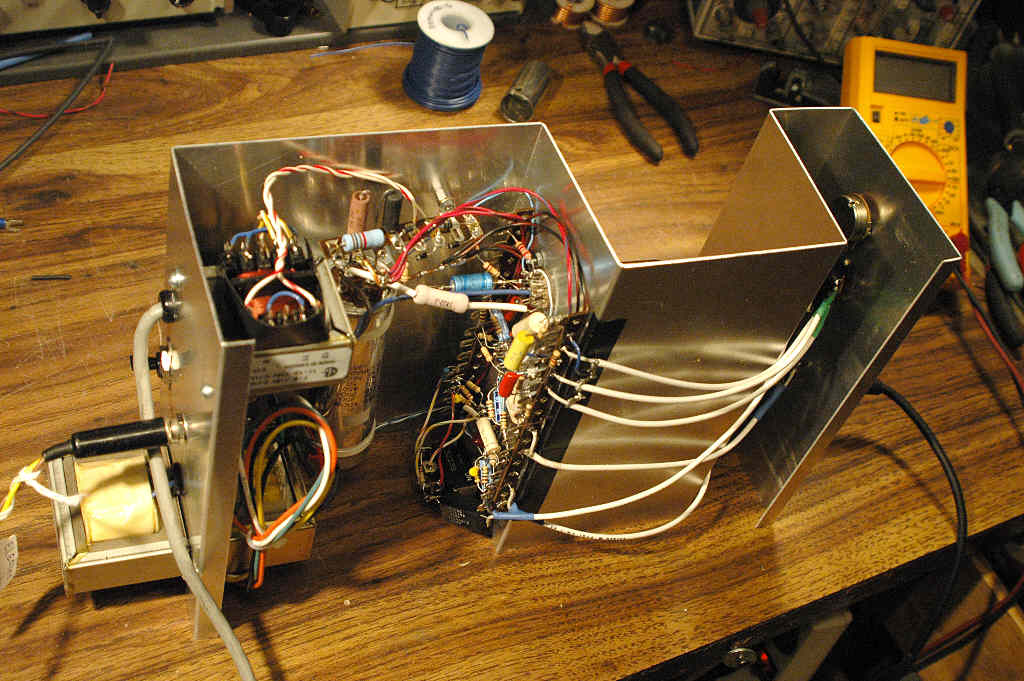 |
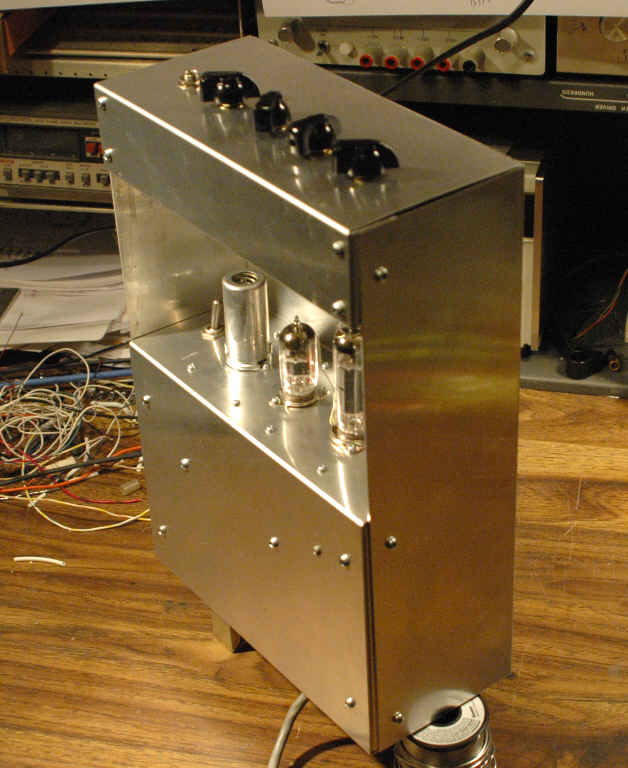
| Class A design. 1 - EL84 2 - 12AX7a dual triodes. This is my now standard circuit, in a unique styled case that I fabricate. There are lots of advantages to this setup: - Easy access to the up-right tubes. - Heat ventilates out and protects circuit componants. - Microphonic tubes are stressed less by speaker vibration. - Separate control and power stage areas for less noise. This is a prototype and is 9" wide, the production amps will be 12 to 15 inchs wide to accomodate more options. I hand make these amps - even the custom chassis. I even made the sheet metal brake press! And of course only top quality parts - tested over time! |
 |
 |
| FEATURES: - High gain circuit - one volume control. - Active midrange control - very sweet mids. - Low noise floating star ground system. - High capacity power supply filtering. - Full cut and boost style bass and treble controls. - Extra large Hammond output transformer, you can use this amp for bass guitar! - Soft-start filament protection. - Separate filament transformer adjusted to 6.3vac. - Breaker on/off switch - no fuses. |
| This amp was a bit too small to cram all of the transformers inside! The production amps will be bigger! |
| This combo has a Celestion Tube 10 speaker. |
| Through a 15" EV speaker it sounds HUGE! The last time Even came here, he locked himself in the shop and played the amp for about 2 hours! He loves the compression! |
| You can't get this design elsewhere! |
| This amp is ideal for blues players, after setting the amp volume for the maximum distortion you want, use your guitar volume knob to go from clean to crunch! Very very touch sensitive compression. And for an added bonus, this particular amp has a gain switch, that can add 20db gain if required. |
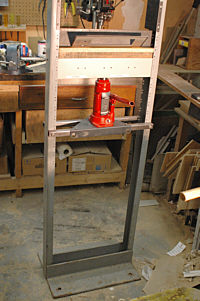 |
| I had to build a press brake to make the chassis, it would cost a fortune to get a company to bend them for me because of the multible bends. Now I just need to order stock cut to size. |