The first step in getting the materials was to find a 20' length of 3/4" schedule 40 PVC, for which I had to go to the lumber yard of the local Lowes. This was big enough I could get the jib hanks through the pipe and attached to the forestay, so the pipe wouldn't have to support the load of the sail. The 20' length of pipe was cut down to the length of the luff of the jib--it should have been cut to 6" longer than that, but I forgot to leave room for the furling line to wind around it. Fortunately, I had already purchased 2 inline connectors for the plugs to fit in, and the PVC had a flared end, so I cut 6" of the flared end off the leftover pipe, and placed that on the end to hold the furling line. The flared section provides a nice guide for the furling line to wrap around the pipe.
Rather than using slip-over endcaps, I chose slip-in plugs, which necessitated the use of the inline connectors to hold the plugs. The reason I chose plugs was so that I could cut a slot 3/4 of the way across the plug, and then slipping the plug into the inline connector would keep the slot from coming open. This allows the plugs to be pried open and slipped on and off the forestay, yet when the furler is assembled the stay can't slip out of its hole.
The first step in assembly is to drill holes large enough for the forestay in the PVC plugs. Try and get them fairly centered, as it should make furling a lot easier. One of my holes was off center by about 1/16", and once assembled you couldn't tell it was off center. Next, cut a thin slot 3/4 of the way through the plug, passing through the hole. This will allow you to slip the plug over the stay, and snap it into place with the stay in the hole. If you only go 1/2 way through, you won't be able to pry it open enough, so you do need to overshoot your hole.
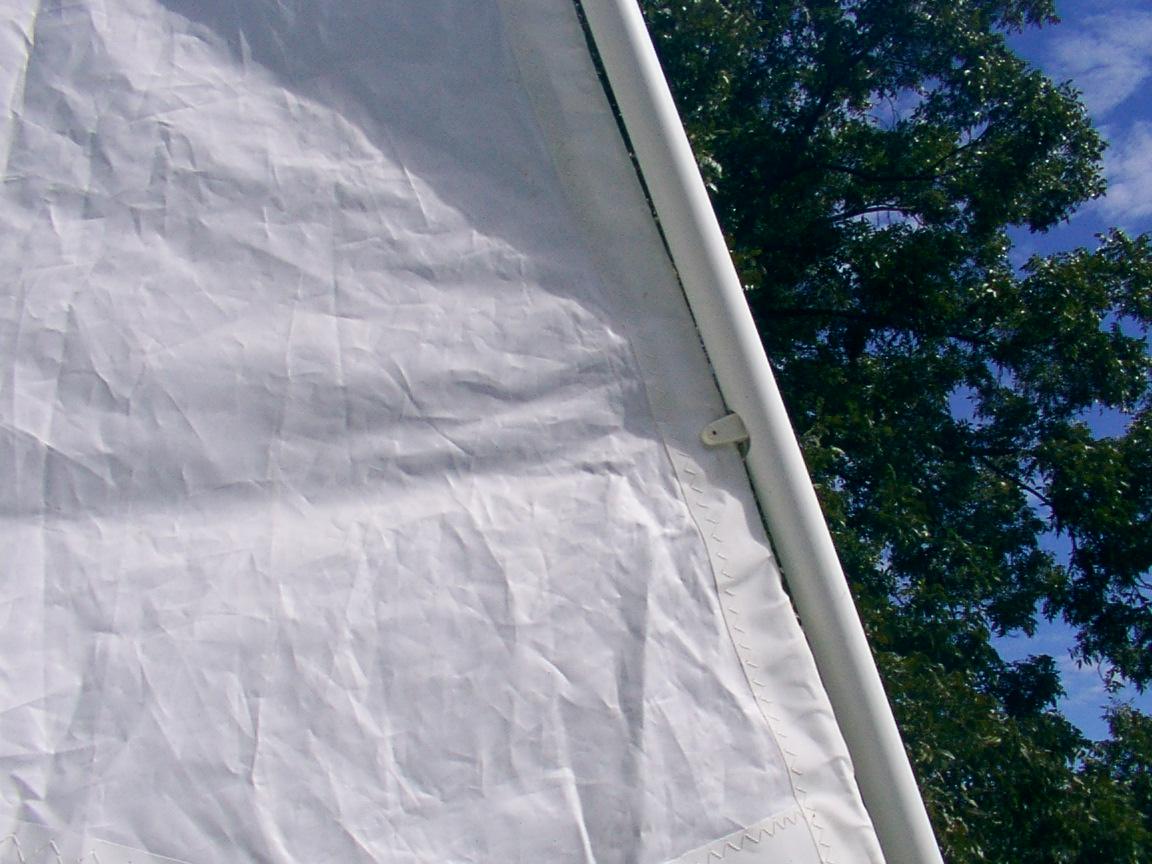
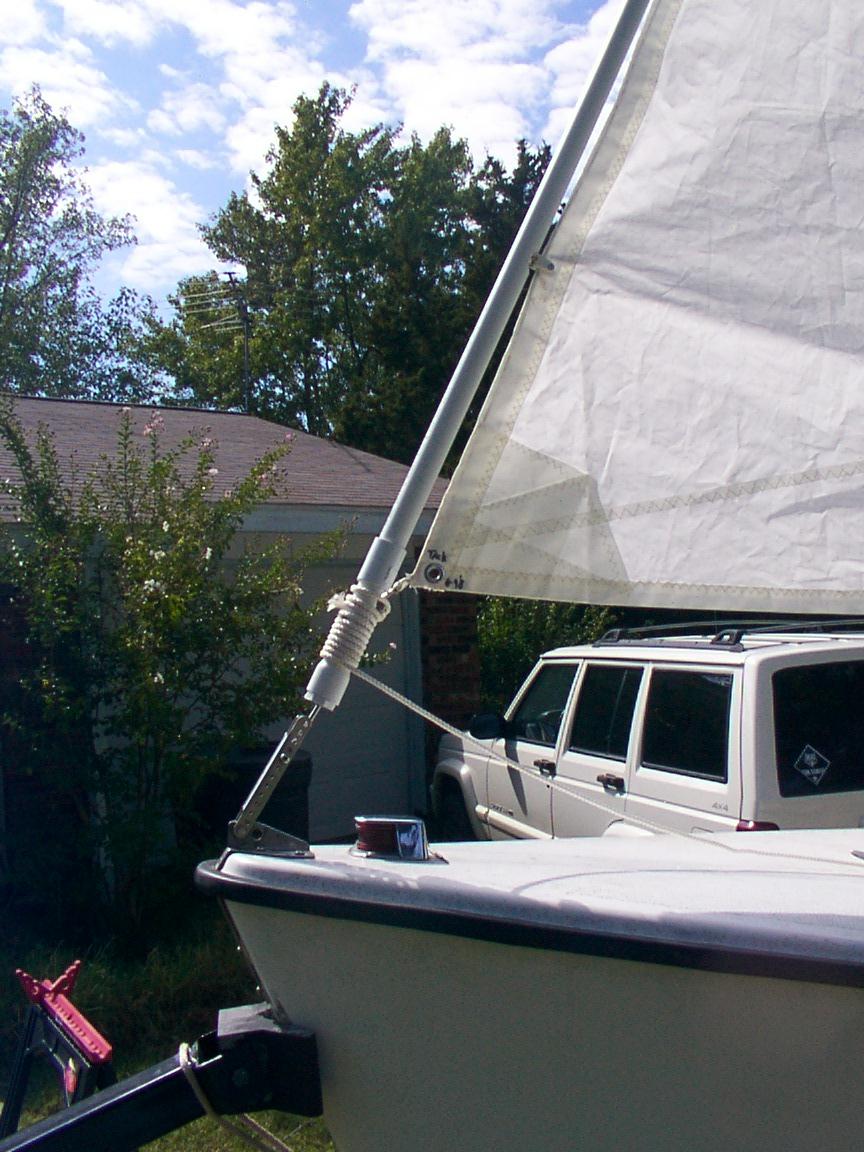
Next, determine how the jib is going to attach to the stay/PVC, paying close attention to the ends, as those may need to be dealt with separately. In my case, the bottom of the jib had a small shackle, which I put through a slot in the PVC, and the top had an eye which I let project slightly above the top of the furler, and it slips directly over the forestay. To get the hanks of the jib attached to the stay, I used a Dremel to cut openings about 3/4 inch long and 1/2 inch wide for each hank, and used a 1/2 inch sanding drum to round these out into ovals about 1 inch long and 3/4 inch wide. This was enough room to let me slip a bit of wire into the hole, hook the stay and lift it to the top of the hole, and get the hank clipped on the stay. Getting the hanks on takes a bit of time and practice; the first one took a few minutes of fiddling with, but after I started using the bit of wire to hold the stay in place, things went much faster. The jib must be attached to the stay before the mast is raised, since there's no way to get up high enough to attach the jib once the mast is up.
Since I had to remove the forestay completely to assemble the furler, I went ahead and removed the jib halyard and its block, since it is no longer needed. The jib hanks in their small slots can only move a small distance, and then the PVC will take up the load and keep the sail straight. If the jib halyard turns out to be needed (it hasn't been missed so far), then I'll have to come up with a plan B--even a swivel won't work, because the jib will be spinning around the forestay, which would tangle a halyard. Plan B would probably involve running a second stay for the furler. With luck, that won't be necessary.
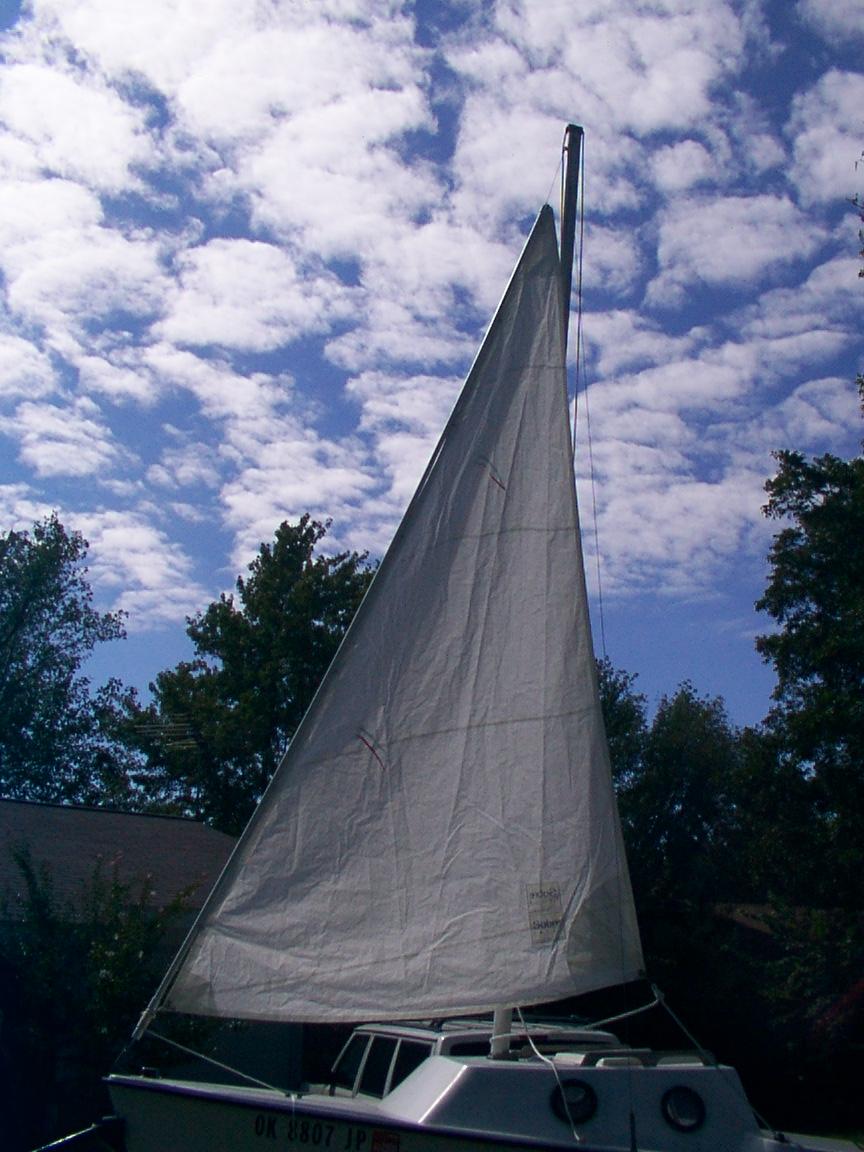
Once the jib is attached to the furler, the furling line is tied onto the bottom of the furler--in my case I tied it onto the shackle at the bottom of the jib. Roughly furl the sail to keep it out of the way as you raise the mast--don't worry about winding the furling line, that will be done after the mast is up. Now hook the forestay onto the masthead, and raise the mast. Hook up the jibsheet, and point the boat into the wind so you can adjust the furler.
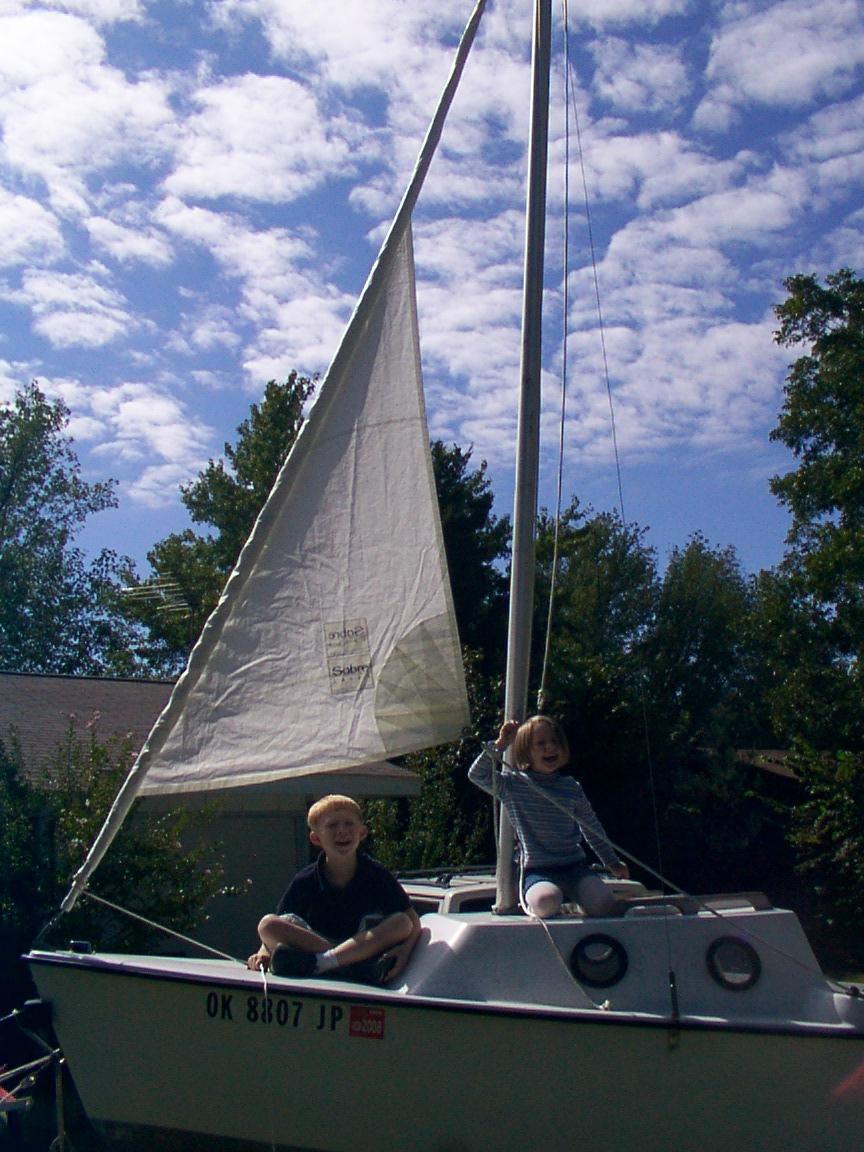
As you pull on the jibsheet to deploy the jib, the furling line will wind up on the base of the furler. Once the sail is deployed, go ahead and wind the line around a couple of more times--the reason for this is that the sail was loosely furled before, and as you run it in and out a few times, it will furl tighter and need more turns. Repeat this process until the furled sail is a nice, tight roll with just a small triangle of sail sticking out. Now run the furling line through an eye on the foredeck to keep it lined up with the bottom of the furler, and place the running end within reach of the cockpit, and cleat it down to keep the jib furled. To deploy the jib, just uncleat the furling line, and pull on the jibsheet until you have as much sail as you want deployed, then re-cleat the furling line. I ran the furling line under the foredeck cleat, anc cleated it to the jib halyard cleat, and it worked just fine.