9 October 2006 Page 20
I haven't had a camera for a week or so for a number of reasons so I'll bunch the pictures when I get them done.
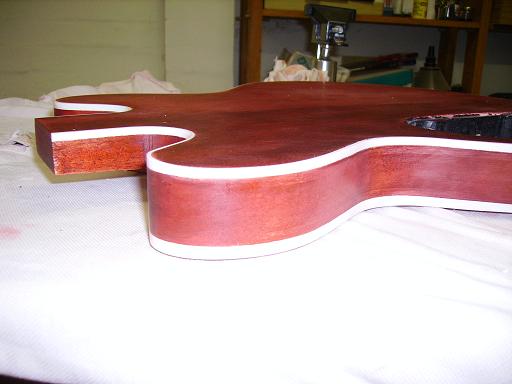
Unfortunately my attempts to patch the 'bad' bit in the binding didn't work so now I've got about an inch or so of binding that looks like a stretch of rough road. The recommended fix is to user a router to remove the bad stuff & paste in a new strip I think this is asking for more trouble in my caser. What I mean is .. an experienced builder could probably do this & produce an invisible repair but I'm not an experienced builder. The patch is on the back on one of the shoulders and I have decided to accept it as is with very mixed feelings. This will make this guitar all the more 'mine' if you get the drift. Or so I tell myself. LOL!! I've tried to get a photo of it since I promised to show the bad with the good,
Photo 1. Sloppy Binding Job.
You can't see much because of the light & flash etc .. but trust me ... it's not good. LOL!!
I've hit the SG body with rattle can nitro and it came up reasonably well give that I did it outdoors and a few light puffs of wind resulted in some drier spots. I have lightly got most of the runs off & scuffed the body to 1200 grit & will spray on a few more coats indoors for (hopefully) a far more even coating.
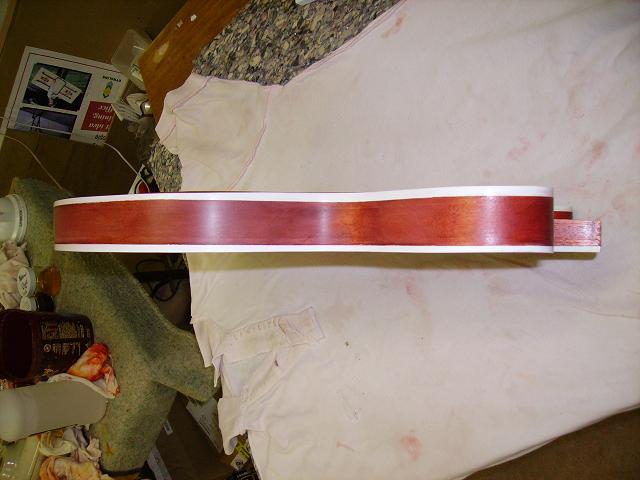
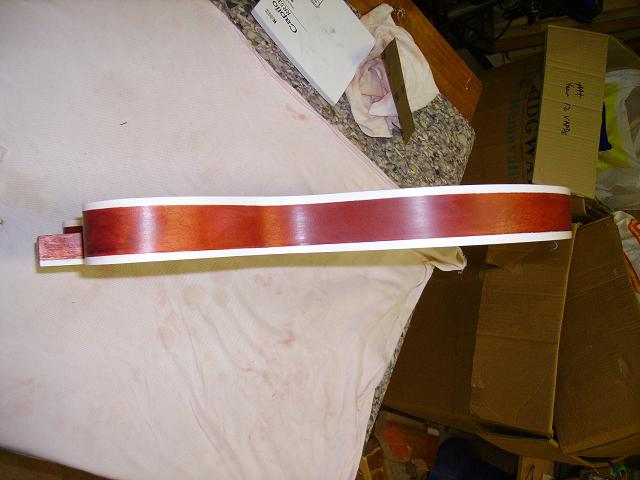
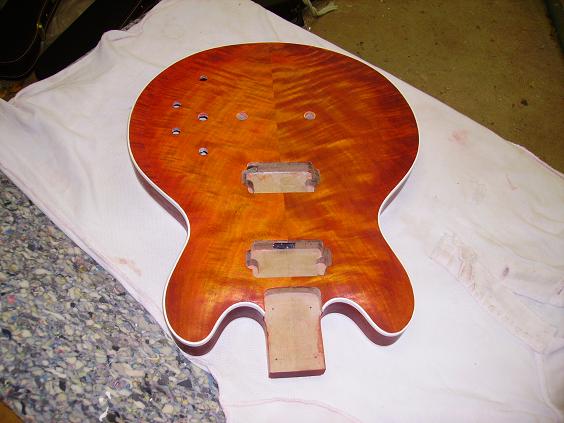
On the CS335 I tried a Dan Erlewine method on the back & sides. Basically, after surface prep & raising the grain & sanding, it's stain the wood, fill, sand back, and stain again. Two things here. Firstly after experimenting mixing the dyes I came up with colour that looks very close to a real Gibson red.. Secondly, after carrying out the steps above, I was initially unimpressed. According to Dan this process gives a subtly different double stained look. It wasn't terrible or anything I probably didn't know what to expect. But on more drying out & a coat of shellac I got message. The light plays off it in a very unusual & interesting way. Also the two piece back accentuates the effect. I don't know how I will photograph this. But one side goes dark. Move it a bit and it lightens & the other side develops dark & light ripples. It's quite interesting and as Dan says "subtle".
Photo 2. Sides. The light & shade comes from the grain under the shellac.
Movie 1. Trying to show the light effects on the back. ( I hope this works)
For the top I followed the process I tried way back on page 2 (I think) .. sticking to my plan. That is, stain, shellac fill & sand back. However In sanding back the filler I produced a couple of bald spots over the edges of the curve. After much thought I decided to take it all off & restart. Given that I had shellac & dye on the surface I had to sand using alcohol to lift the shellac & water to wash out the dye. This worked. During the process a couple of dribbles of alcohol & water got through my masking & produced a couple of eyesores on the sides. I am happy that more didn't occur, but now I have to come up with two small 'invisible' patches. I am reasonably confident I can do this. Unfortunately I don't have a 'before' shot.
Photo 3. Cleaning up done.
For a while I toyed with the idea of just using a clear finish on the top and let it's own beauty speak for itself. But I must admit part of it was that I was a bit shaken in confidence after the binding fault & the experiences above.
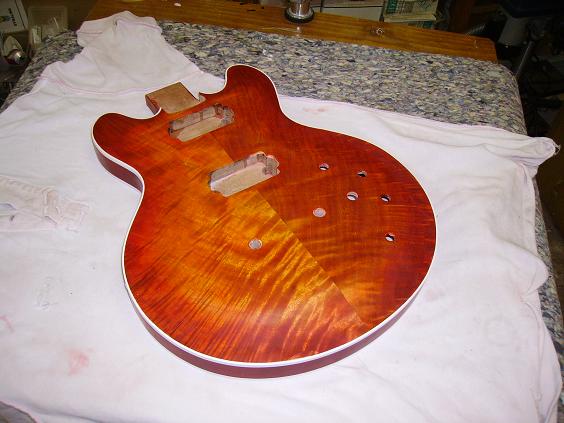
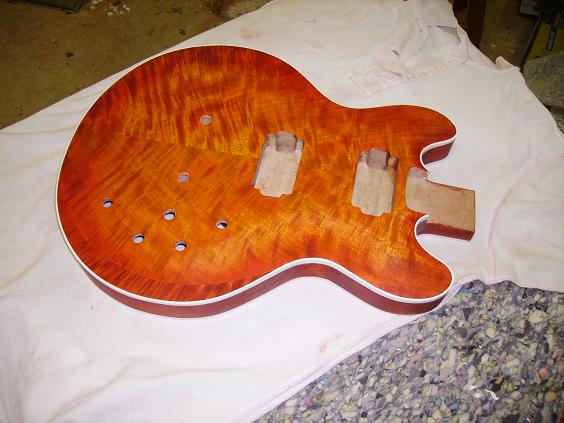
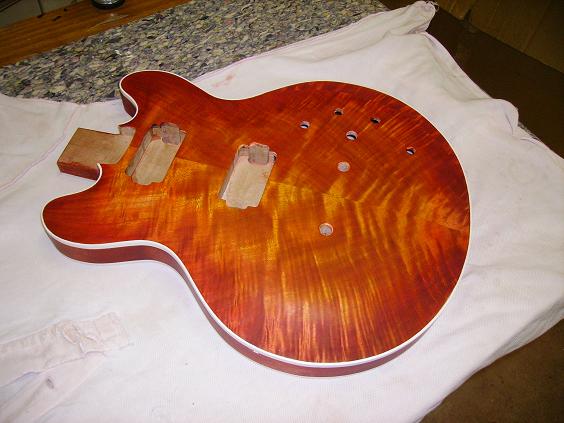
Anyway I stuck to my original plan and I gotta say was very pleased when the dye hit the timber. I will just stain shellac & clear coat this time. Also I added a hint of a burst to try to de-emphasise the patch in the spot where I went through the top near the edge. In most light you wouldn't notice it. In some light it completely invisible and in some light ..there it is bright as day. My wife wanted me to do the same thing to the other side to 'even things up' but I say...cut your losses!! LOL!!.
Photos 4 - 7 . I can't wait to Clear coat this! LOL!
Another unplanned delay. All the pots I have are too short in the shaft!! Now I considered routing the tops of the guitars thinner around the pot holes say down to 1/8" (3mm) but I am unsure of the properties of the timber. Assuming I did the routing OK, (and I am tempted to try because I believe I can do with a Dremel or other technique - BUT a slip would mean THE END) I have no idea whether a top with a thickness of 3mm in places would be a reasonable thing. Again, newbies can't know this.
Well I decided I'll order long shaft pots & trim them. This seems by far the most reasonable thing to do. While there are no stores that sell this stuff locally, it shouldn't hold things up too much because it will take 3 weeks or so for the nitro clear coats to cure.
Thanks for visiting.
RobSm.