September 10 2006 Page 17.
Hi.
For once it's early on a Sunday...I'm waiting for filler to dry & watching the Rugby League play-offs. It's been back to the work bench after a week or so of artwork!!.
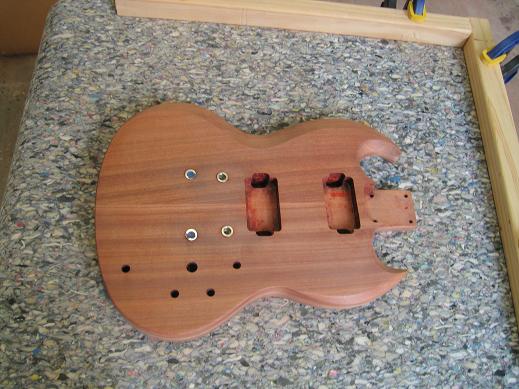
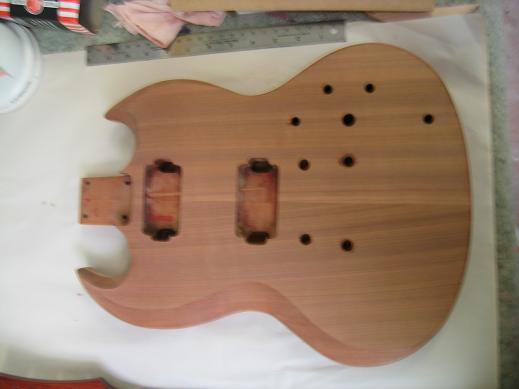
I stripped the SG because I couldn't do a good repair job on the lifted shellac.
Photo 1. SG stripped back.
I took the opportunity to drill the holes from the pickup cavities to the control cavity. I drilled one hole from the neck pocket through the neck pickup cavity into the bridge pickup cavity, and a second hole from the bridge pickup cavity into the control cavity. I followed the method in Martin Koch's book.
Photo 2. - That my friends is a drill bit
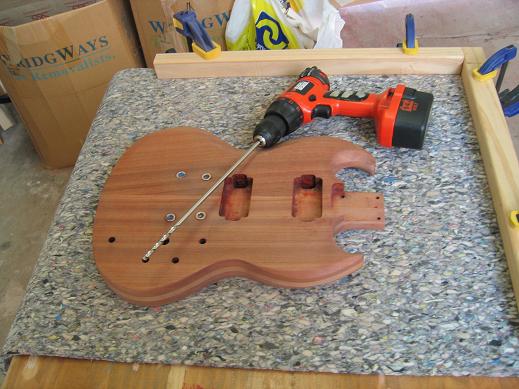
It's an extra long 1/4" bit.
Photo 3. First hole
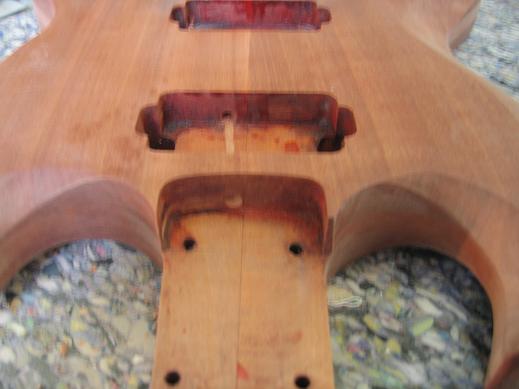
I made well sure that I did not drill u p through the body between the pickup cavities.
Photo 4 Second Hole.
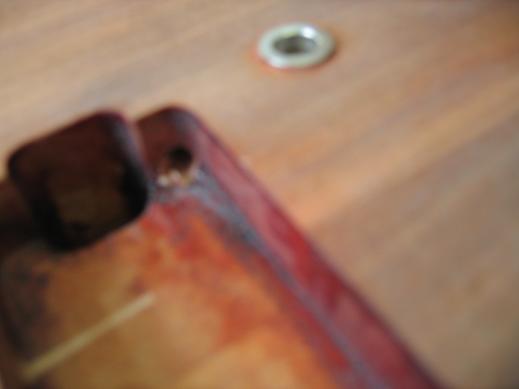
I used a piece of scrap under the drill bit to protect the body & drilled the holes as flat as I could.
I then took out the bushings for the bridge & tailpiece bushings since they caused me problems in my first attempt at finishing the top.
Photo 5. Ready to start again!!
Meanwhile the CS336 needs a neck pocket, binding and the top carve to be finished.
Photo 6. Hog out the bulk with the drill press.
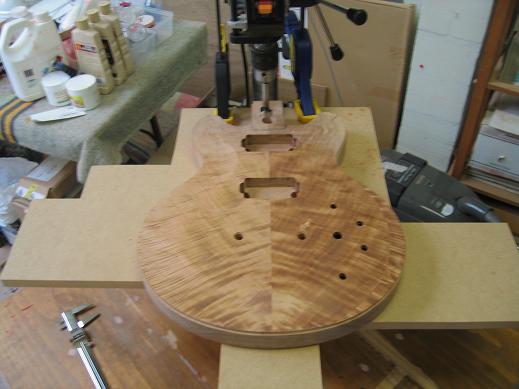
I had some concerns here. The neck pocket for the SG was not done perfectly as I'd sanded off too much on one side & left a very slight overhang of the neck. If you knew to look for it you could see it. But I wanted this to be spot on, so I measured checked, measured & checked. Basically I brought the neck pocket forward since I felt that one section of the taper might overhang. That didn't affect the drilling.
Photo 7. Drilled out.
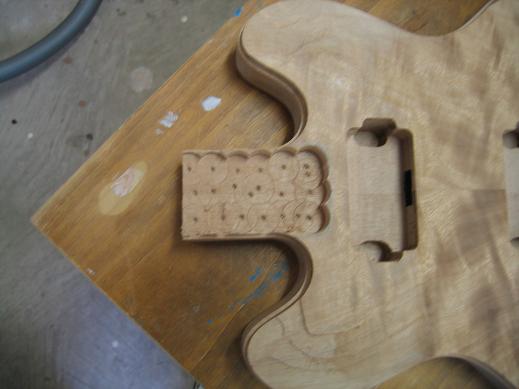
Fixing the template for the router was a challenge. Firstly the carving had taken a lot of the flat surface to which the double sided sticky tape would've held. Secondly bringing the pocket forward meant that the template would overhang three planes. the neck pocket plane, the top plane - these two are at 3deg to each other and also there was a wobble at the tips of the horns because of material lost in the carve.
So setting up the template correctly and securely took a bit of thought a trial or two and a dash of good luck I guess.
I might add here that I made this template by clamping two boards down the sides of the neck to be used and then used the bottom curve of the StewMac template. (The way oversized StewMac template cost me time & caused avoidable frustration.) That took some fiddling too, but the template is spot on. So If you're going to build using a Warmoth neck get a square telecaster type heel - they'll do it for $45.00 - and make your own neck pocket template using the three boards method in Martin Koch's book & on his web site. It's simple and you get a precise fir to the neck you have.
Photo 8. Carefully set up the neck pocket template.
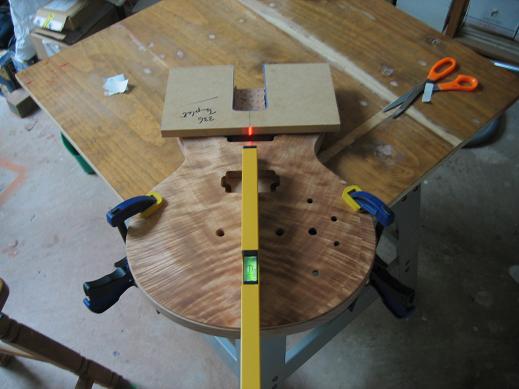
Photo 9. Complicated set up, but it's right & won't move.
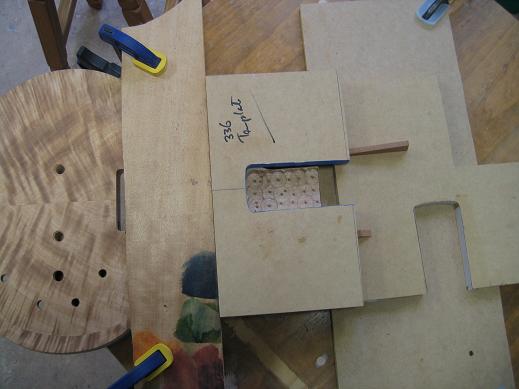
Photo 10. Routed as per StewMacs info sheet.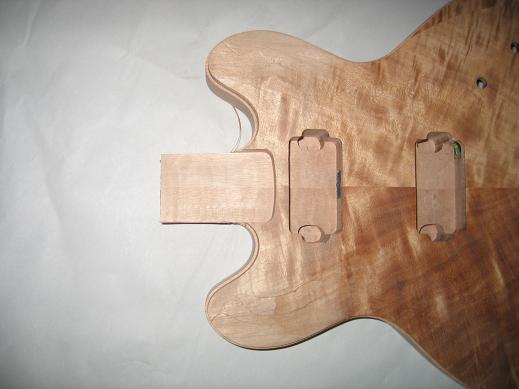
I used a 1/2" bit for the bulk of the work, & cleaned up the corners with a 1/4" bit. The fit was just great. I am extremely satisfied with how this went. Erring on the safe side there was a little room the take the pocket deeper.
Photo 11. Great fit but it's sitting higher than I'd planned.
Now this is well below the Fender spec and so I was happy to go with it because I didn't figure I could set up the template accurately again to match the existing cut. I turned my attention to filling and sanding the back where a couple of wild router cuts needed to be hidden. LOL!! You'll never see them!!
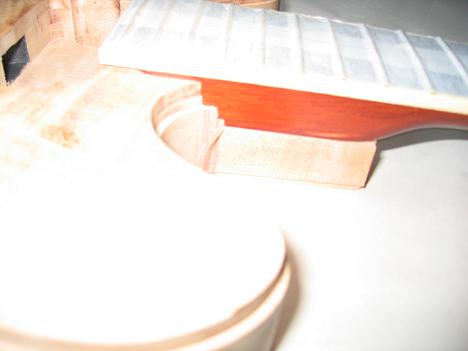
But as I worked I worried about the angled neck. With the neck sitting higher my calculations would no longer be right & the bridge height might be excessive. Also I figured that at the depth of cut the bearings would be riding against the walls of the neck pocket and so the position of the template might not be critical. It was still necessary to set it up because I needed the plane sitting at 3 degrees for the router. Well....I went for it!!..look what happened
Photo 12. It worked!!!..it's spot on.
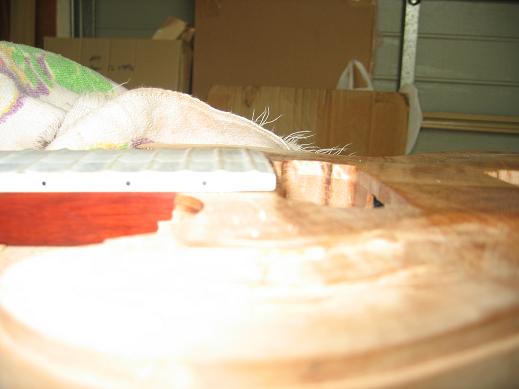
The little bit of daylight at the end is where the plane of the surface meets the 3 deg neck plane slightly under the fingerboard because I brought the neck pocket forward. This has given my confidence a lift after the problems I've just had. It was very satisfying. I had to figure the process through stick to my plan & get it right. So all you fellow newbies..You can do it!! LOL!
I marked the neck screw positions as I described earlier when I did the SG. I put sawn off nail ends in the neck holes, set it together carefully & gave it a good whack! - That's not quite all there is too it. Protect the fret board & I wrapped masking tape around the sawn off nails to get a firm fit in the holes.
Photo 13. Hole positions
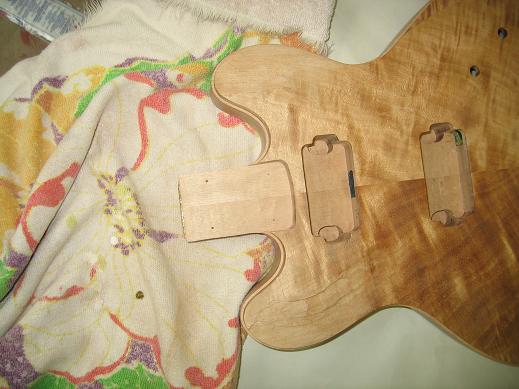
Photo 14. It looks like a guitar!!
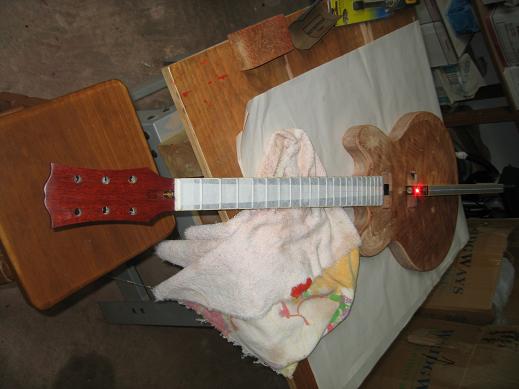
I'm leaving the string up to find the bridge post positions until the finish is nearly done since the bushings made finishing difficult as they were not countersunk. A number of experienced makers do it this way.
If the sanding dust has settled I'll start re-staining the SG, get the bottom binding on the 336 & stain the back & sides before carving out the top. I'm planning to leave the top alone.. that is unstained, basically give it a bit of shellac then spray on the nitrocellulose & shine 'er up!!
Thanks for visiting.