29 July 2006 Page 14 - Staining.
I have started the finishing on the LP DC & the SG. The reasoning is that the lacquers etc take weeks to cure and in that time I can continue on the CS355 and rub out the finishes on the other two while the finish on the CS355 cures.
That's the plan. LOL...
I did a lot of reading on this including "A Polisher's Handbook" Roger Siminoff's book on Mandolin making, concentrating on the chapter on finishing, and of course David Myka's tutorial on staining & finishing. I strongly recommend browsing his site. http://www.mykaguitars.com His tutorial however is on Project Guitar.com.
As luck would have it I stumbled on this: http://www.hancockguitars.com/Classic%20Solid.htm The wood is the same as my Cs355...Qld Maple. I emailed the Hancock family a photo of my humble CS355 and asked for some advice on achieving the finish on the guitar shown. They wished me well but would not discuss their methods. No problem..I understand.
What to do with the SG was a problem. The myrtle came up beautifully on sanding so I thought I'd clear finish it bearing in mind I could always and a tinted coat of lacquer at early stages. This meant shellac, and spirit dyes.
For the LPS I am aiming for an approximation of Robben Ford's Fender on his DVD New Morning - The Paris Concert. It's a sort of a red - orange - yellow sunburst. Also as a model is a picture of Manne Taos Special on p 139 of the September 2005 Issue of Guitar Player Magazine. If I could scrape into that ballpark I would be ecstatic!!
Much time was spent removing all dings from the bodies..using steam iron and soldering Iron on wet sponge. I also wet down the LP DC top with hot water and when dry sanded it back with 320 & 400 grit. This is known as raising the grain and is necessary because I'm using water soluble dyes on it. The grain will swell and if not sanded back will give a gritty appearance on lacquering, so it is wet then sanded back before the dye goes on. I did this at least three times.
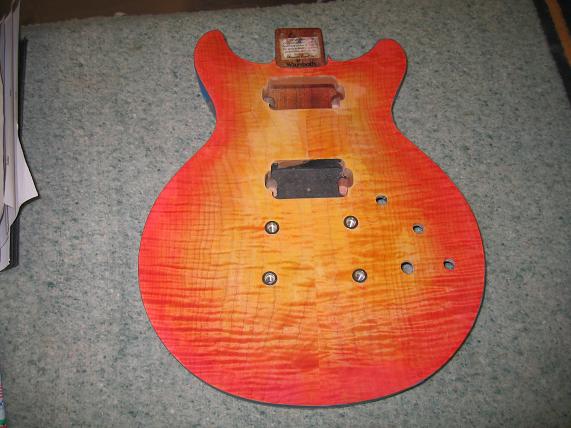
I wiped on a solution of yellow dye over the whole top of the 355 and then wiped around the edges with red. Following Roger Siminoff's method I then attempted to 'blend' the colours using a damp cloth. (Roger Siminoff uses alcohol soluble dyes, but I reasoned that a liquid carrier is a liquid carrier).
Photo1. ..Yellow, red edges, & blended.
Now a few things..the camera shows more red than real life..it always has. And also the dyes look a little chalky which is normal. They scream when lacquered. This makes it a little difficult for know nothings like your truly!! LOL!!
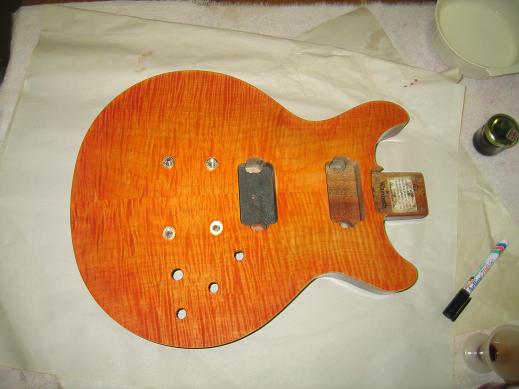
I was not 100% satisfied and had another look at David Myka's method. He recommends doing more darkening early on and sanding back. I then rubbed on a solution of Orange dye with a view to leaving things stand overnight and sanding back in the morning.
Photo 2. Orange added.
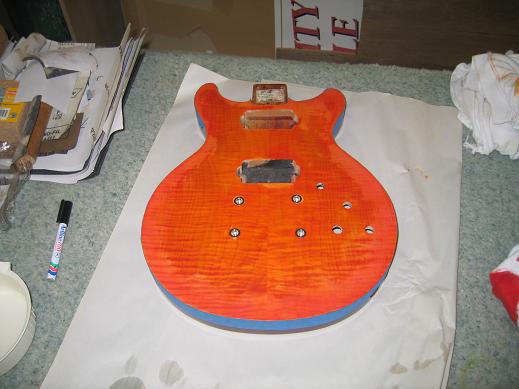
You can see that the orange dye is still wet and therefore brighter looking than the dry edges. Also it appears more red in the photo than it really is. I'll sleep on this & see what I will do in the morning.
Now for the SG...the decision was to start off with clear shellac because it is compatible with just about every other finish. Water soluble dyes are now OUT!!.
Photo3. SG after initial shellac.,,and Photo 4..another coat.
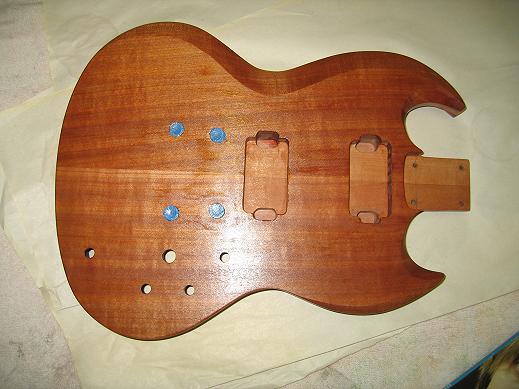
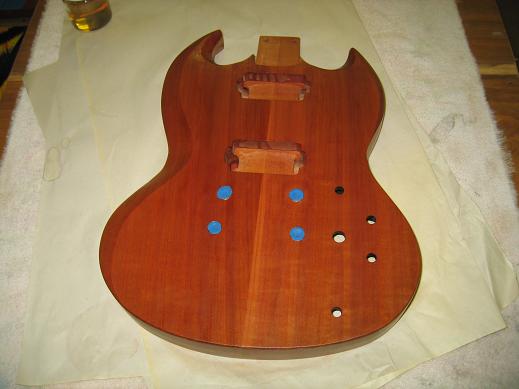
It looks redder than it is. The top photo is closer to the real colour. Lovely bit of timber, but I might just add some red down the track.
Next Morning.
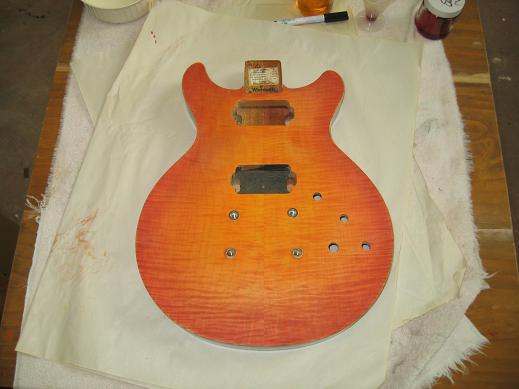
I sanded back the 355 body and used a damp rag to 'blend'..This is what I got..
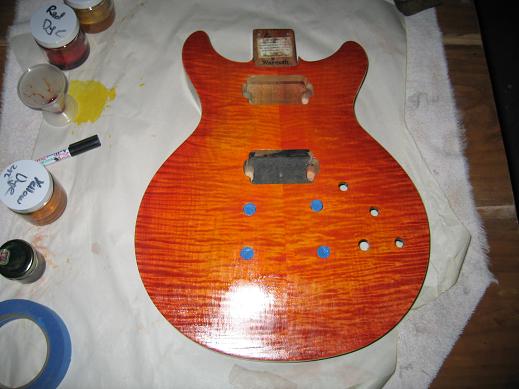
Photo 5. Sanded & Blended
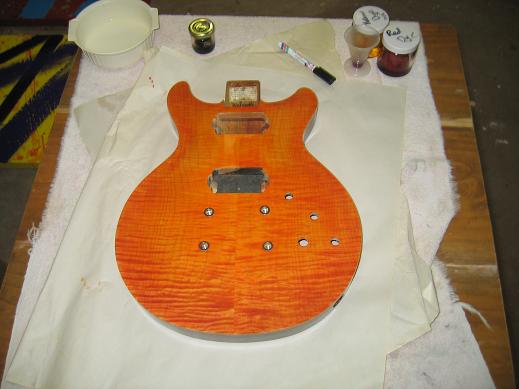
Photo 6. Another View
I might humbly observe that I seem to be on the right track. I almost lacquered it there & then, but I am worried about possible jarring between the top & the already coloured back & sides so I went round the edges with the same dye I'd used on the back & sides.
Photo 7. Darkening the edges
This is dry and therefore a bit more chalky looking, but it does provide the eye with an easier transition from side to top. Also I am worried about a muddy looking patch just above & to the left of the bridge pickup cavity.
I have never done this before, and I'm praying that my beginners' luck holds!!! LOL!!
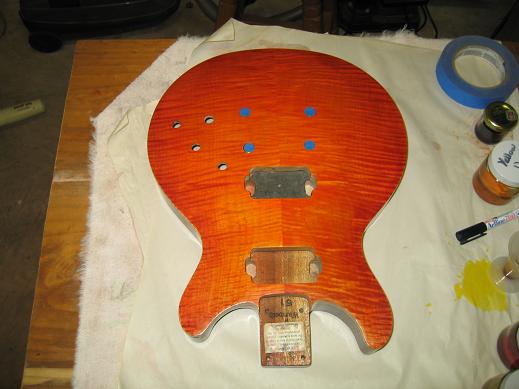
Photo 8. ...I'm going with this...
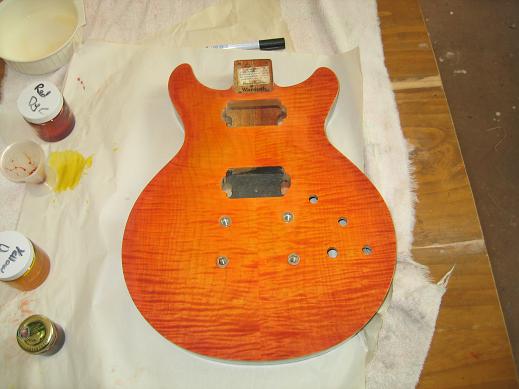
I just don't know what more i can do...It looks great and hopefully will gleam under lacquer. It's in the ball park of the Robben Ford Fender but probably not in that of the Manne Taos Special... however I am at the limits of my knowledge imagination and experience. I don't mean to sound apologetic or on the other extremely arrogant ..but as I said, it looks great and I have no idea what more I could do.
Now about that SG...will I stain it or not. After a test on the area to be covered by the neck plate I decided on this...
Photo 9. SG final colour..
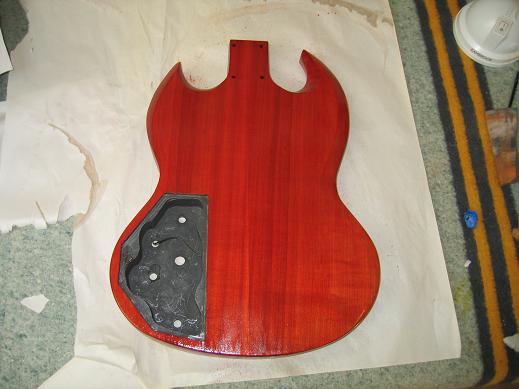
...well...it's an SG...it has to be RED!!!!
The Myrtle did look nice but a bit too .. er ... well .. unteenage for my daughter. LOL!! Actually I might keep it or insist on unrestricted access! LOL!
Photo 10, Photo 11....after some shellac...
Over the next few weeks I will be adding coats of lacquer rubbing back, and hopefulyl doing the carve top on the CS355.
Thanks for visiting.
Robbo.
Page List - Much less editing doing it this way. LOL!!