10 June 2006.
I have spent quite a bit of time on neck templates. Since the StewMac ones are far too big I have tried various ways of reducing them using oversize bearings, 'inserts' of laminate and tape. The Warmoth body on the other hand has the pocket too small and is in danger of cracking the lacquer on the neck.
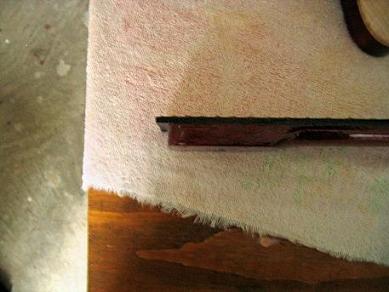
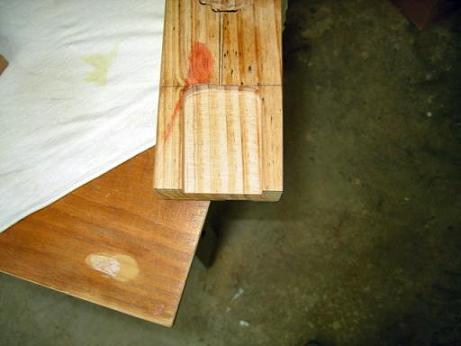
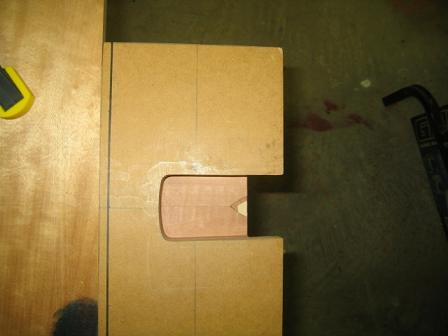
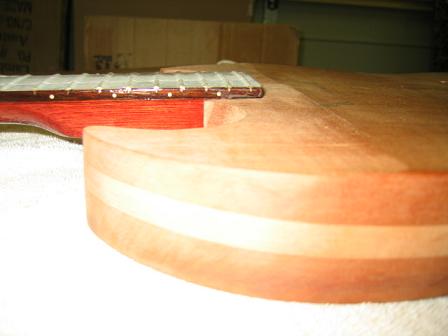
Photo1. Scoring on the finish on neck heel.
With a little sanding I was able to produce a good firm fit and align the neck!
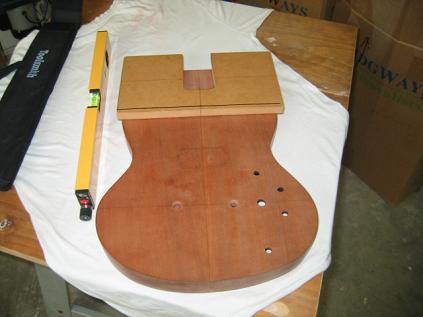
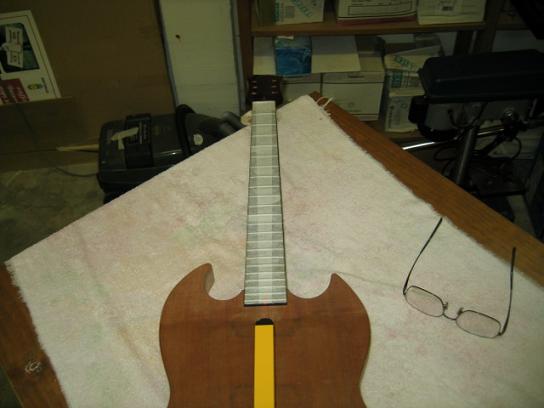
Photo 2....It looks like a guitar
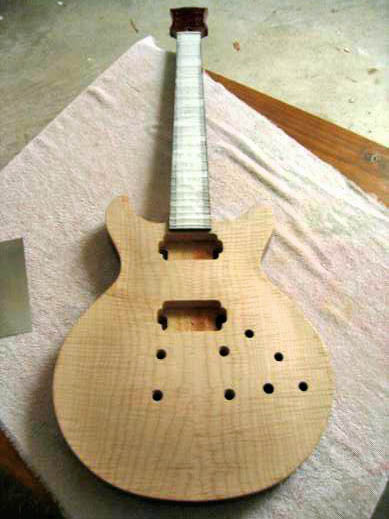
So now with this body I've got to sand the top ready for staining, run an earth wire from the holes for the tailpiece stud to the control cavity and press in the tailpiece studs and the bridge studs. They will be masked during the staining, lacquering & rub out. According to the technical guys at StewMac a number of the larger makers do things this way. It saves putting them in for string up removing them & putting them in again. I can't see that a string will do much here because the all the stud holes are pre drilled.
So when I get the SG body to this stage I'll press in the studs & do a string up on the SG to find the bridge stud hole position. I thought of copying the Warmoth ones but will use the Warmoth body as a check rather than a master template.
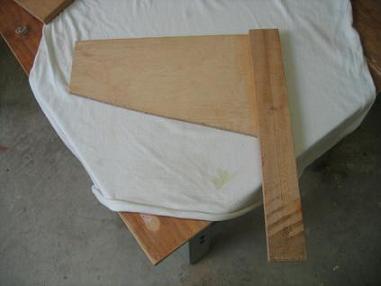
I had a number of unsuccessful attempts to produce a good neck template.
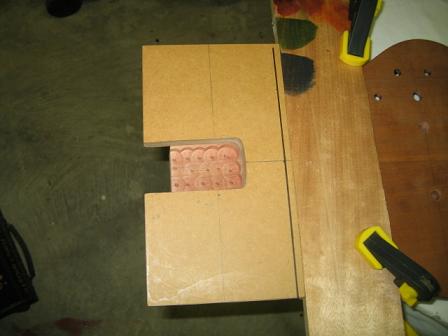
Photo 3. Neck templates that aren't
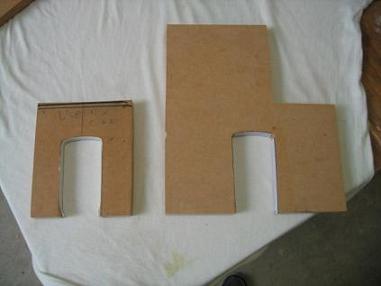
I tried an inner laminate on the larger piece but that made it too small !! LOL!
On the smaller one on the left, I ran double sided tape around and reckoned I'd got it right, but realised there was no sticking area for the double sided tape to grip on the horns of the bodies.
Since the neck angle has been planed I figured a clamping set up to the ends of the body out of the routers way would not be feasible.
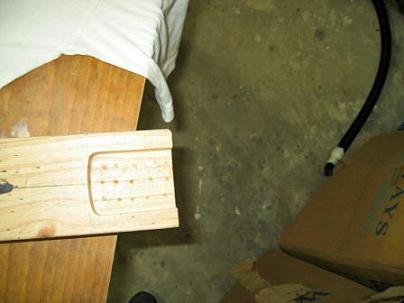
Photo 4. This one seems OK
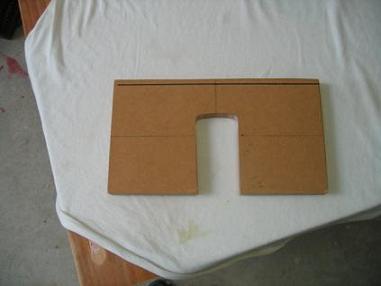
Enough sticking area and a good fit.
This isn't glamorous, but it's what will take up quite a bit of time & effort so I'm putting it all in. I also made a few other odds & ends to help with various router tasks.
Photo 5. This 'Square' edge guide has come in handy.
OK now to practise on scrap.
The tip of the forstner bit is 1/8". I want the finger board to lie flush on the surface as I have used this in calculating the neck angle. I'm sure I have described this previously ..it's simple trigonometry and well set out on the web site of Martin Koch. The distance from the back of the neck to the finger board was a foofteenth under 3/4 ". So I set the drill depth to a fraction under 5/8"from the point at which the tip of the bit touches the work piece. The 'floor' will be covered in 1/8" deep holes which will be cleaned up when routing to depth.
I removed most wood with a 20mm Forstner bit in the drill press, and then cleaned up the edges with a 1/2' bit on the router. Then I routed to depth with several shallow passes of the router from the 'treble' side to the 'bass' side removing a very small amount at the edge each time. I started with the 1/2" bit left the 'blunt end' to do with a 1/4 " bit. All per StewMac recommended procedure.
Photo 6. This one was OK till the template moved a bit.
Nice clean cut..
Photo 7....just right,..??
Why haven't I cleaned it up?..Because I made a measuring error and drilled too deep. I didn't discover this until I went to adjust the router depth....Measure TWICE cut ONCE...and practise on scrap!!
Now to be more careful and line things up for real
Photo 8. Lining up the template.
I used a laser but I have reservations about them. The beam is quite wide and there is a temptation to adjust your view to make things line up rather than adjusting the arrangement of laser and template.
Photo 9. Ready to drill
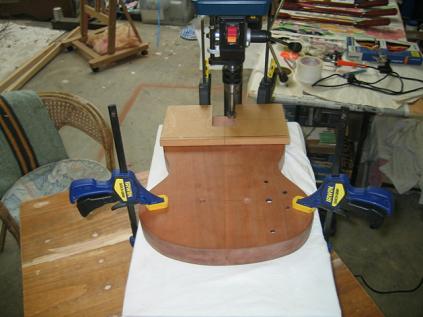
I put the template on because I wanted to keep the alignment fixed throughout the process and didn't want to lose the centre line. This proved completely impractical on my small drill press & so I resorted to a much simpler set up.
Photo 10. Simplify...simplify..
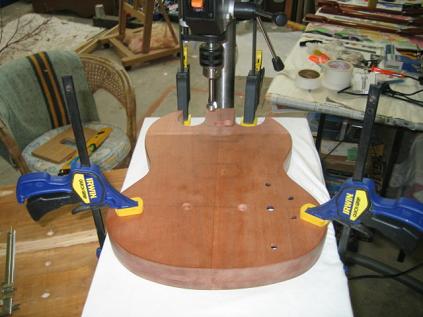
I drilled well inside the outline..and of course discovered that I didn't lose the centre line because it is the glue line that runs right through the body!! Why didn't I think of that before?? LOL.
Photo 11. Neck pocket drilled out
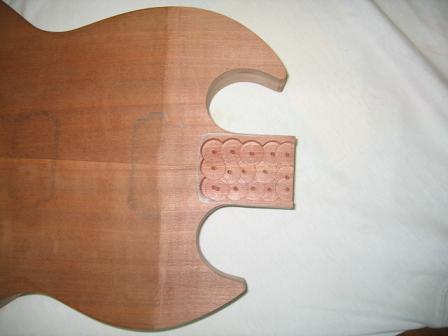
Now to reattach the template...with plenty of sticking area for the double sided adhesive tape and do the routing.
Photo 13. Lined up after drilling
The wide piece of timber behind the template is there to help spread the pressure of the clamps and also to stop any fore & aft movement of the template. I hope the sticky tape holds laterally and intend to use a very light hand on the router!!
Photo 13. Looking good!
I am in awe of routers. I reckon anyone who can use a router will could build the Space Shuttle!! LOL!
Photo 14. Main part DONE
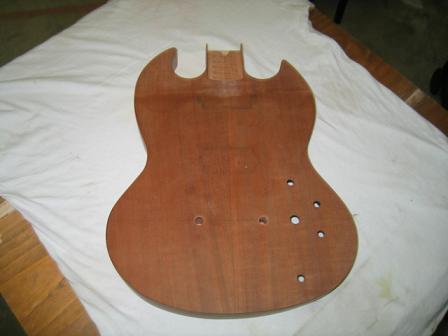
Photo 15. Fits well...
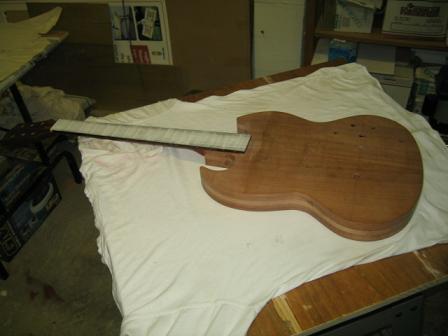
Photo 16. Cleaned up with hand tools
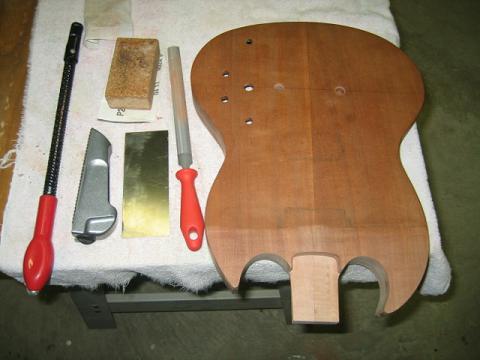
Photo 17. Depth is good. Just a little to spare.
To get the position of the bolt holes in the neck pocket to match the positions of the holes on the pre drilled Warmoth neck I cut some 2.8mm galvanised nails to hole depth plus a couple of millimetres wrapped some masking tape around them and got the to sit firmly in the neck holes with the points protruding. See picture 18.
Photo 18. Hole position finding...
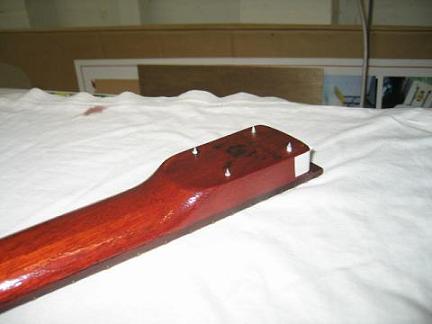
Photo 19. Then align the neck..
Clamp everything gently but firmly and give the neck a few good taps with a hammer...protecting the fingerboard of course!!
This leaves centre points for the bolt holes marked in the neck pocket. I drilled the holes with a 5/32" drill bit in the drill press. I hope mixing metric and imperial tools & measurements isn't too confusing. I'm using what I have and what fits best.
Photo 20. Bolt holes drilled in neck pocket.
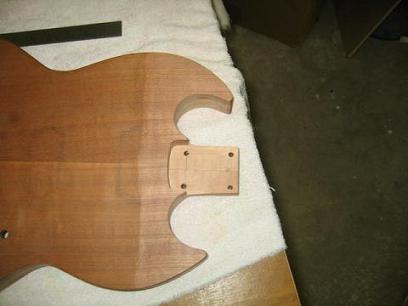
Photo 21. Check the alignment as the screws are tightened...
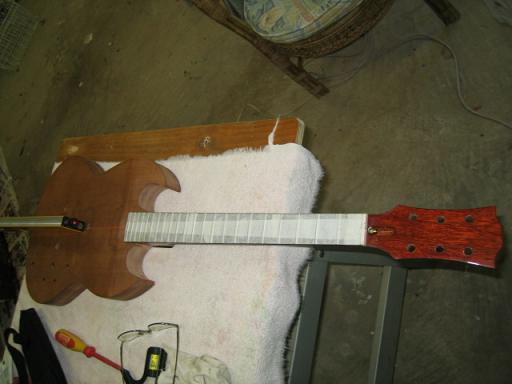
Photo 22. ...and tighten things up!
!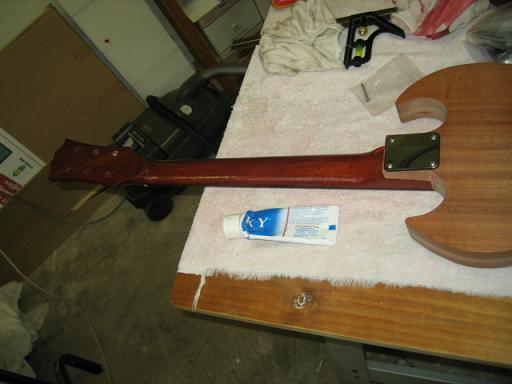
Warmoth recommends putting Vaseline on the neck screw tips to help the process but I didn't have any and used the best thing I could find....It worked. LOL!!
Now I have to confess an error that will show forever. Somehow in cleaning up the neck pocket I removed too much wood from one side. I am not sure how this came about, but I suspect it was my poor technique in using the laser guide. The result is that the neck plate slightly overhangs the side of the body at one point. Sharp eyed readers will notice that in the above picture. Measure TWICE .. cut ONCE. On the next guitar ..the CS336 I will not do any cleaning up until the neck is bolted on properly aligned. I am very pissed off at this mistake, but a one of the reasons for doing the projects in parallel was to learn on the SG and do better on the Cs336.
If I might offer a word about necks & neck pockets. Forget the StewMac templates. They cost me heaps of time & caused much frustration. If I were starting another project, I would order my Warmoth necks with a squared telecaster heel rather that the rounded Stratocaster heel and make my own template from the neck using the method described by Martin Koch. There would only be the need to drill hole in each corner to match the tele neck. The rest would be straight lines. If you build your own neck you could make it squared and even avoid drilling the holes.
Basically clamp the neck the template material, clamp a straight edged board down each side of the neck and stick a short cross piece at the end of the heel. Then cut out the waste material & trim with a flush cut ball bearing router bit against the straight edged boards.
I will probably do this for the next neck but somehow use epoxy putty on the end to shape in the curved strat heel. This is mainly because the neck for the 336 is not firm enough for my liking in the template I've just used.
Next jobs... carve & sand the SG top. Install tailpiece do a string to find bridge position. Install bridge studs. Maybe stain, lacquer rub out body & neck & assemble. Whoa...
On the LPS...stain lacquer, rub out & assemble.
On the CS 336...much more...Rough carve the top & bottom to the binding channel height. Glue on binding top & bottom. Then do the neck pocket & other steps stated above for the SG.
Stay tuned folks ..if we live long enough...:o)
Thanks for your company.
Page List - Much less editing doing it this way. LOL!!