Parallel Projects Continued.
Two of the tasks that must be done are to accurately size the body blanks and to produce the laminate tops from my planks.
On asking in various fora how to go about making the ¼ “ laminate tops I was advised that it was a job for a Band Saw expert. I have no interest in buying one so I found a furniture maker who also happened to make instruments & he was happy to do both jobs.
He put some shellac on the figured Qld Maple & it looked great! Good luck exists!! LOL.
He also offered to glue them up since he just happened to have a large amount of fresh glue left over from a very recent project….well…I mean….what could I say?? LOL..like I said ..Good Luck exists!
The timber is to collected Monday pm.
Well the best laid plans….New band saw blade required and I picked up the timber body blanks & tops on Friday! Also the myrtle plank was warped and so to make the required thickness for the SG we had to make a sandwich using another piece of plain myrtle between two more attractive slices. Total Cost…$US 94.00.
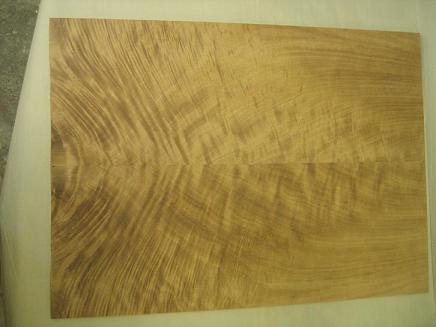
Photo 1. The ‘body blank’ of Qld Maple for the CS 336
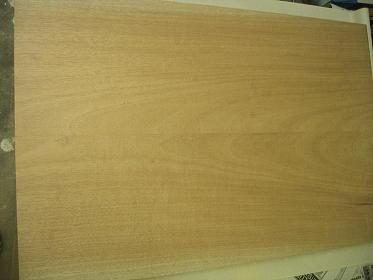
Photo 2. The ‘body blank’ of Myrtle for the SG
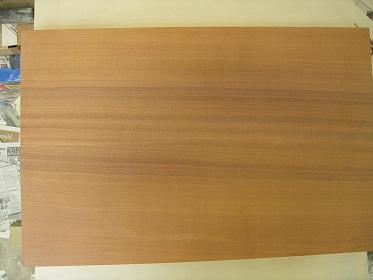
Photo 3. Another shot of the myrtle body blank for the SG
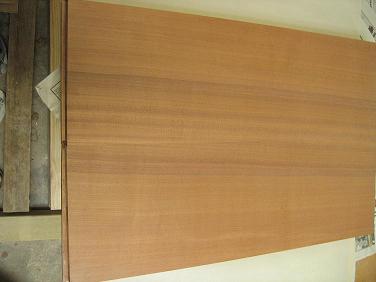
The natural light colour is somewhere in between the colours in the two photos above..
Photo 4. Figured Qld Maple top for the CS 336
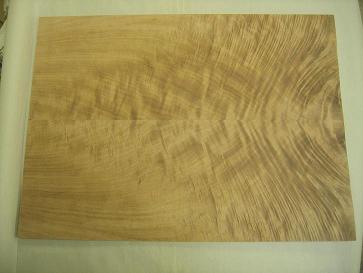
Photo 5. Another shot of Figured Qld Maple top,
Meanwhile I read up on my Rotary tool and made the basic masonite template for the CS336 with major changes to my method.
I bought a thinner band saw blade, proceeded more slowly & carefully but stayed well clear of the cutaways. They are tighter than those of the SG.
For the cutaways I drilled all round the outside of the curves using the rotary tool as my cordless drill seems to be dead. I used the Rotary cutter to trim off the waste. I cut through the holes I’d drilled. Using the sanding drum on the rotary tool I cleaned up the curves.
This worked much better and I’ve stayed outside the line. Hooray!!
I repeated the template for the SG and made a much better job!!
The template fits the plan cut-out quite well but the edges have some palpable irregularities. I will go round them with a sanding block later. I don’t know what effect this will have ‘down the line’
Next step mark out the shape of the CS336 (the Target or Ultimate), mark out the inner shape and cut out the waste and clean it up. I’m using the Samick Royale type construction gluing on a figured laminate top and a plain laminated back. It’s shown here: http://www.samickguitar.com/rl3.html
I may add another inner rib to allow me to design a suitable control cavity cover shape.
I am waiting on Forstner bits from Rockler tools. From what I read it is best to drill out most of the wood in cavities and clean up the edges with a router rather than use a router for the whole job. In the MIMF forum some guys swear by chisels. I have a router and have had a couple of rough practice runs…I’ll take the router. I am also waiting on the router bits from StewMac with the ball bearings and plastic shanks for following templates. The bits that came with the router have the bearings on the other side, set up for using with a router table not freehand. I don’t think I will be using the table on this job. (FWIW router & table cost $US 93.00)
So to keep momentum I have done some colour testing on scrap.
Photo 6. RED!!
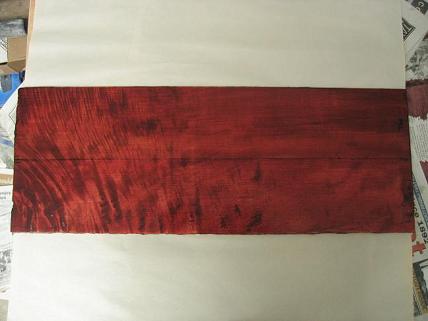
The top panel is proof spirit dye in shellac over a first coat of clear white shellac.
The bottom panel is water dyed wood with shellac over that.
Both were then filled, sanded back and given further coats of clear white shellac.
While it is obviously rough I felt I was in the ballpark and could improve with better timber prep and more practice. I want a Gibson type red Cs 336
Just for experience I thought I’d play with the dyes a little.
Photo 7. Red& yellow x2, Red & orange, Red & cedar
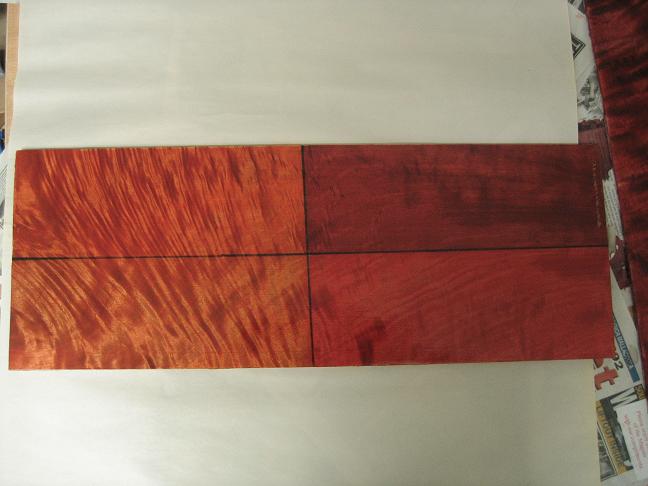
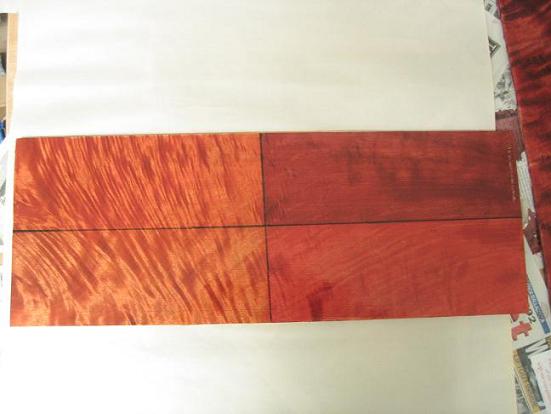
Photo 8. Another shot. Light
slightly different.
OK the left panels are red and yellow at about 25% (total) dye in water. The bottom left panel was filled and sanded back before dyeing, then given a coat of clear white shellac. The top left panel (and both the right panels) was dyed, shellacked filled, then sanded back, and given another coat of clear white shellac.
The top right panel is 33% red dye with a drop of cedar dye. The bottom right panel is 33% dye…red with a bigger drop of orange.
I’m glad I kept experimenting since now I’m leaning very much toward the colouring in the top left panel…red & yellow dye on the wood, shellacked filled & sanded, then shellacked. I might do the necks & body sides in the red+cedar. However filling & painting black is always an option!! Hey!....Gibson does it! LOL.
I have a problem known as ‘fish eye’ in the shellac. It’s not visible in the photos. Its like 2-3 cm diameter round ripples in the last coats of shellac. It seems it could result from contamination from stearates in the sand paper.
So much to learn so little time.
Please feel free to comment via the tech talk forum in the Guitar Tricks Web site.
More soon. This html stuff is a pain!! LOL!!